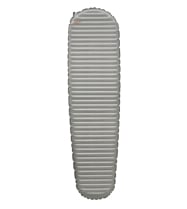
An inflatable sleeping pad pretty much has one job: to be airtight. If something causes the mattress not to be airtight, it’s time to repair your sleeping pad.
We get many calls about perceived leaks, particularly with air mattresses. And one thing that is usually not a leak at all is a mattress that seems to have lost pressure during the night. If it’s not flat, but not as full as you inflated it before bed, the problem can often be attributed to the loss of air pressure as your mattress cools.
 Images photographed and owned by William Woodward
This is particularly true if you inflate your mattress by mouth. The air going in is warm and, as it cools to the ambient temperature, you will lose pressure and require a few more breaths to make up the difference. This is also the reason we say to partially deflate your mattress before you leave it in your tent for the day. Though it’s very rare, a full mattress can actually burst from the extra pressure if it warms enough in a hot tent all day.
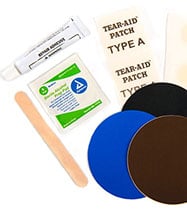
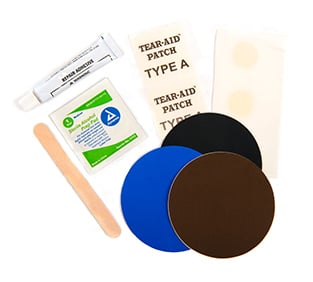
These kits are included with all of our NeoAir pads and easily slide into the included stuff sack. Though either of our repair kits will work, the Field Repair Kit is designed to provide a speedy, no-cure fix for any mattress.
How to Find the Leak in your Sleeping Pad
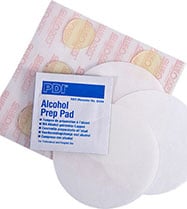
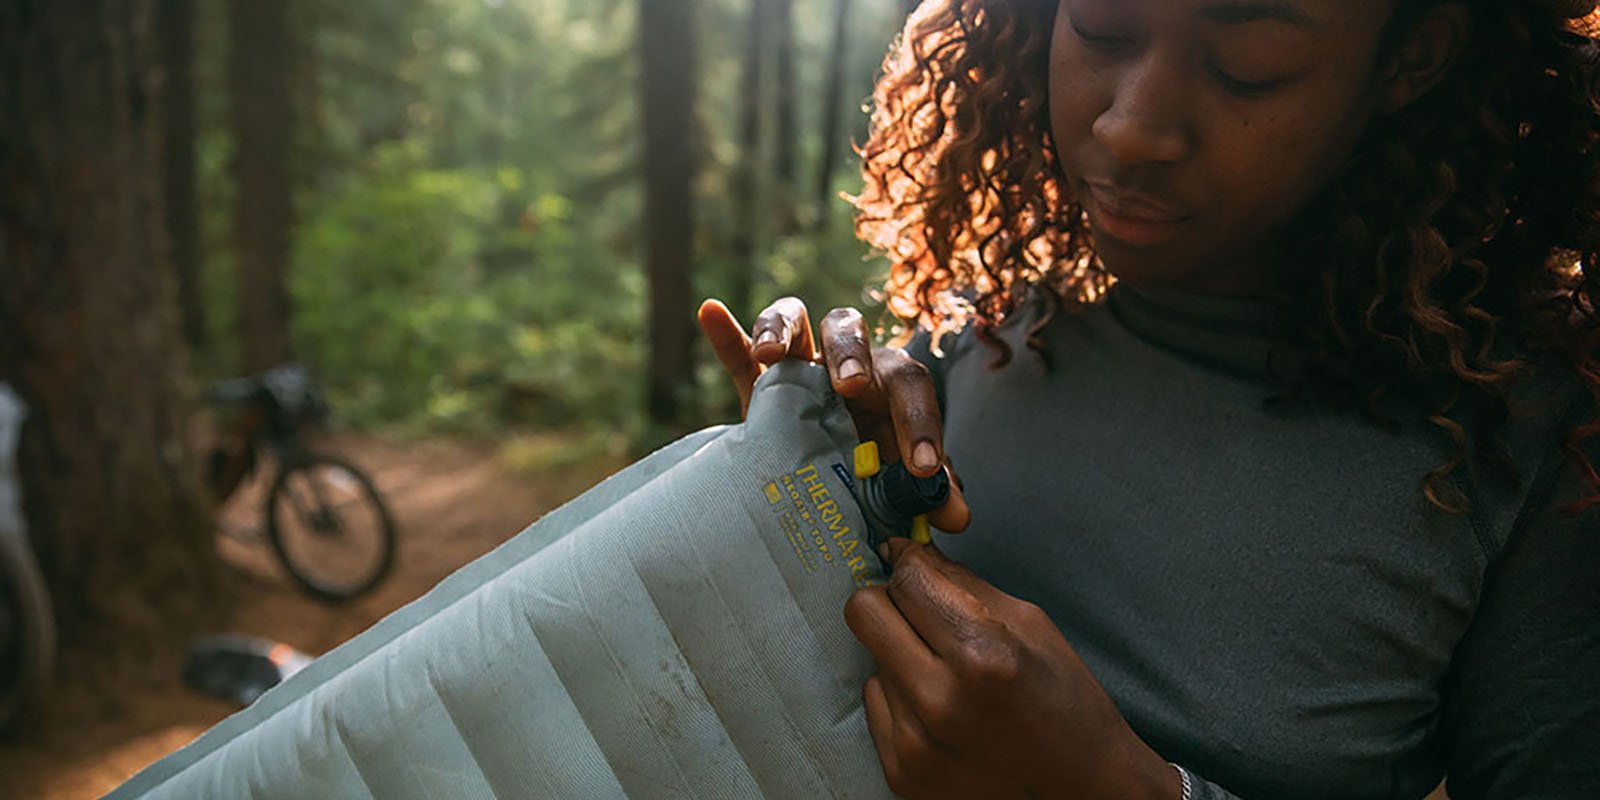
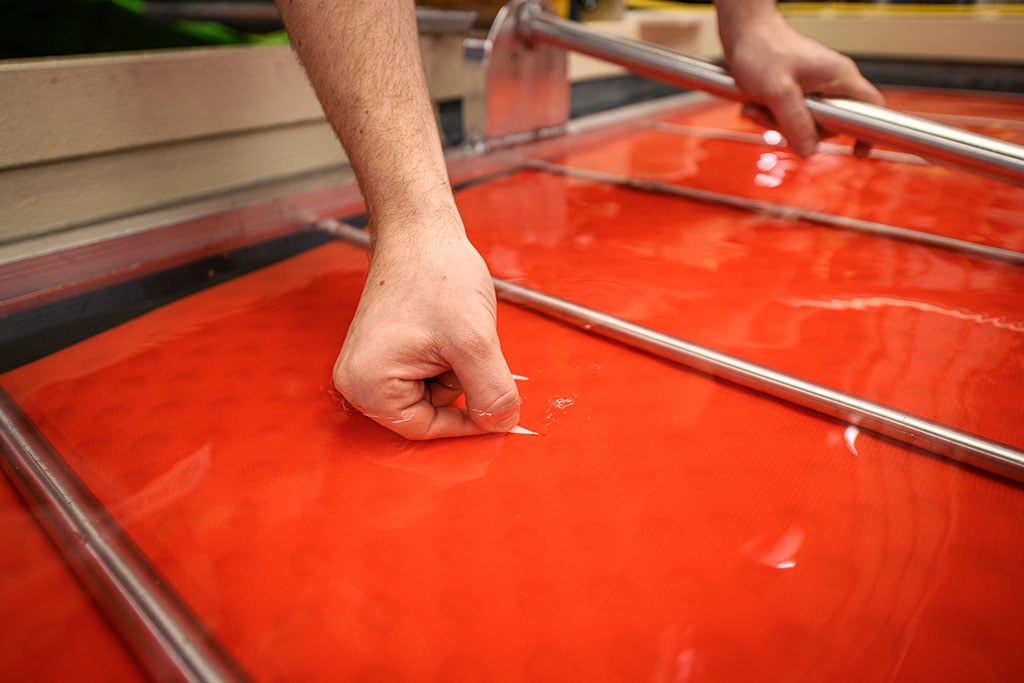
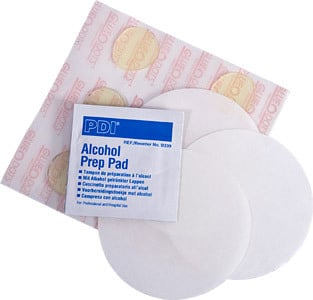
Whether you’re at home or in the field, you’ll want to inflate your mattress as firm as you can get it with your breath. If you’re lucky, you might hear air escaping and you’ll be able to locate the puncture right away. If it’s not readily apparent where the leak is, you can either submerge the pad fully in water (a tub at home, or a body of water nearby if you’re out in the wild) or you can use a wet and/or soapy cloth to wipe the mattress.
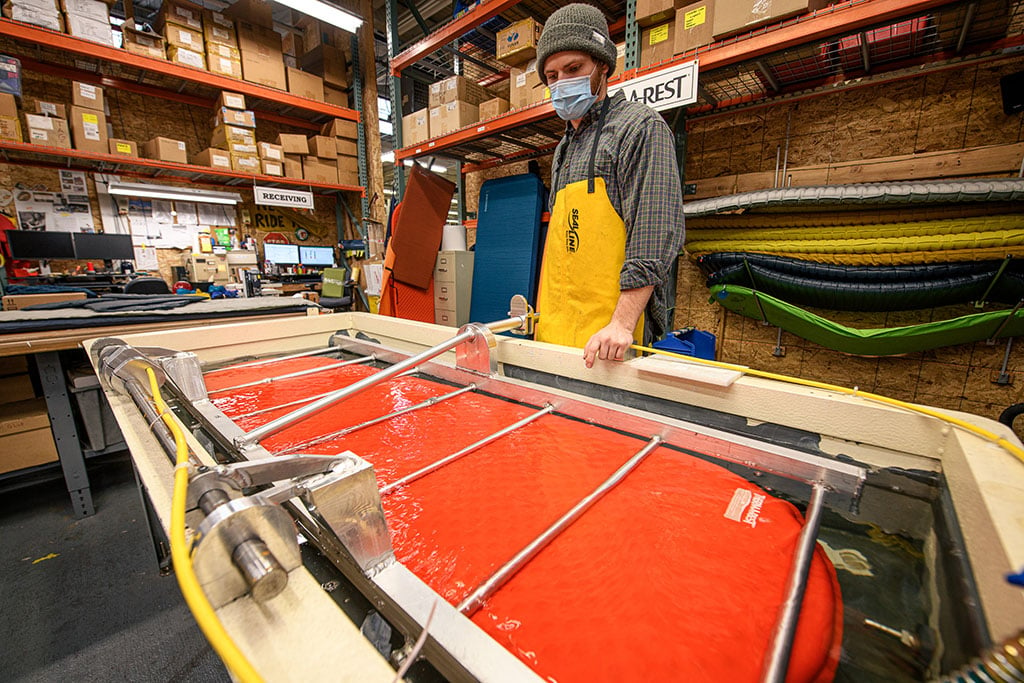
In both cases, you’re looking for bubbles to form, which will indicate where the air is escaping. In the case of a pinhole puncture that takes all night to leak out, it may take a while for bubbles to form, in some cases ten or more minutes. Patience is the most effective tool in the toolbox at this point. One trick is to fold the mattress over on itself when submerging it or soaping it up. This will increase the internal pressure and hopefully force air through the hole a little quicker. Another method to try is to mentally break it down into smaller areas and go through one section at a time, slowly and meticulously. Flip the mat over and inspect the other side.
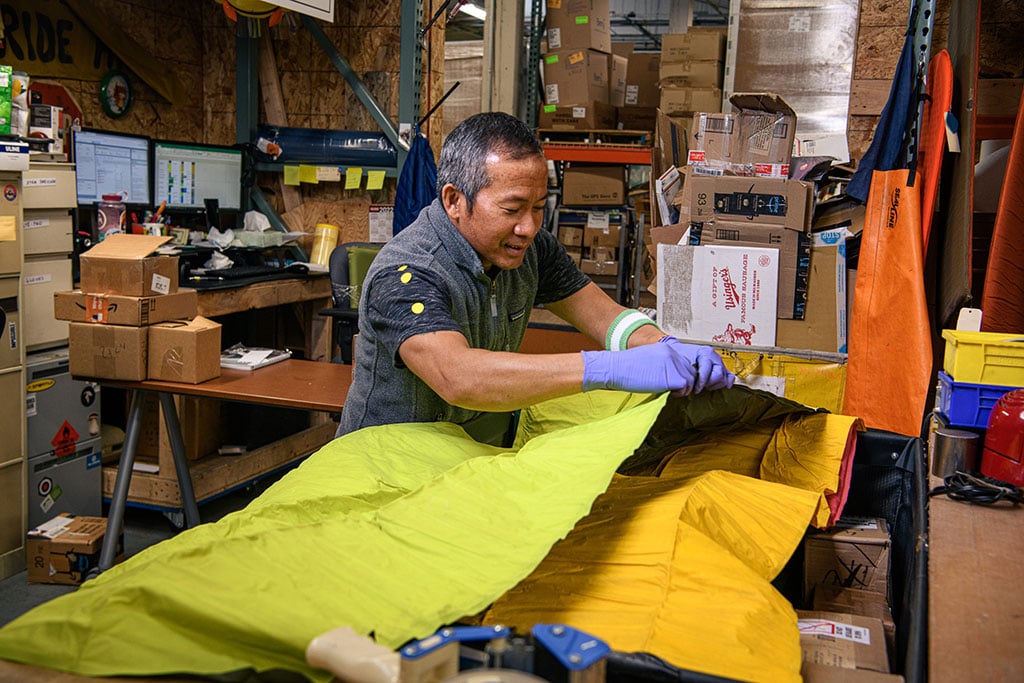
Our repair techs follow these same procedures when we receive mattresses for repairs. At any rate, once the leak is found, follow the repair directions to patch that sucker up and you’re back in business.
How to Repair Your Sleeping Pad at Home
If you’re at home, our Permanent Home Repair Kit can help you patch the puncture.
Depending on the model of pad, it may require sitting overnight, but since you’re home, that shouldn’t cause too many issues. Pro tip: Check your pad and the rest of your gear a few days before heading into the backcountry.
How to use the Permanent Repair Kit:
How to Repair Your Sleeping Pad in the Field
If you experience a puncture while out camping, hopefully you’ve brought a Instant Field Repair Kit with you.
How to use the Instant Repair Kit:
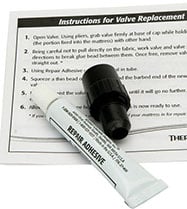
How to use the Valve Repair Kit:
Send Your Sleeping Pad to the Pros to Repair
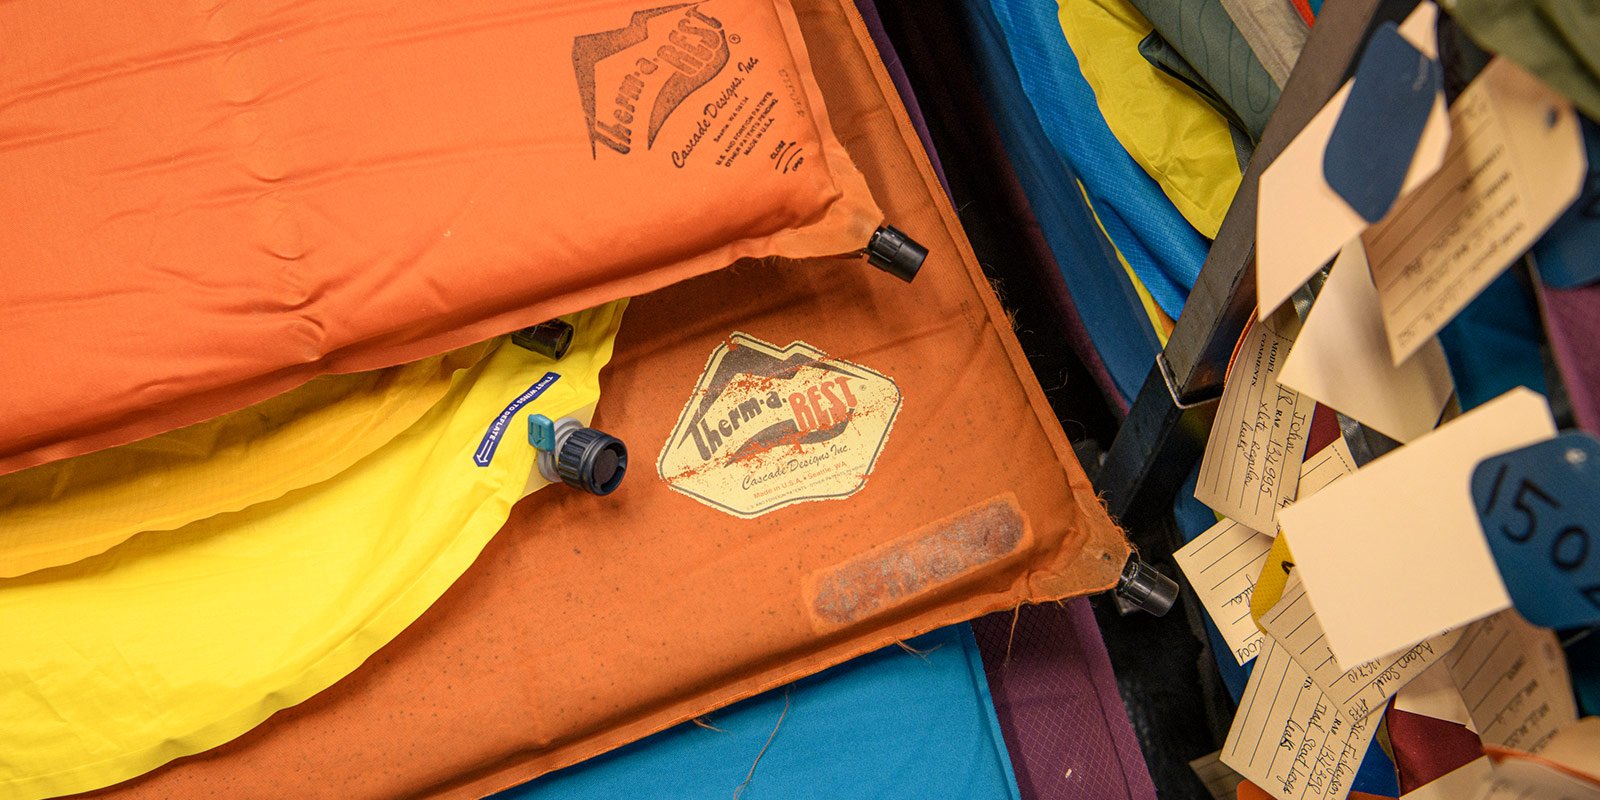
If you have tried everything, or your mattress damage is significantly more than you want to take on, you may send your mattress to us for repair. If the problem is covered under our Limited Lifetime Warranty, we’ll repair or replace your mattress at our discretion. These issues are limited to defects in material or manufacturing. If we find that there are punctures/tears in the mattress, we can repair those, but these are typically wear-and-tear situations.
We charge a flat-rate fee to repair a mattress (contact us for current rates). This repair charge covers up to 10 punctures at any one time—if we find more than 10 punctures in a mattress, then we consider the mattress to be at the end of its service life.
If you choose to send your sleeping pad to us, please make sure it’s relatively clean. We don’t need to be able to eat off of your mattress (nor do we want to), but some mattresses have shown up here in surprisingly gross condition. If that’s your mattress, clean it by inflating it and wiping it down with a mild detergent. Follow-up with a rinse, and let it dry out before shipping it to us.
Please note: if your mattress is excessively dirty or has a strong off-putting odor when it arrives at the repair office, it will not be worked on or evaluated and instead will be returned with cleaning instructions.
This brings us to another point: Keeping your mattress clean is very important to its longevity. For folks who are on long-term camping trips, body oils, bug spray, and sunscreen can all contribute to the breakdown of the laminates that bond the external fabrics to the internal components. This goes for the foam, cores of self-inflating models and the internal baffles in one of our NeoAir® models. Using a sheet on the mattress or sleeping with base layers on and cleaning it regularly (both the sheet and the mat) will help you get the most out of your mattress.

If you ship a mattress to us, we aren’t concerned with the method of shipment, but we do recommend send it with a method that is trackable. If anything goes wrong in shipping, you can at least find out where it was delivered by mistake. To get started with your repair, head to our warranty page and create a Return Authorization Number.
Related Posts:
- Backpacking Gear Care for Sleeping Pads & Bags
- How to Store Sleeping Pads and Bags
- How To Wash a Sleeping Bag
Updated. Originally Published Oct. 18, 2019.