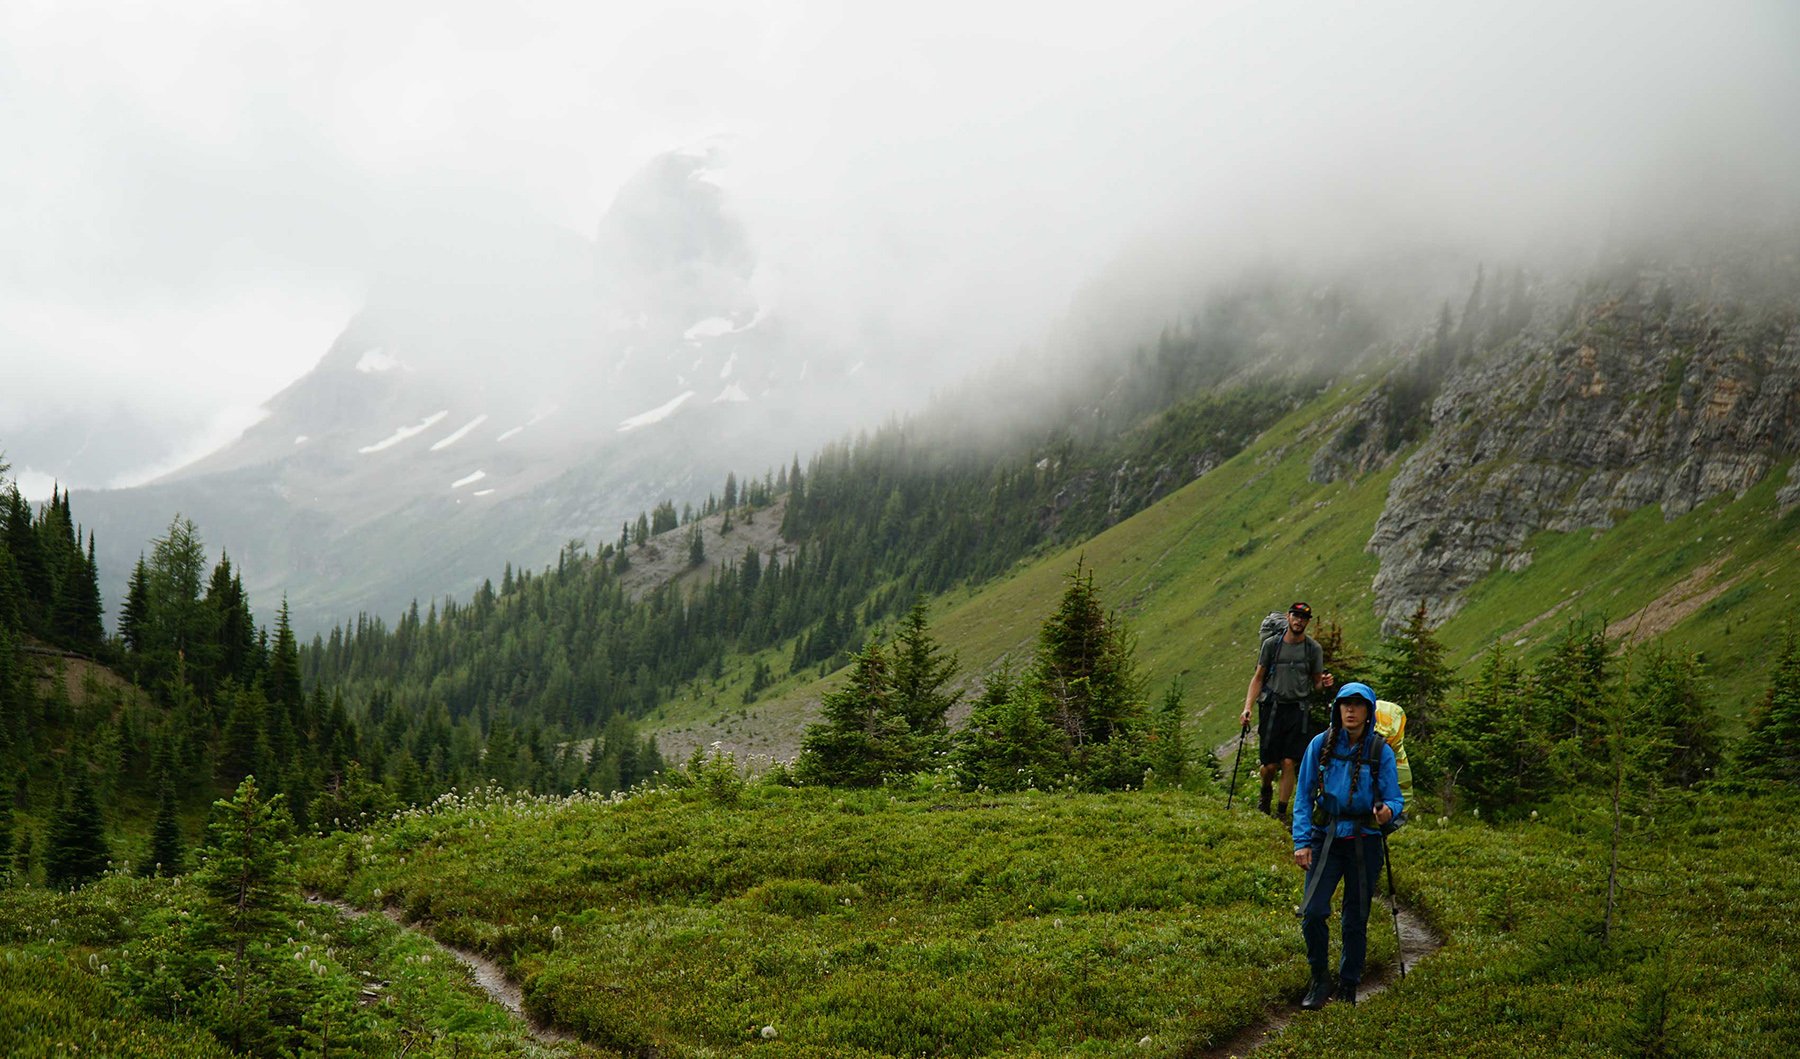
You’ve been strolling around the gear shop for hours, wandering aisles filled with packs, sleeping bags, stoves and sleeping pads. The shop’s employees and have given up on you. It’s not that you are trying to be difficult. It’s just that your ideal pack weight and your budget aren’t seeing eye to eye.
In this edition of Therm-a-Rest Beta, contributor Arielle Paris saves us from having to choose between a happy back and happy finances by providing us with her dirtbag tips for a lighter pack.
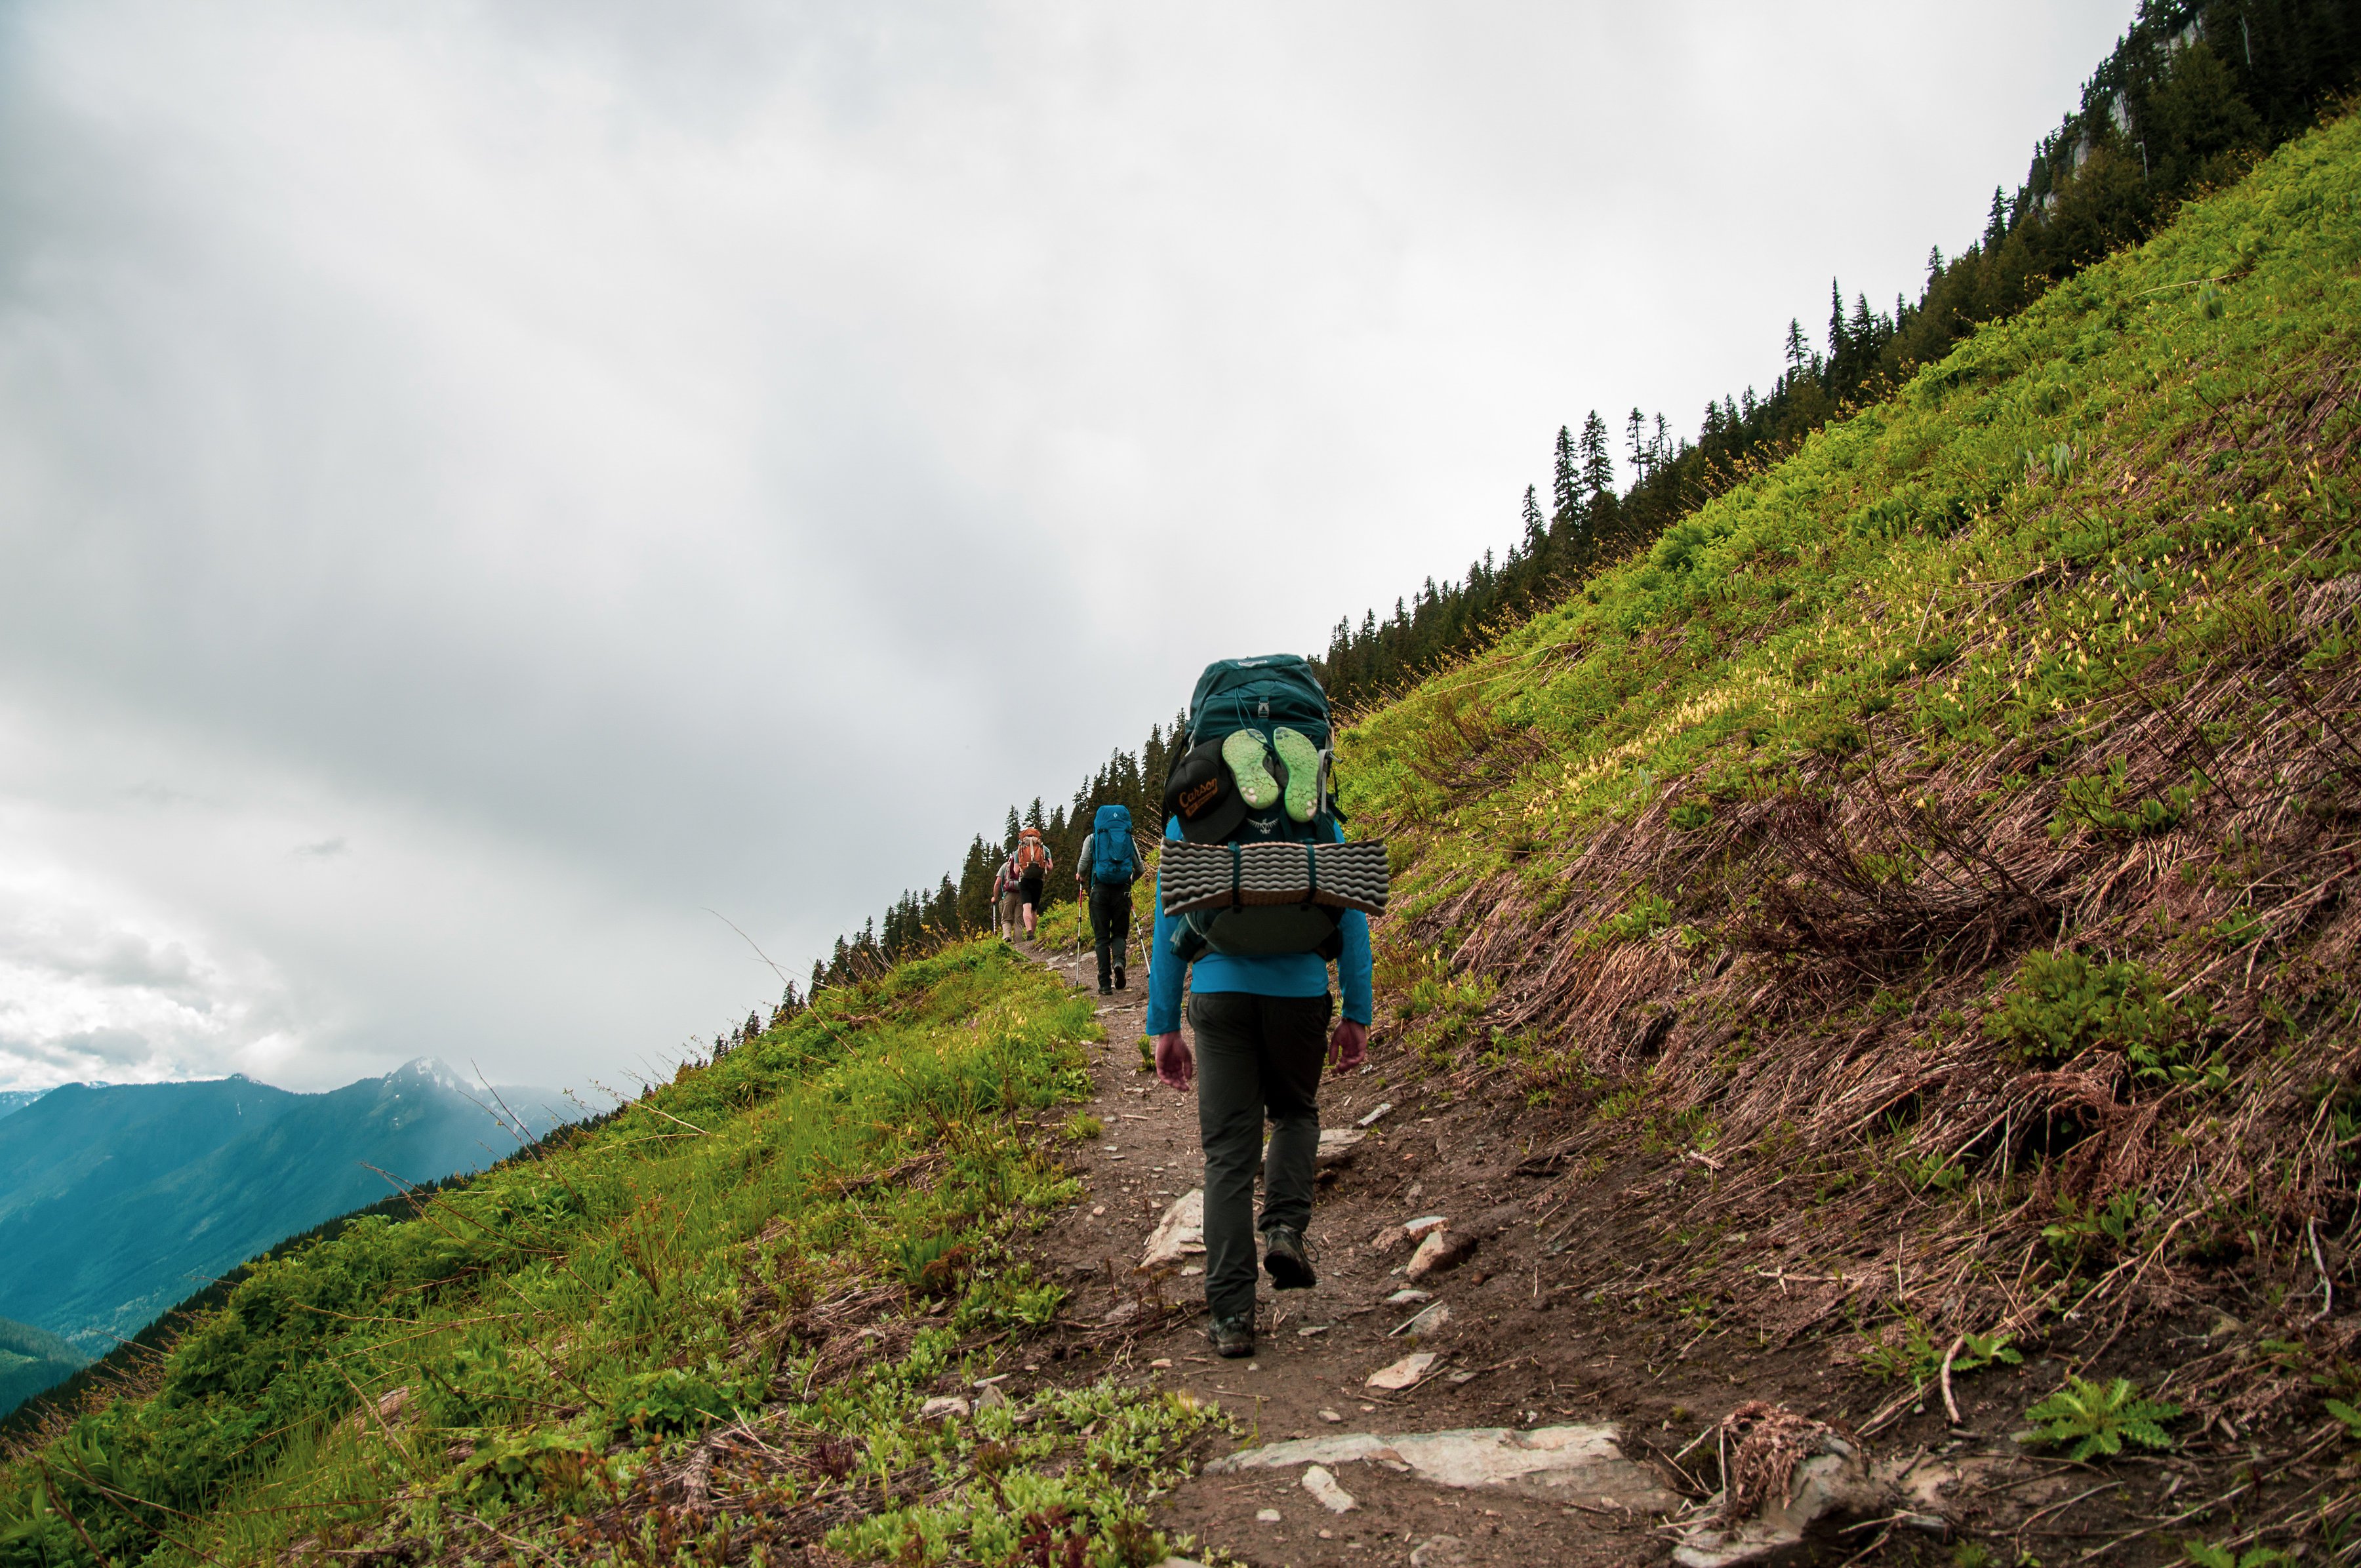
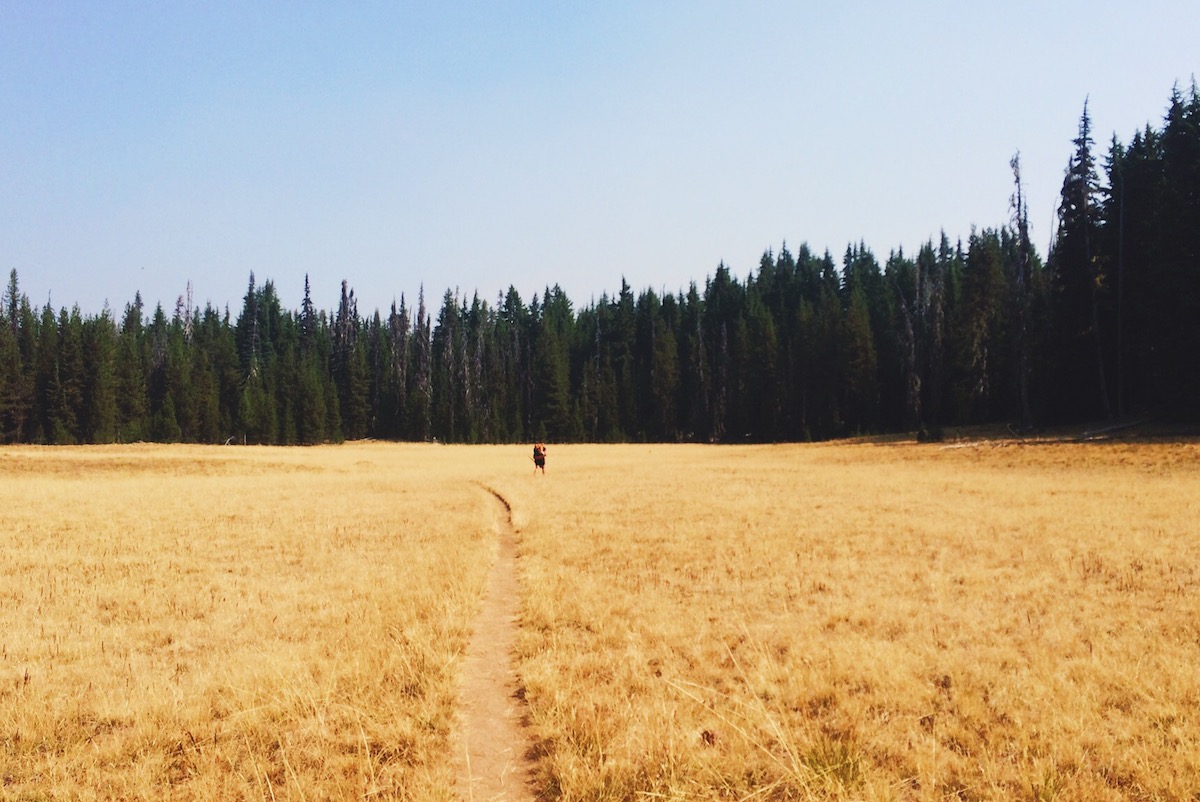
Saving weight as a backpacker is easy – just don’t bring things! But I, like you, believe I need things desperately only to find out later that I don’t need them at all. Here are my hiker trash tips for a light pack, picked up while hiking the 2,650 miles of the Pacific Crest Trail (and ditching items from start to finish).
To save weight, don’t bring it. Easy to say, hard to do. The fastest way to lighten your load is by giving up some creature comforts. Consider leaving this stuff at home: pillow, extra clothes, cup, plate, bowl (I use only my titanium cooking pot), cookware cleaning supplies, underwear, gaiters, backpacking pack brain. While you’re at it, cut off all those silly straps on your pack too – some thru-hikers even cut out tags in clothes. Every little bit helps.
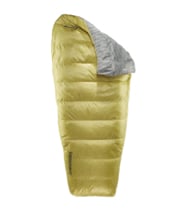
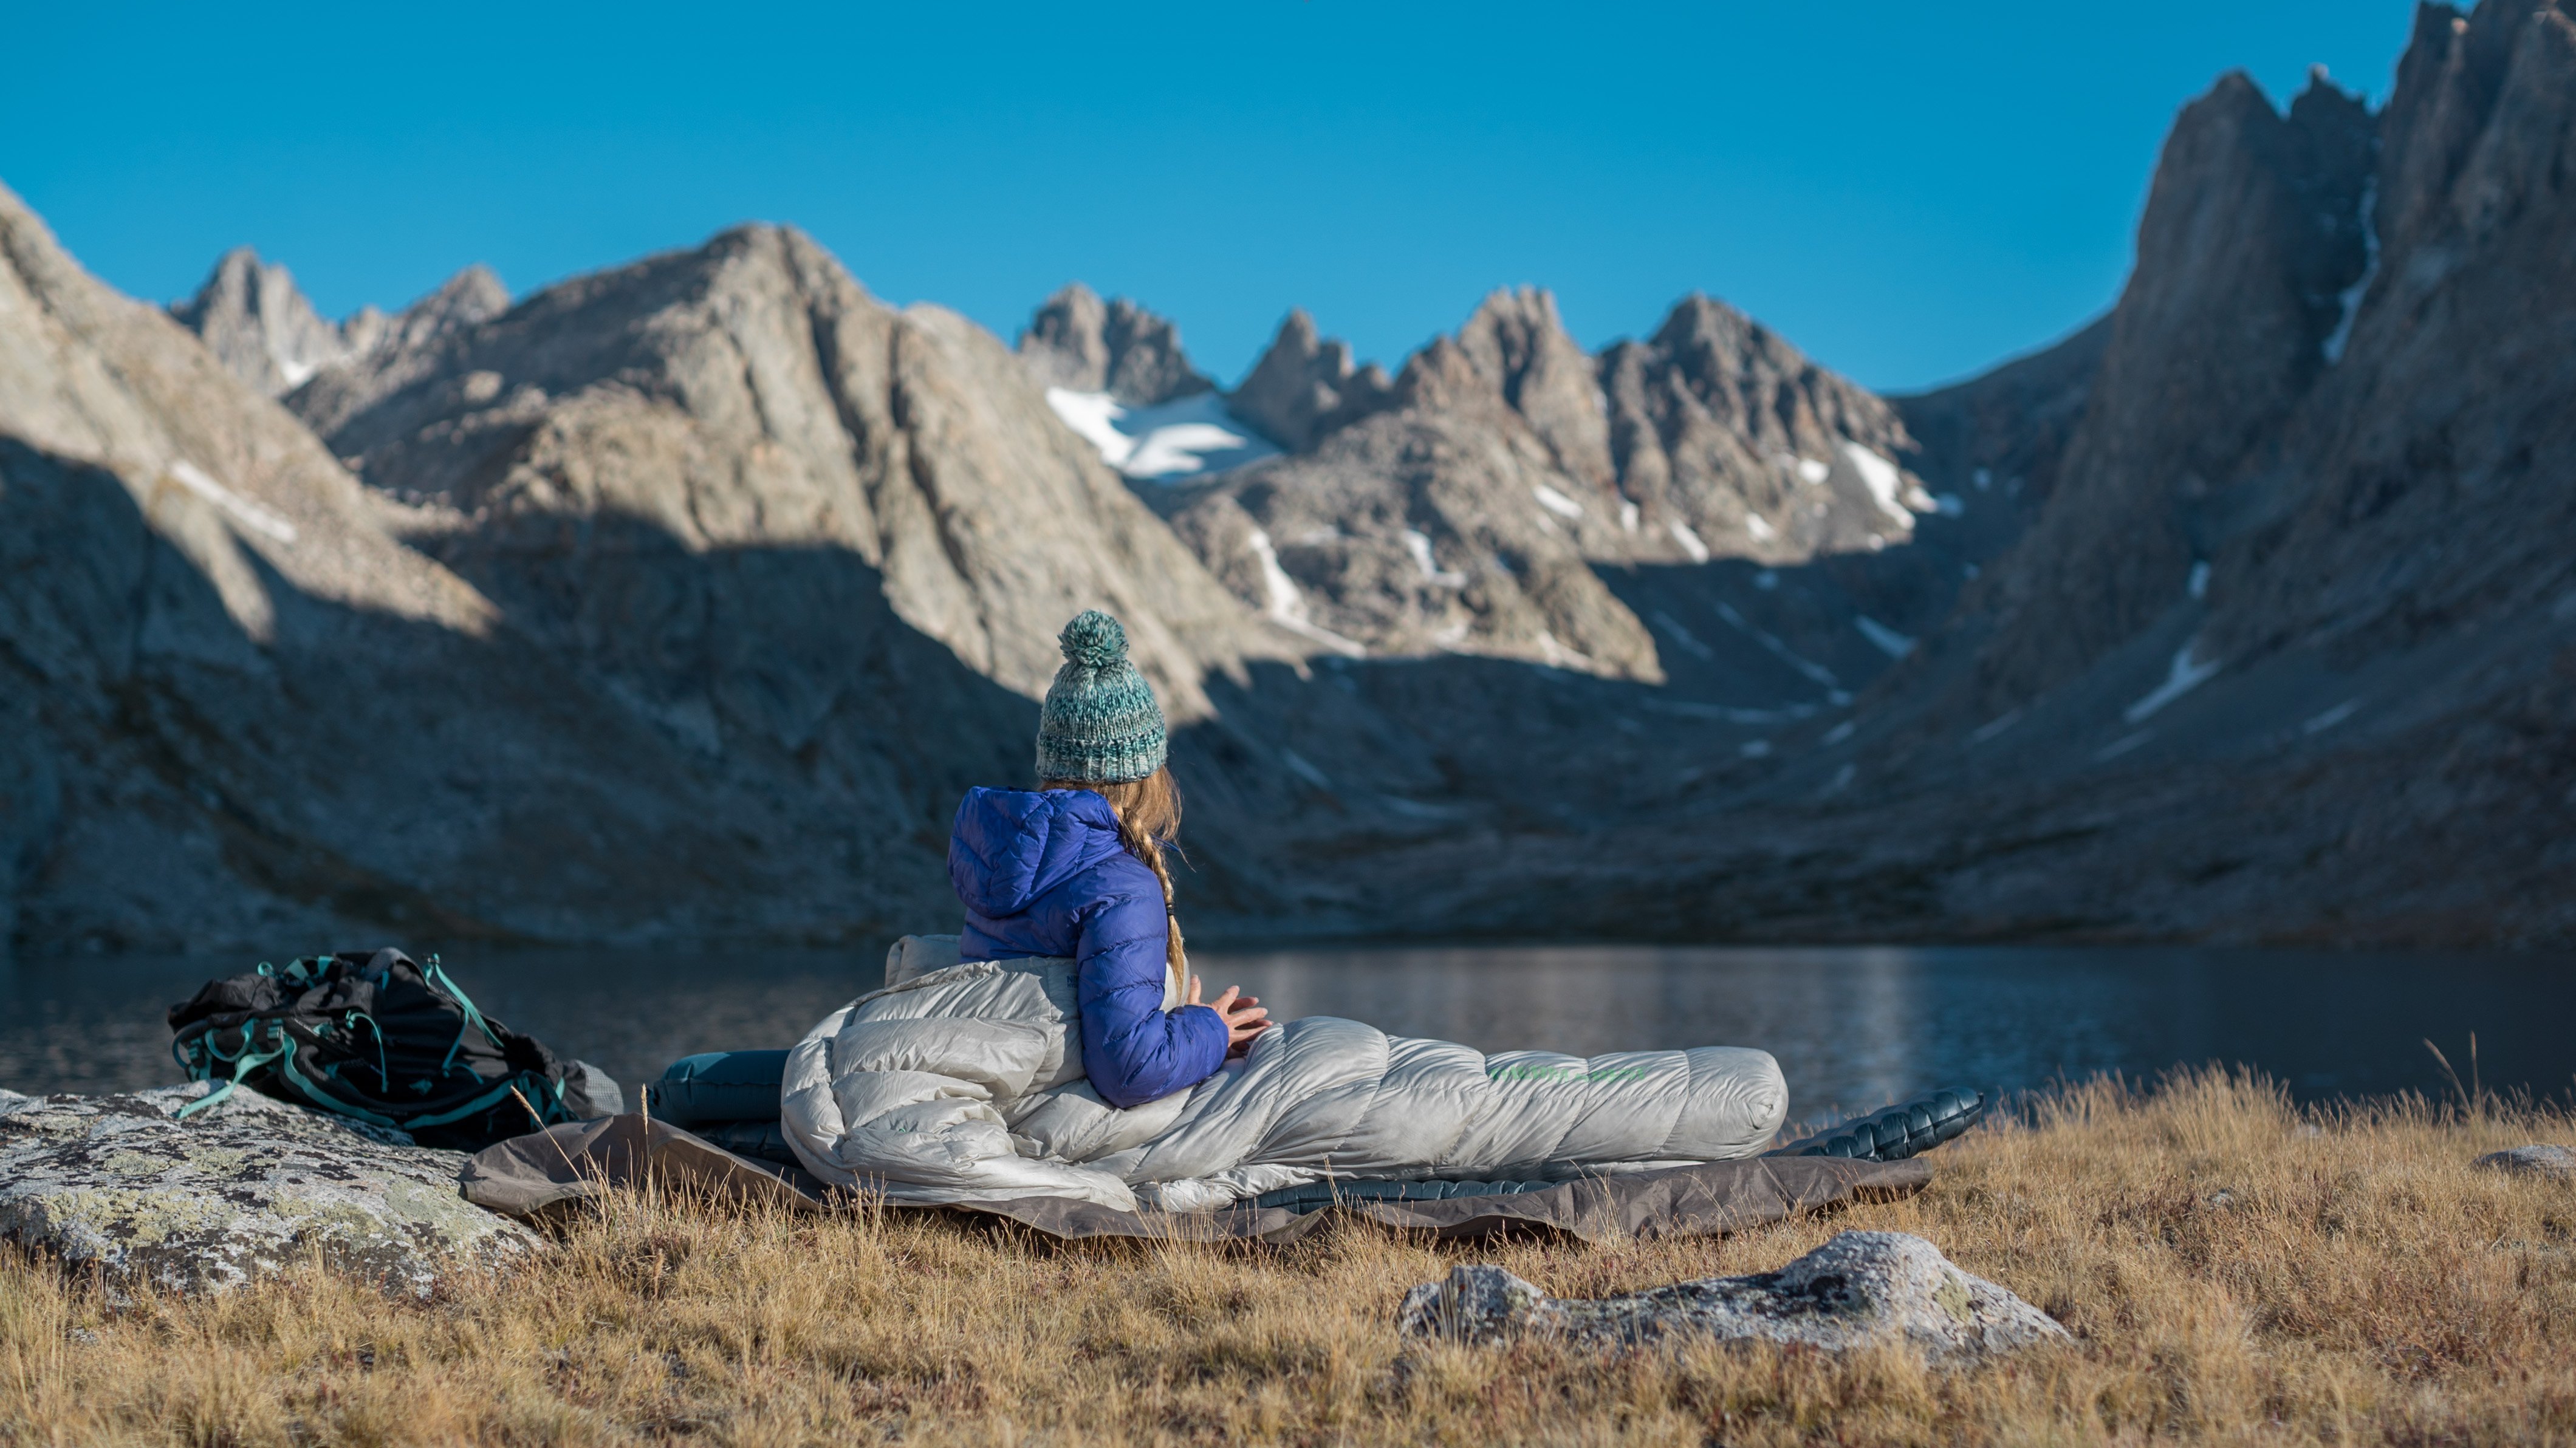
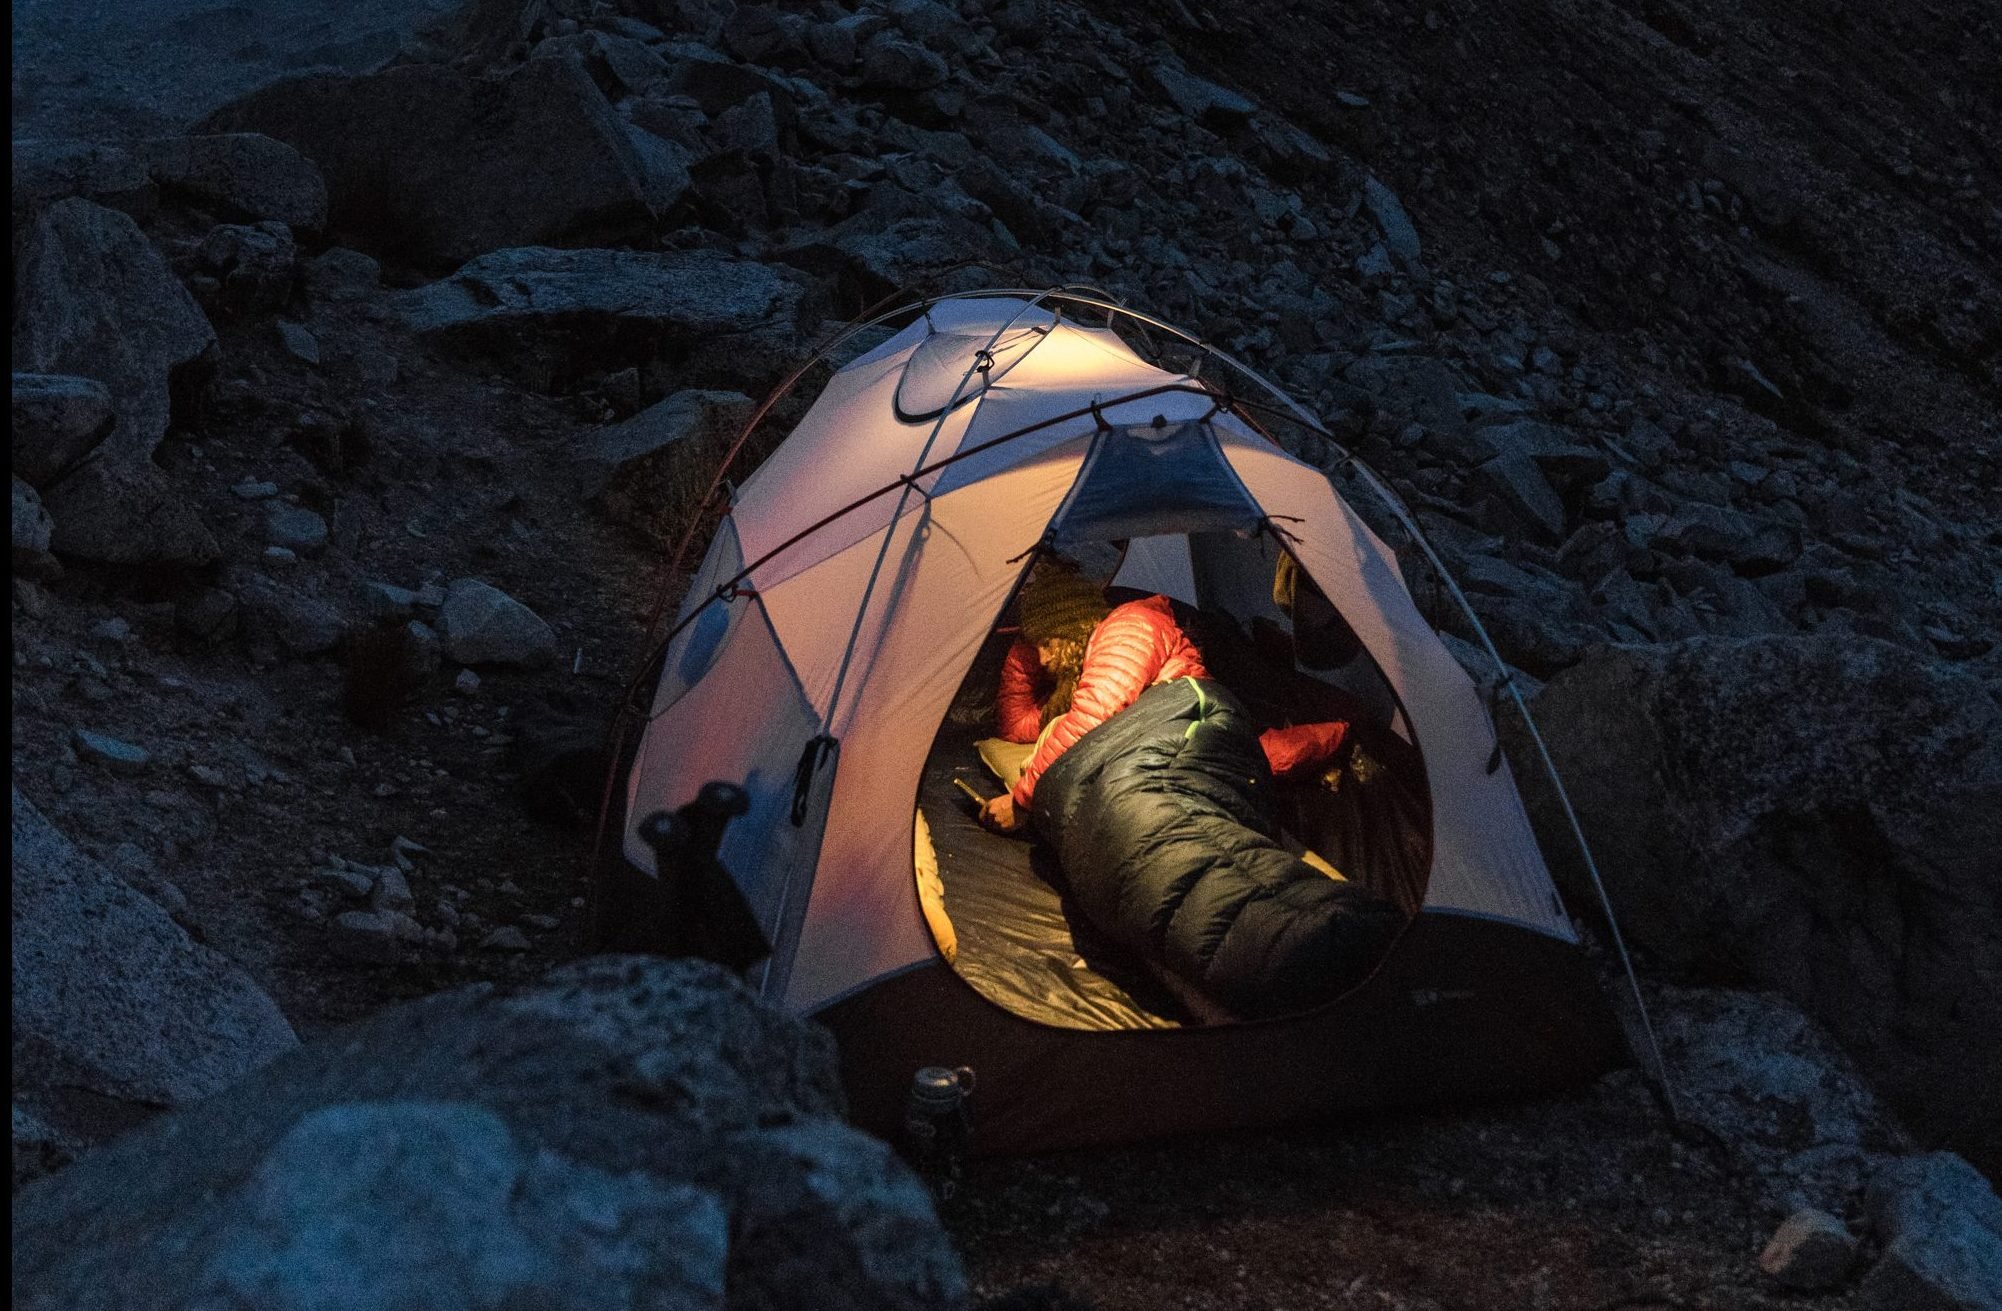
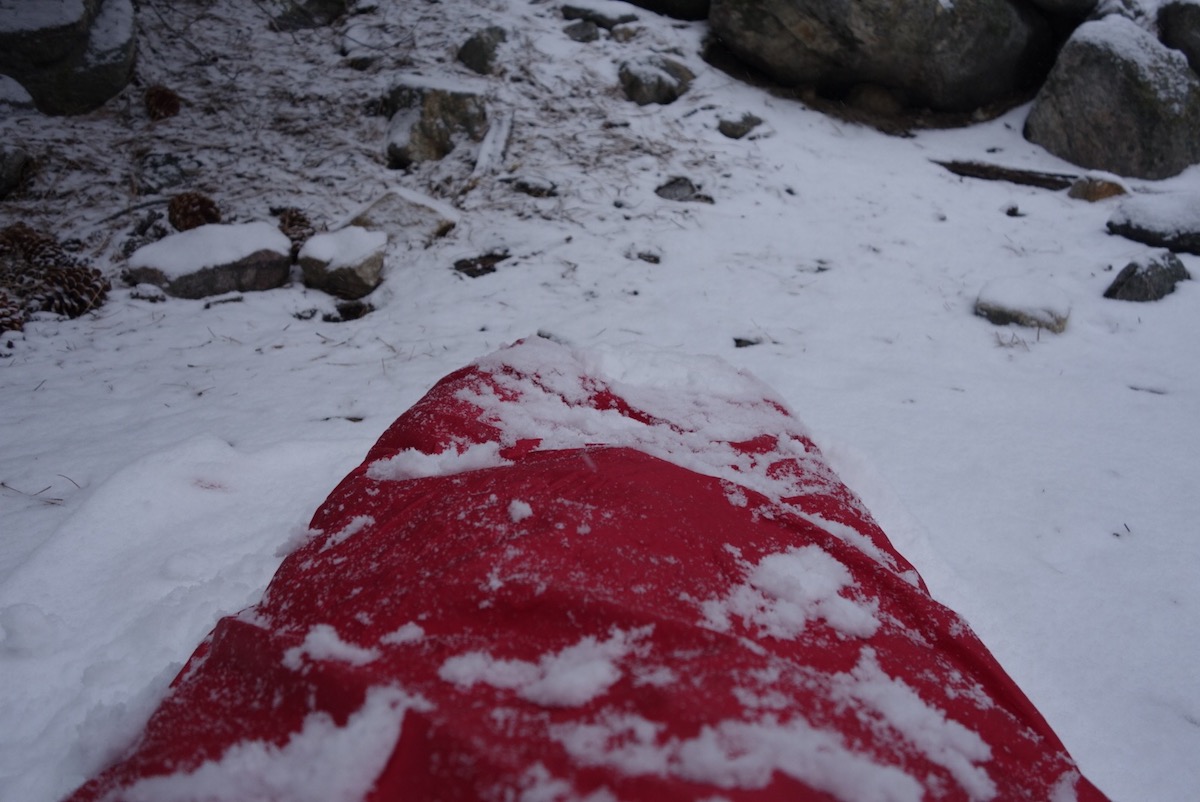
Ditch the mummy bag. Yes, I adore the coziness of mine too. But if you’re serious about saving weight, get rid of the additional fabric and compressed down that you sleep on. Down quilts are magical creations. Feel free to knock it – but be sure to try it after you talk about the craziness of the idea. I have a feeling you’ll be convinced.
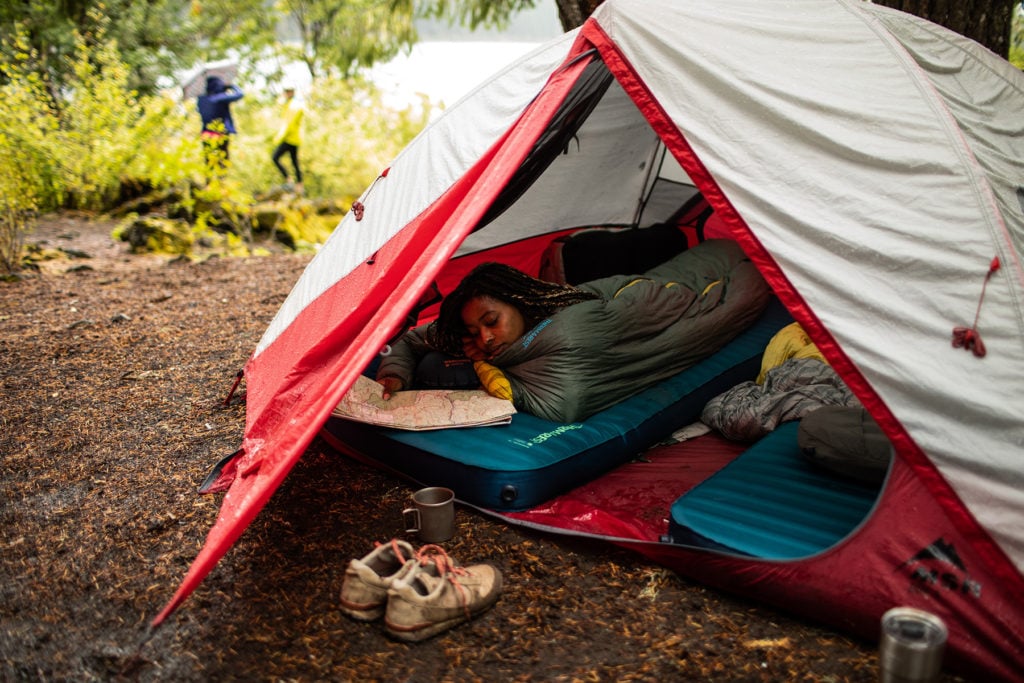
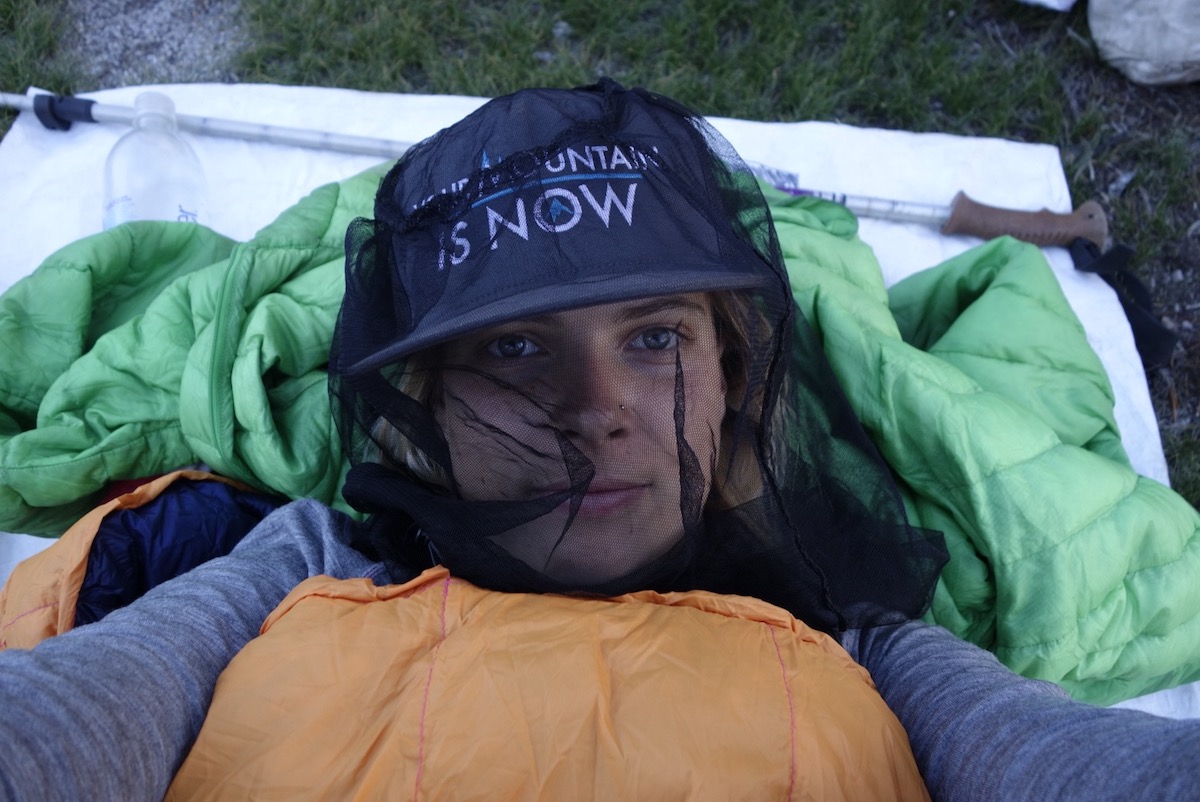
Make a Tyvek footprint. I spent over half of my thru-hike in an open-faced bivvy. Would I suggest this kind of insanity? Not really – I was driven mad by mosquitoes in the High Sierra and got drenched in an exceptionally bad rainstorm one night – but I do recommend the Tyvek footprint I used instead of a store-bought one. It’s super cheap, super light, and can easily be used as a footprint, seating area, or shelter (I used mine, slung over my trekking poles, as a kind of “face tent” in bad weather).
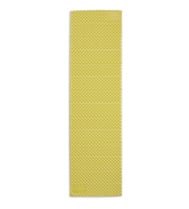
Use a trash compactor bag. You don’t need a pack cover or a pack liner. Grab a heavy-duty trash compactor bag and revel in your “hiker trash” status.
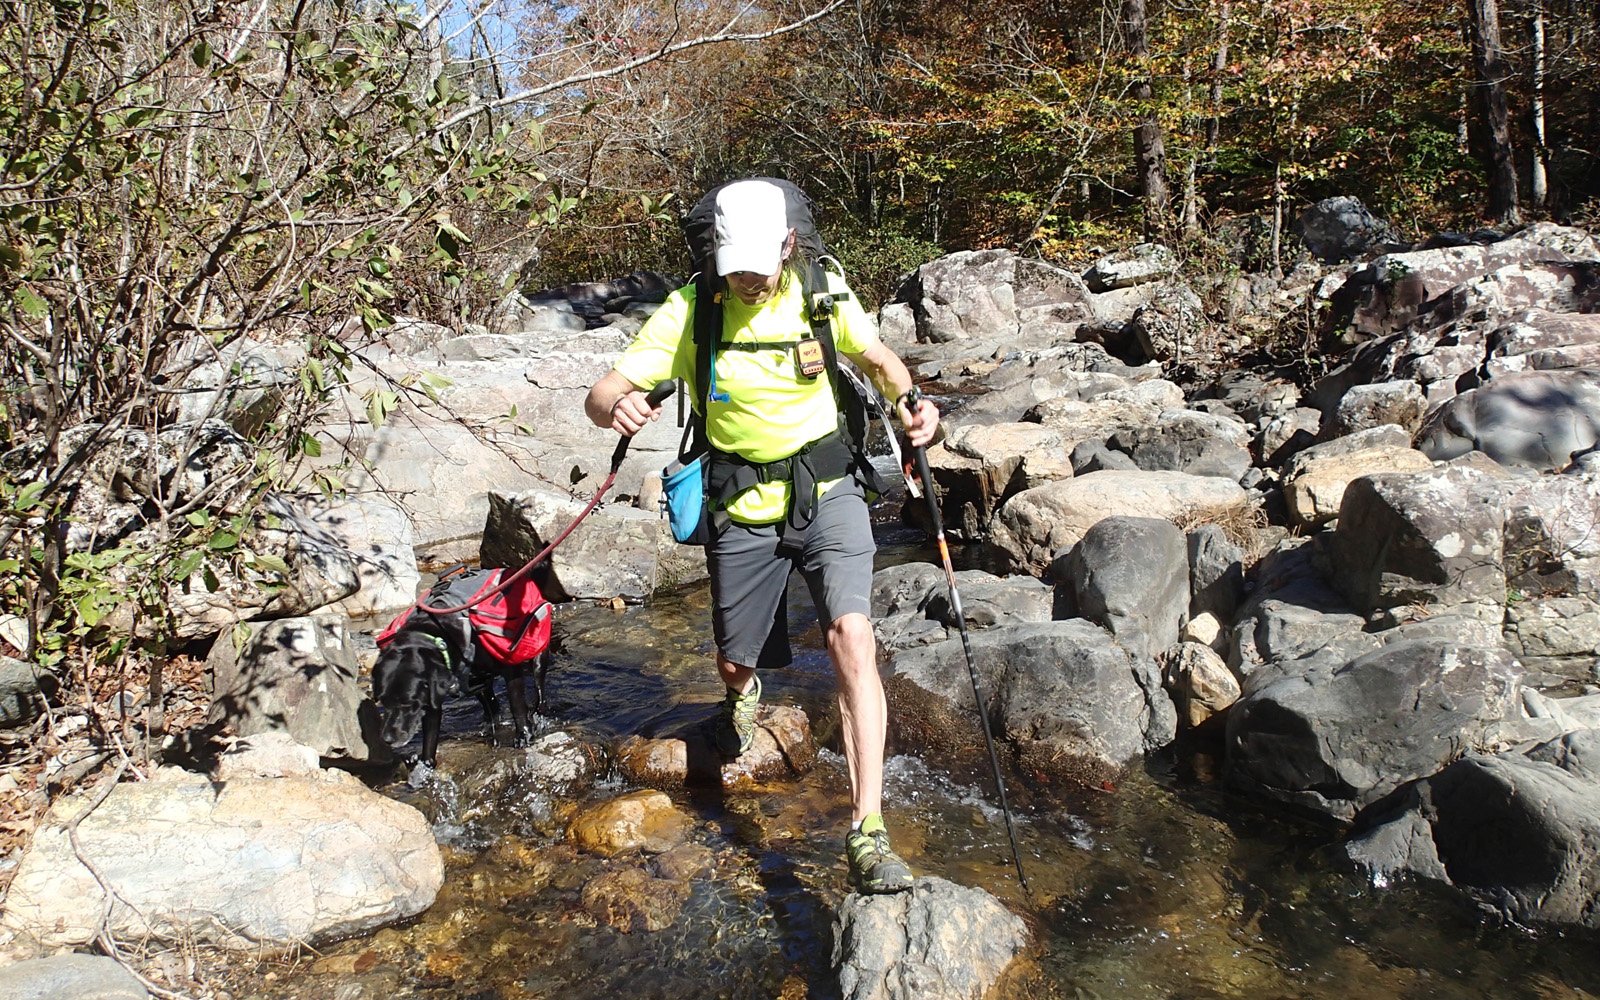
Camel up. Water is heavy. Every liter you carry is 2.2 pounds. That adds up! Save yourself some weight by drinking as much as you can at your water source. Then subtract that weight from what you’re carrying to the next source. Also, if you notice that you’re always ending each section with extra water, downsize.
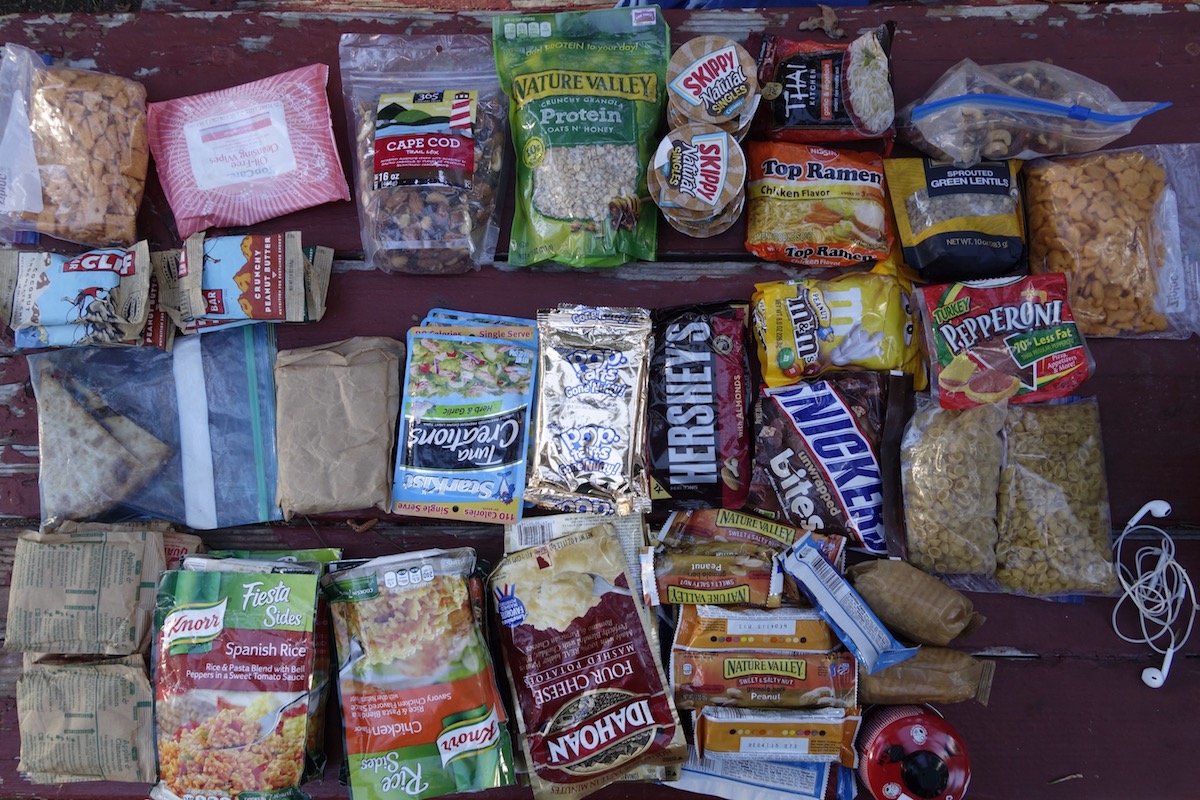
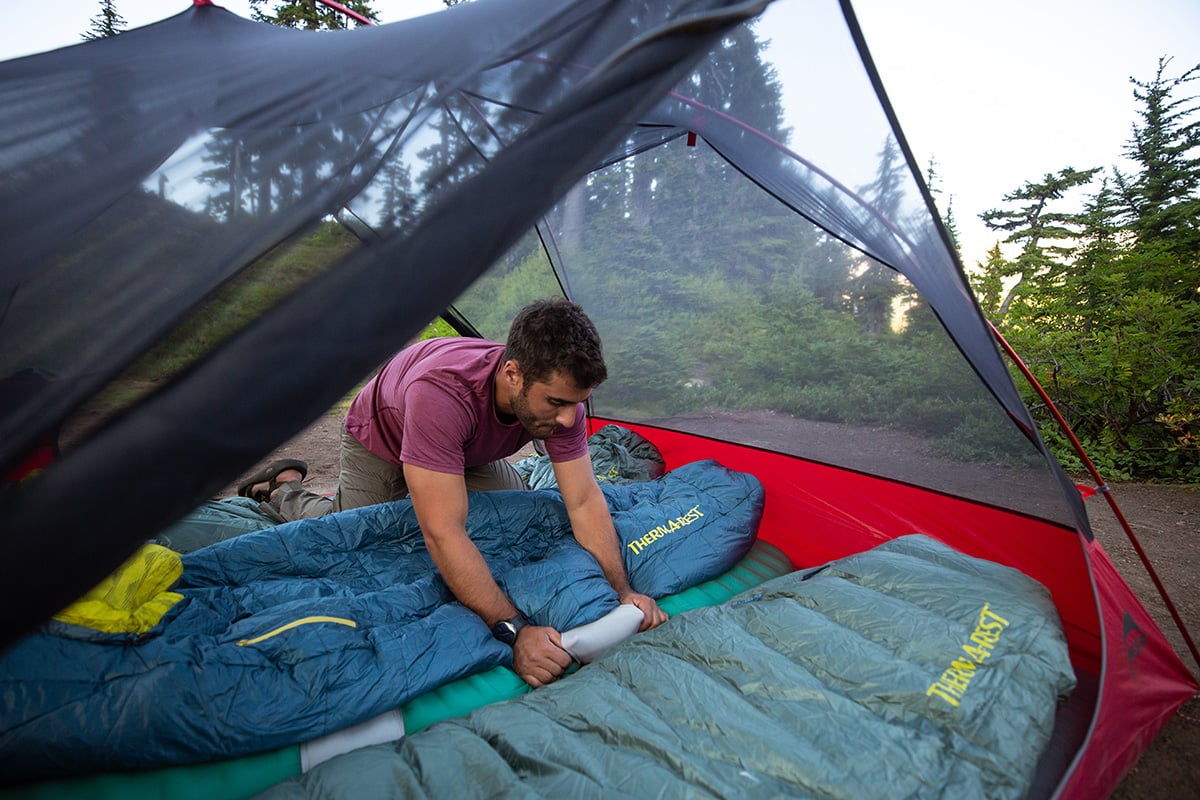
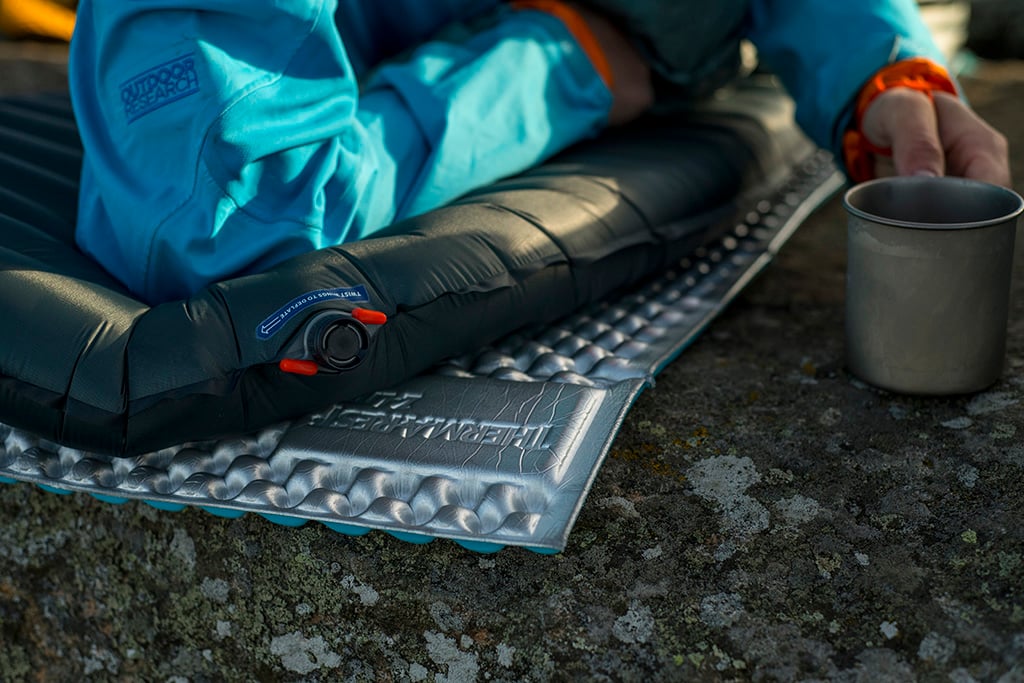
Repackage everything. Dehydrated meals, snacks, tent, tent poles, sleeping bag: Odds are, the packaging that you buy your food and gear in isn’t the lightest on the market. Every town day I spent a great deal of time taking all of my food out of heavy plastic packaging and putting it into Ziploc bags (and wishing I bought stock before trail!). There is also no reason you need to store your tent in the bag it comes in, let it be loose. Tent poles? Leave them out and about – or tie them with a bit of Velcro. And your sleeping bag – stuff it into the smallest, lightest waterproof stuff sack you can find.
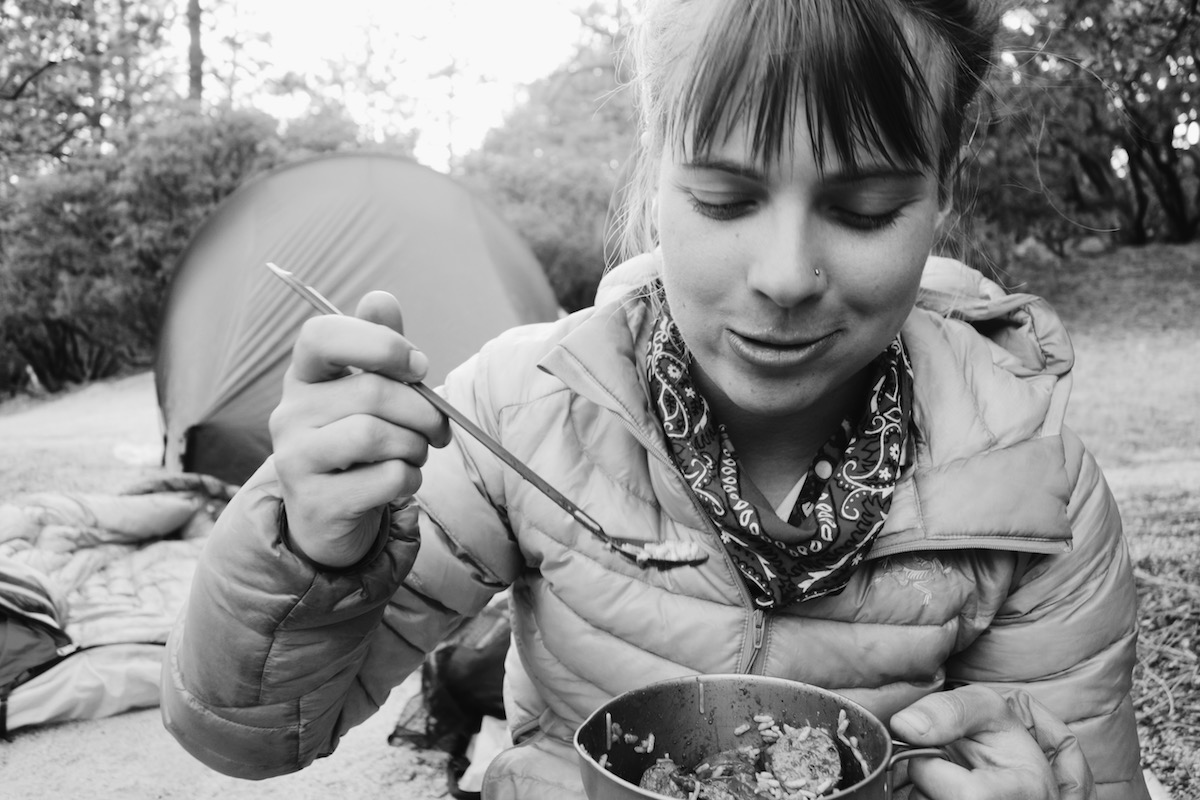
Go stoveless. This is truly not as gross as it sounds. I came to adore my stoveless eating options. I simply tossed some water in my individually-packaged, Ziploc-bagged meals, put it inside another Ziploc bag to reduce the risk of spillage, and strapped it to the outside of my pack. On sunny days, you get sun-warmed breakfasts, lunches, and dinners. I didn’t even miss hot coffee – I tossed my Trader Joe’s instant coffee into my water bottle, shook, and enjoyed it “iced.”

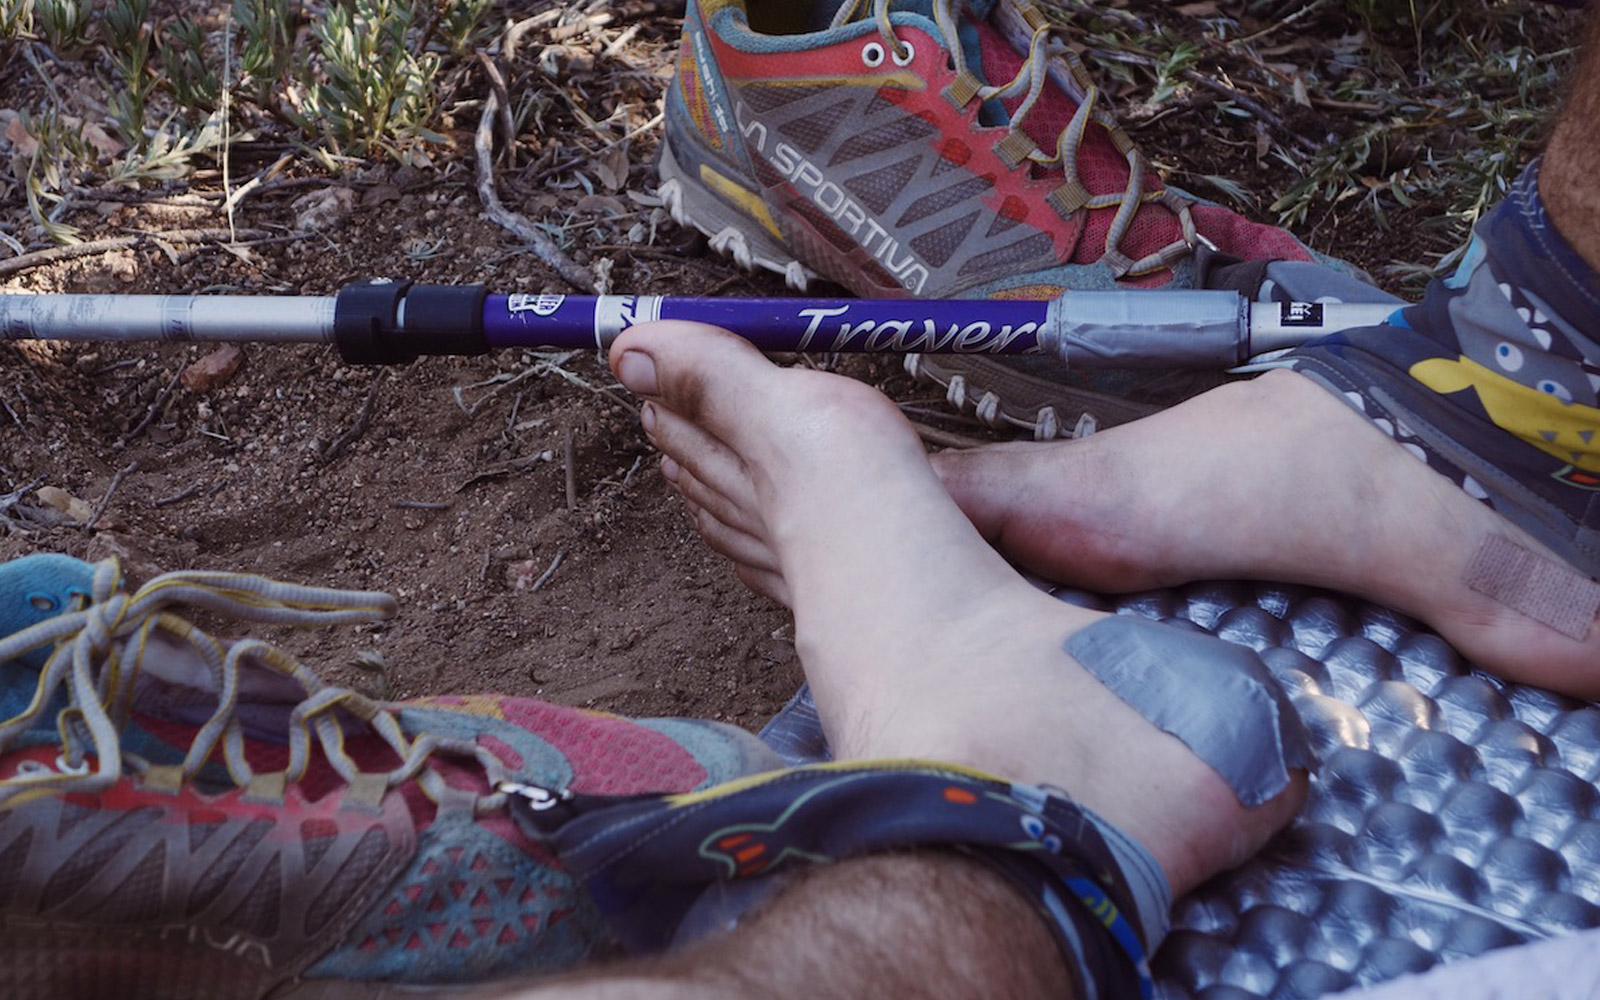
Downsize your “in case of”s. 15 band aids? How about three. A whole roll of duct tape? Nope – just wrap a little around your trekking pole. One needle and a little floss works just as well as a whole sewing kit. My first aid and repair kits got smaller and smaller the farther I hiked. Truly consider each item you’re putting into these kits – and run them by a trusted backpacking friend or wilderness first aid teacher. You’re probably packing too much.
Take notes. Backpacking is a highly personalized sport. We throw around the phrase “HYOH” (Hike Your Own Hike) for a reason. You’re going to be your best resource in saving weight in your pack. So be a student of your own habits. After each trip, unpack your bag and take notes on what you didn’t If you haven’t used something in three trips (unless it is important first aid or repair items), leave it out on your next one.
I thru-hiked the Pacific Crest Trail in 2015 and learned a few things. I saved a ton of weight and space by ditching my mummy bag for a down quilt, my mug and pot scraper for a single titanium pot that I never cleaned, my two-person tent for a bivvy, my underwear and town clothes for nothing, and cutting off my backpack’s top lid – because if I don’t have the ability to carry extra things, I won’t.
I wish that I had gotten rid of my gaiters and silk liner earlier, as they didn’t serve me well. And the seven ounces of GPS device with texting capabilities that I carried the entire way and never used – it still haunts me!
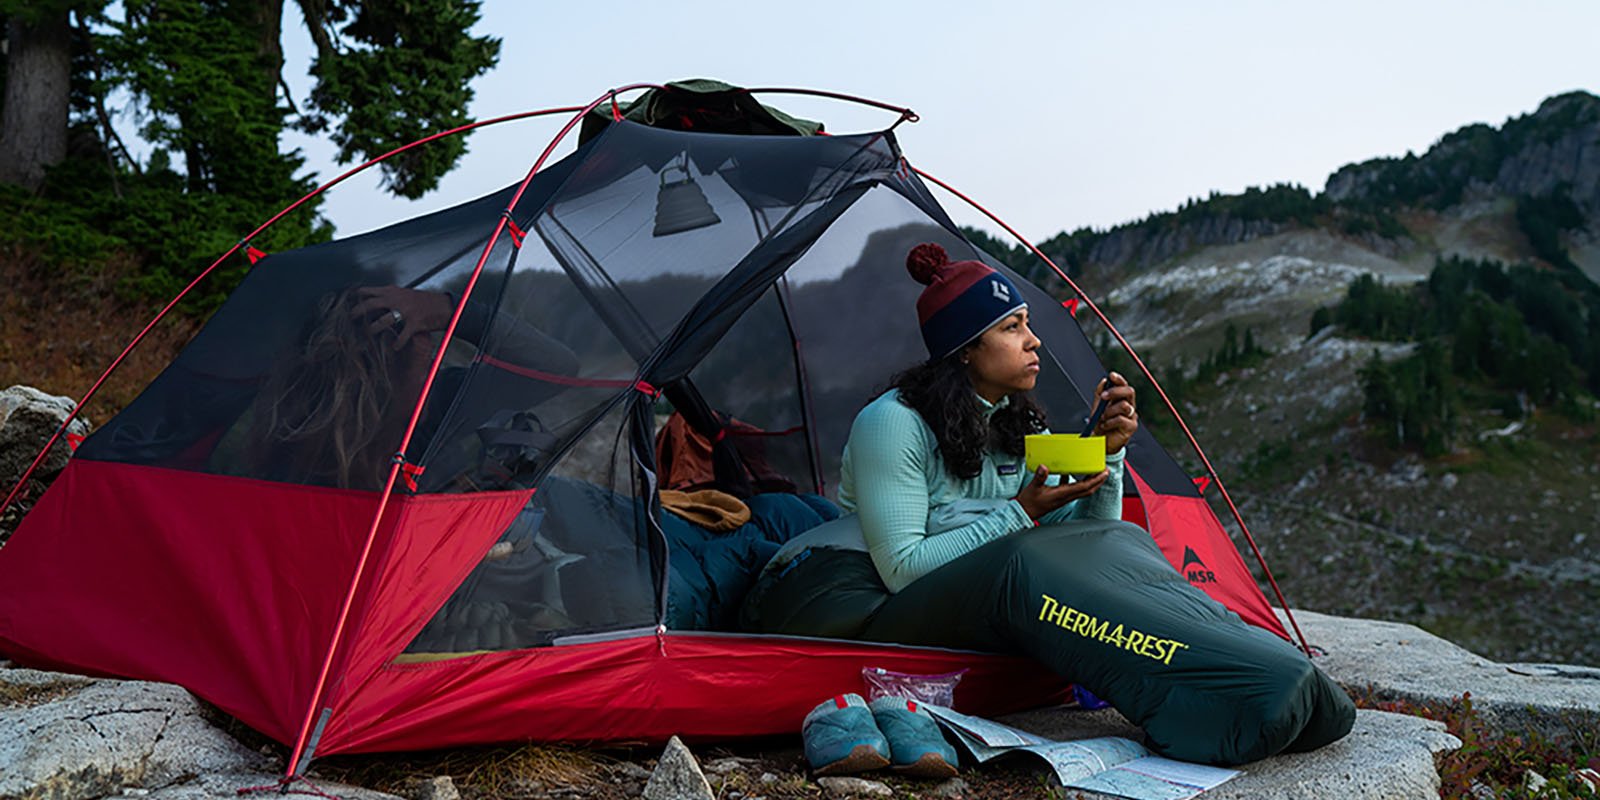
For me, a lighter pack means a faster pace, a happier, less painful journey and more space for the most important thing: food! Before trail, I was aiming for a 12 pound base weight (pack weight without food and water). I never got quite that low, but my base weight was always under 17 pounds. I found out that my body gets grumpy carrying anything more than 30 pounds and skips happily when I’m heading into town with no food and minimal water, my pack down to 15 pounds.
We all bring baggage with us into every journey – but minimizing the weight of that baggage makes the trek so much more enjoyable.
Remember, there’s no right way to hike. So ditch the excess and let yourself enjoy every single mile.