To prepare you for your next bike camping trip, we’ve teamed up with the folks at Swift Industries and MSR to provide the tips and gear you need to explore by bike and dial in your bike camping sleep system.
There’s something about riding a bike that takes you back to simpler times. As a kid, a bicycle was the ultimate symbol of freedom. The entire world, or neighborhood, was within your reach. It provided transportation to your friend’s place, a high-speed vehicle for homemade ramps or just an escape from the indoors. It was a means to explore.
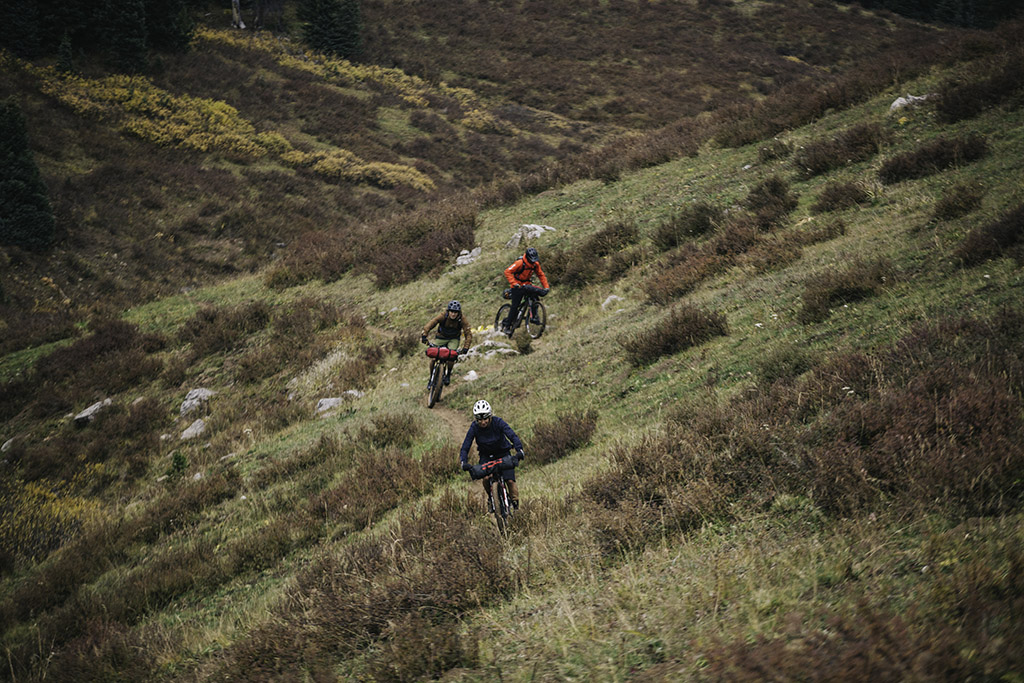
As you grow older, those same feelings and emotions remain everytime you mount a bike. I dare you not to smile while ripping down singletrack or carving down a riveting, albeit hairy, descent. Even just a ride to grab a quiet coffee or a few pints with friends can leave you grinning from ear to ear.
Years later, a bicycle is still a symbol of exploration.
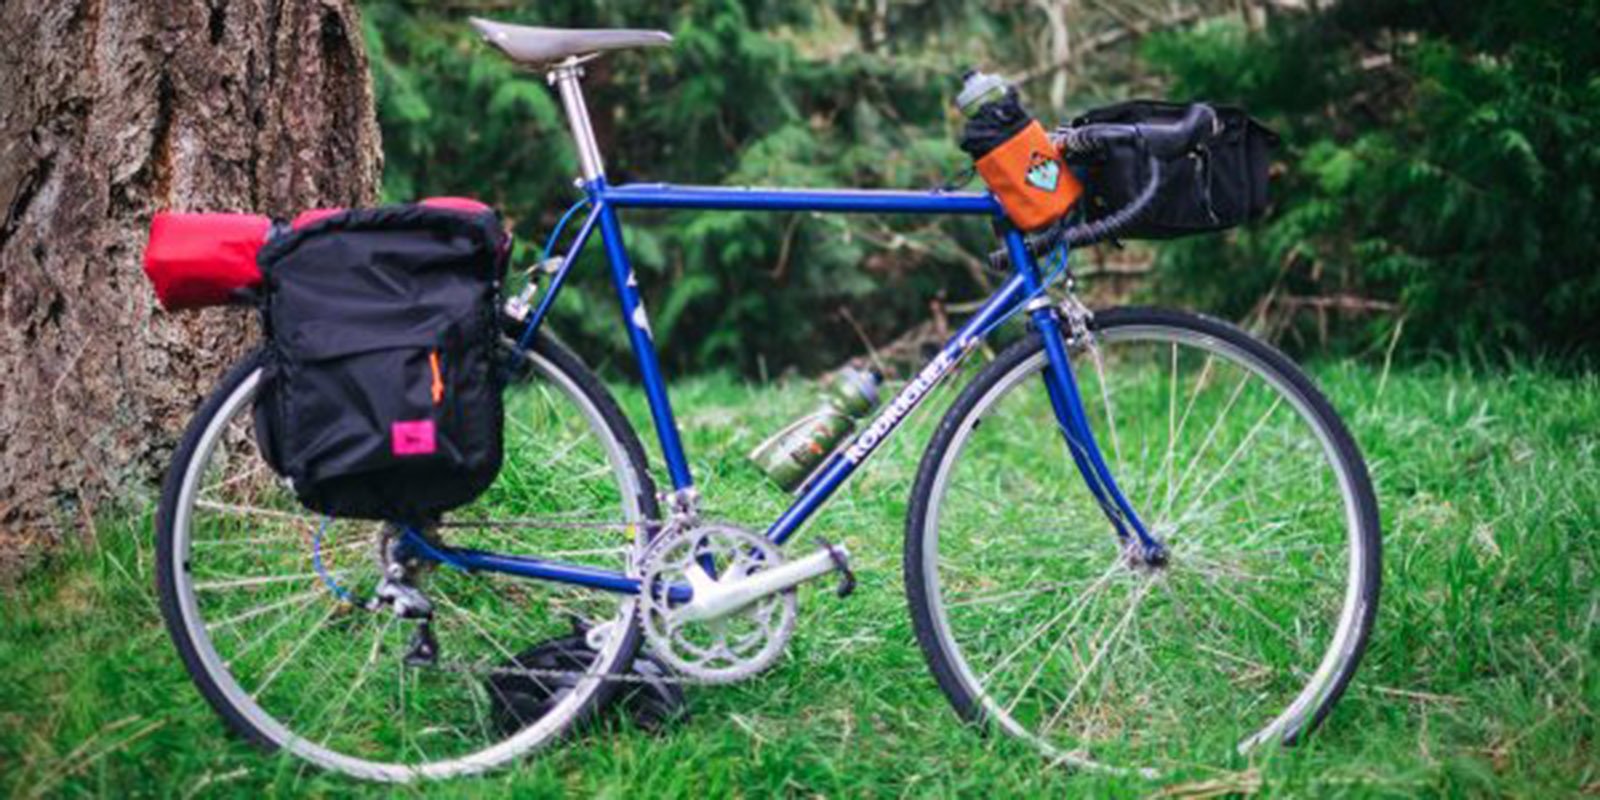
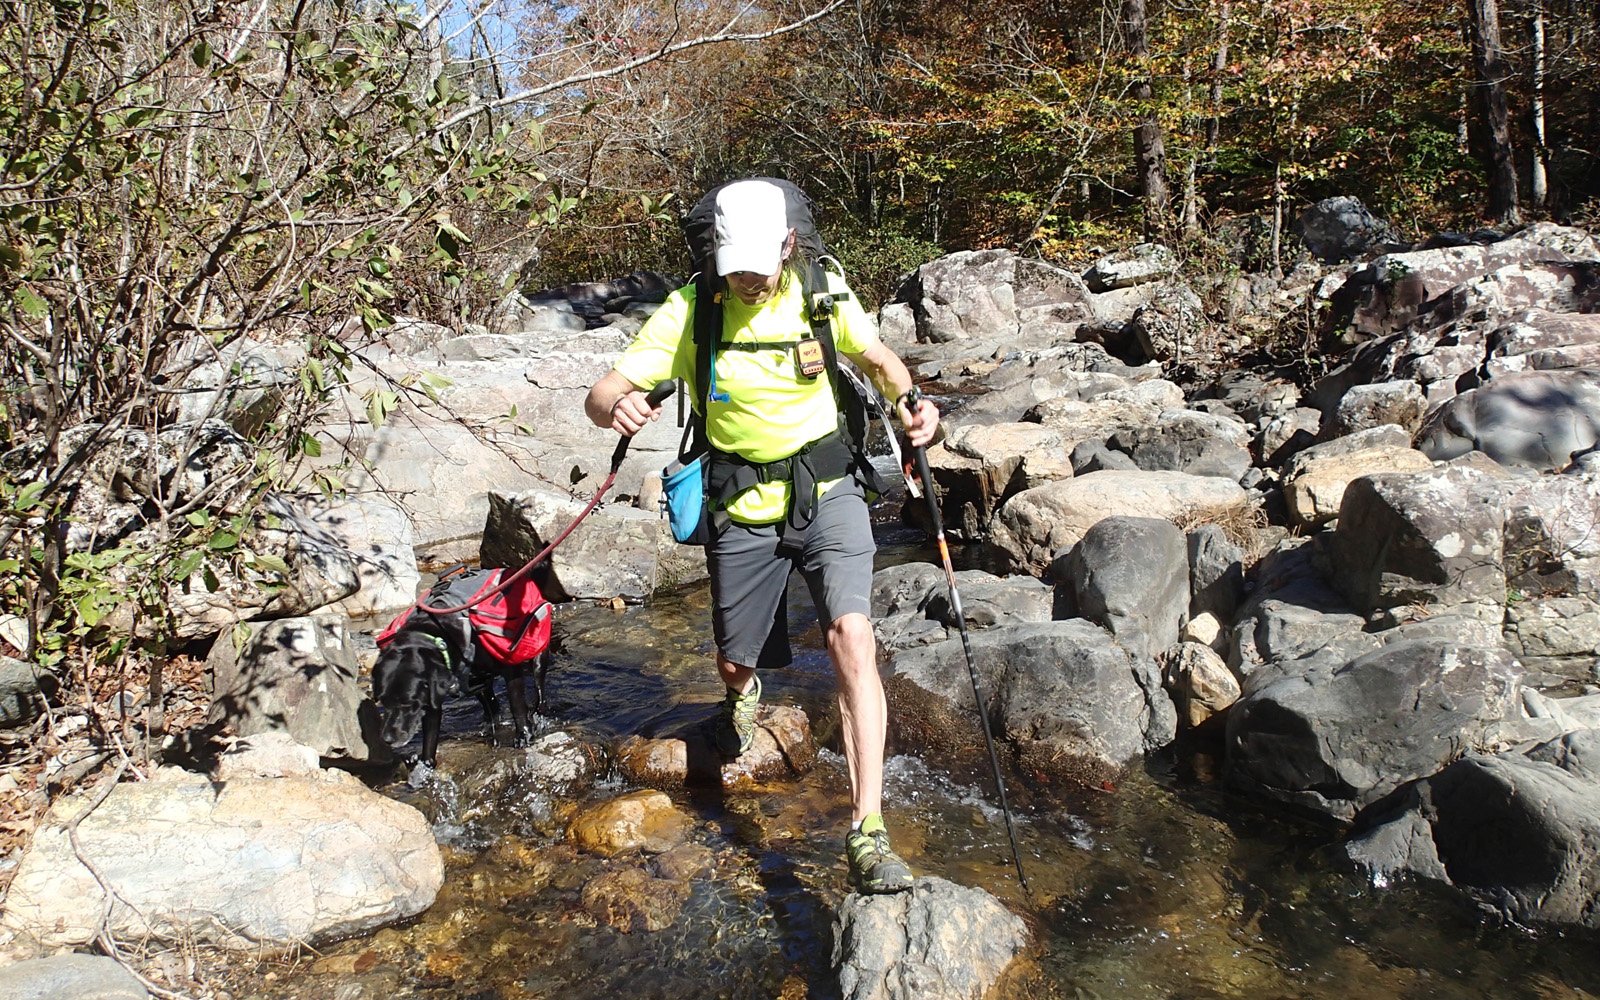
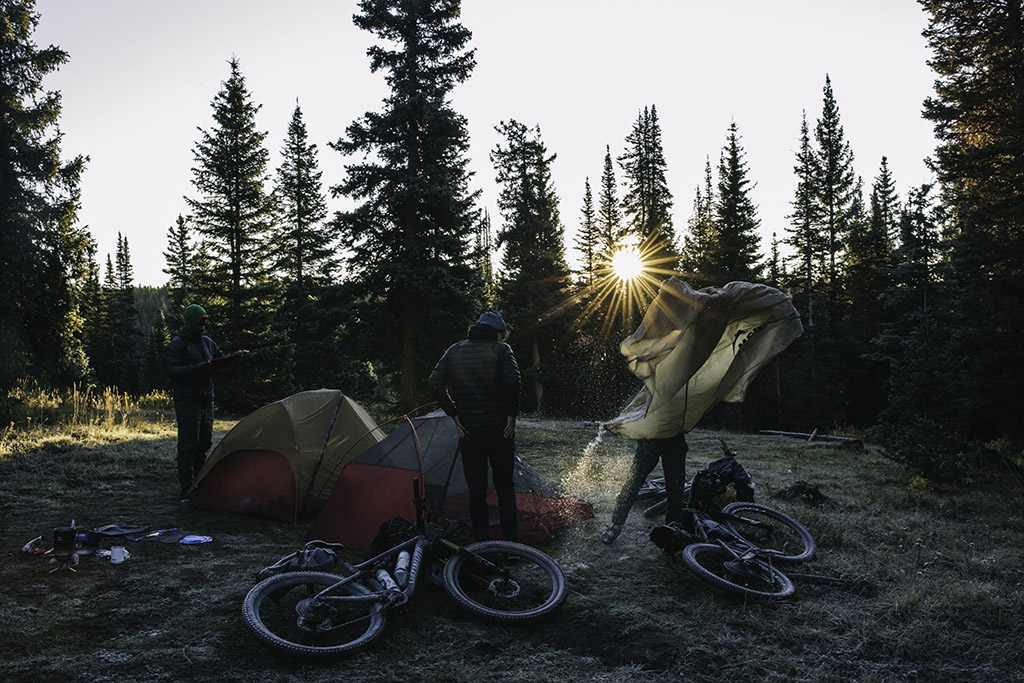
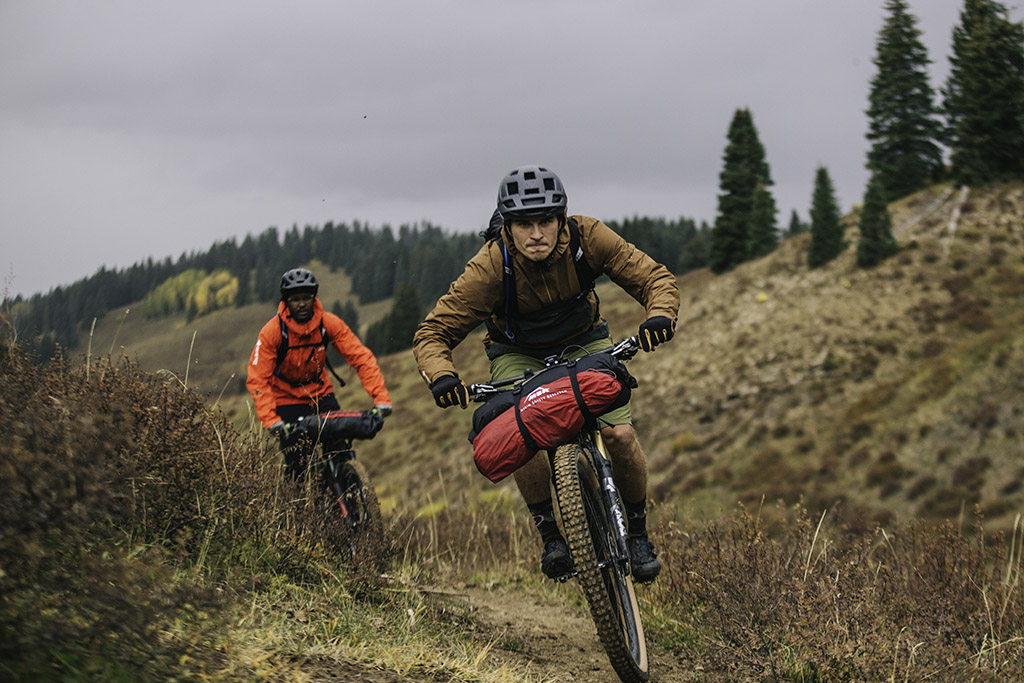
But that exploration is limited to day objectives until you load up your pack and panniers with camping equipment. Bike-camping allows you to cover distances in a day that could take close to a week on foot, while reaching speeds and traversing landscapes guaranteed to bring a smile to your face. Ready to sign up?
Before you do, it’s important to consider your gear. Not just your bike and apparel, but your camping gear and, perhaps most importantly, your sleep system.
How to Build a Bike Camping Sleep System
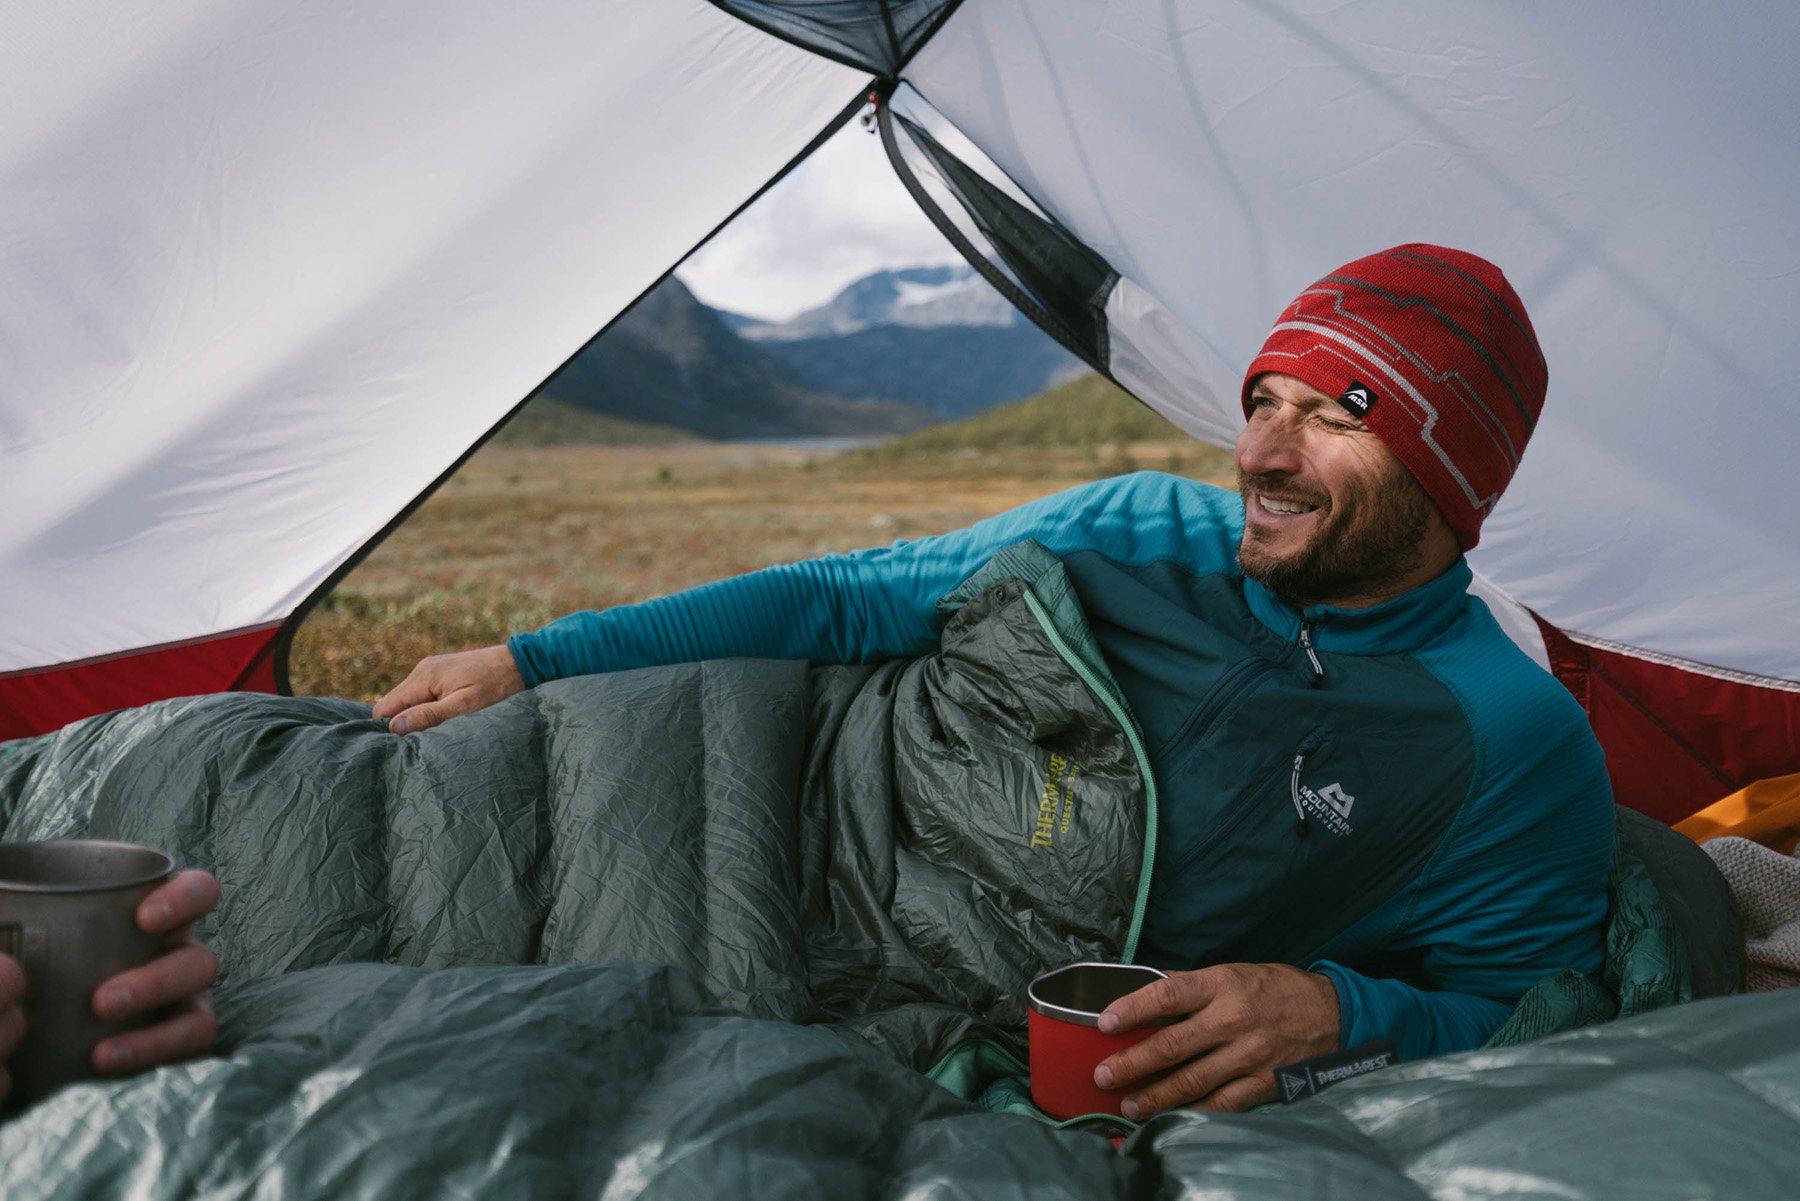
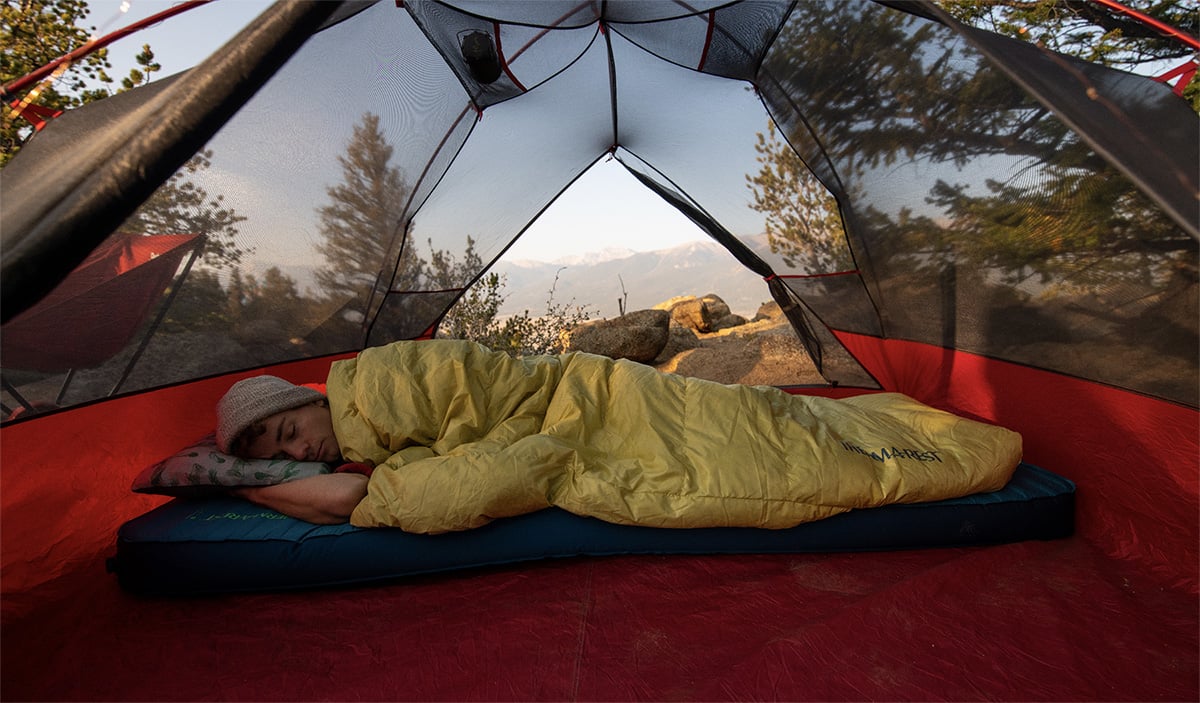
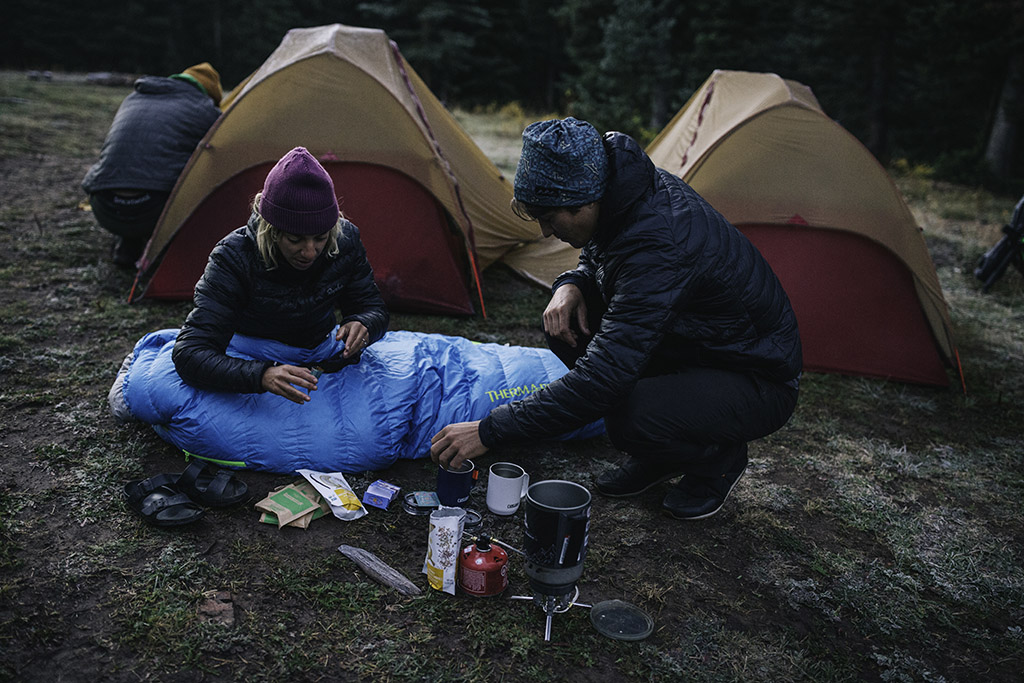
Cycling is a high-output activity. Even if you take a casual pace, you’re still burning loads of calories. Turning over the pedals of a bike loaded with camping gear takes its toll after hours in the saddle. When you arrive at camp, the recovery begins as you prepare for another possible day in the saddle. Obviously getting the right amount of sleep is a priority, but sometimes a good night’s rest is a question of quality, not of quantity.
Quality sleep means waking up feeling energized and ready to tackle the days objective. During the night, the goal of your sleep system is to allow to your body to rest and minimize energy output. If your sleep system is too cold, your body will kick into high-gear to keep itself warm by shivering and generating heat, burning calories that you’ll need for tomorrow’s ride. Having a sleep system that causes you to overheat can be equally detrimental, causing you to sweat and once again forcing your body to work when it should be resting.
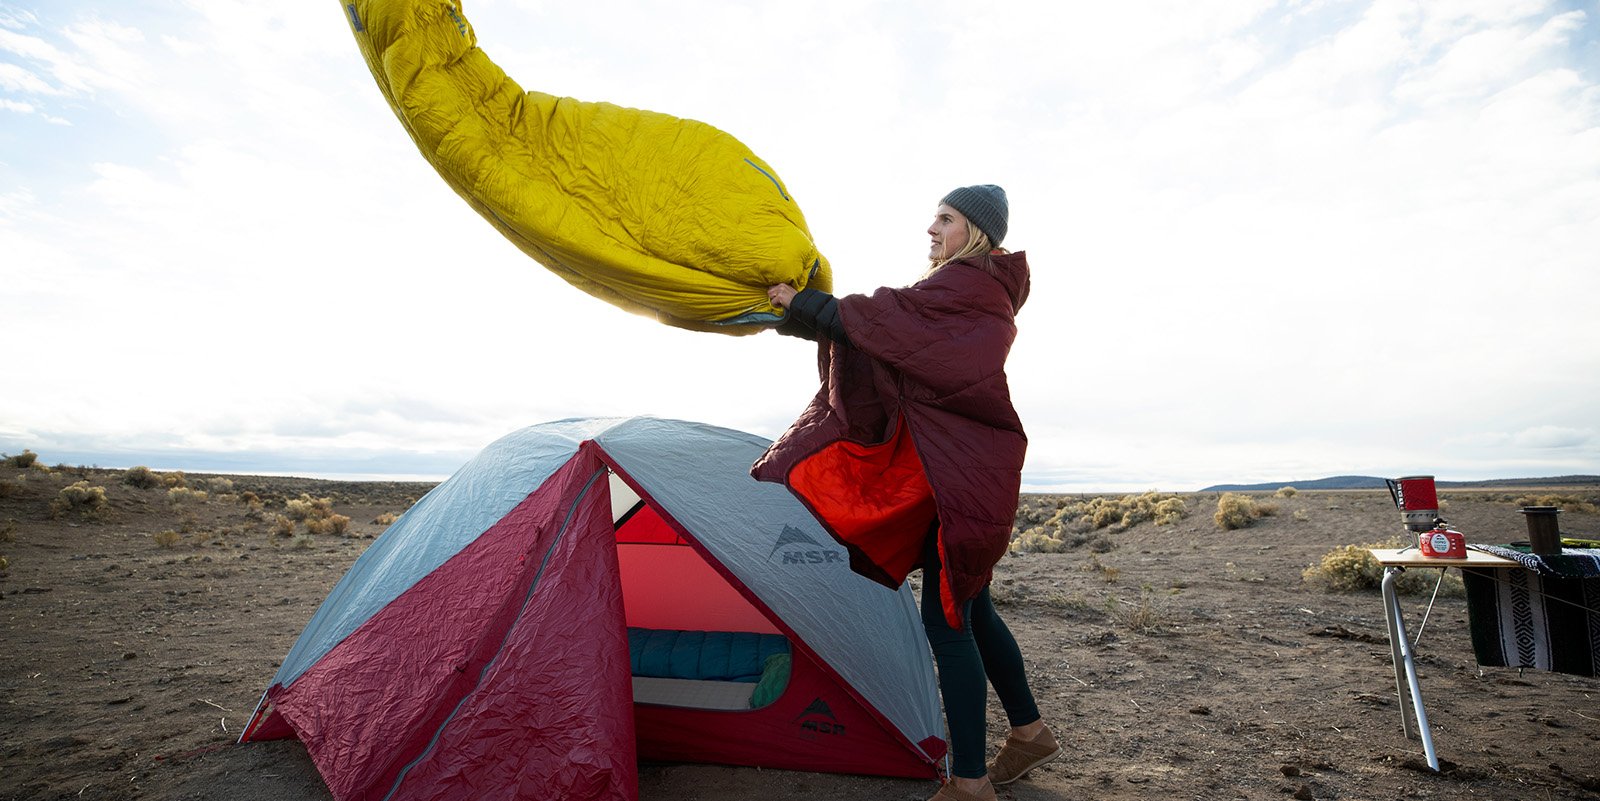
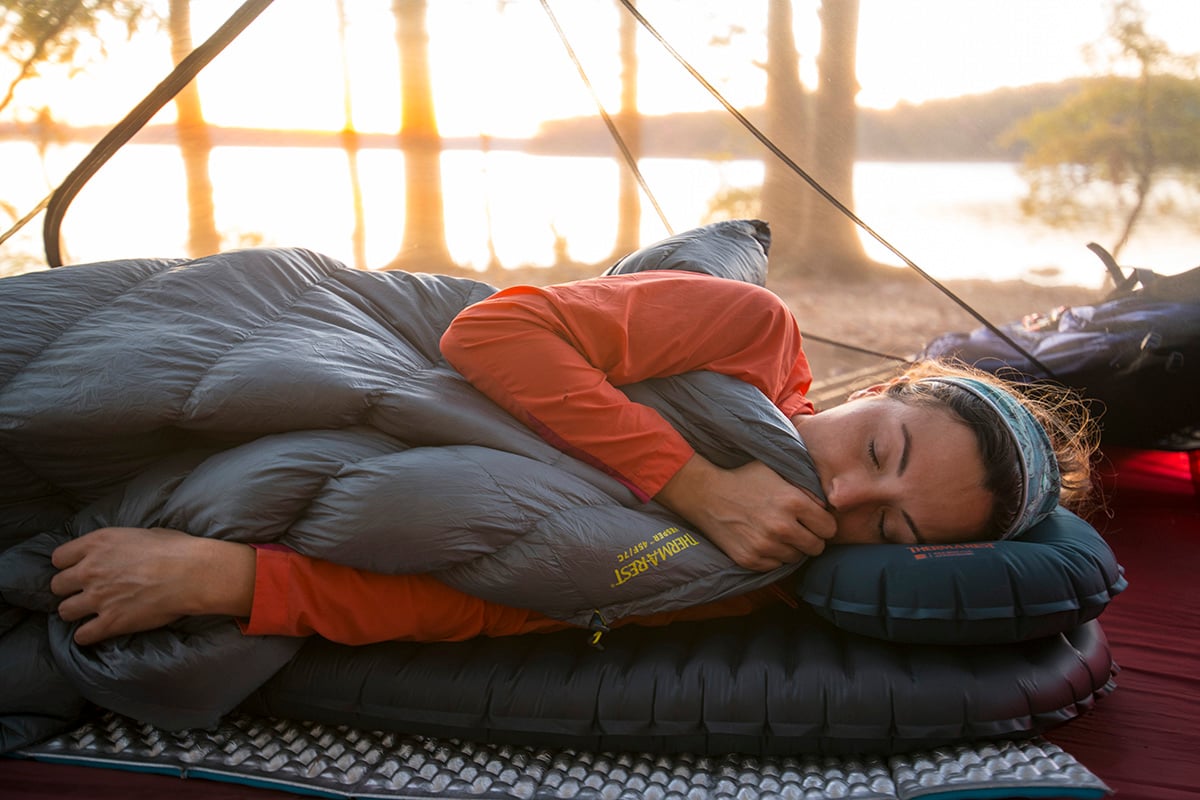
1. Choose a Sleeping Bag
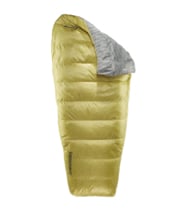
Products like the Corus quilt or Space Cowboy sleeping bag use thermally-efficient fill to keep this from happening. The Nikwax Hydrophobic Down™ or eraLoft™ synthetic fill regulates heat and ensures you wake up adventure-ready. Therm-a-Rest is so confident in the performance of their bags and quilts that they offer a Sleep Better Guarantee (only available in the US and Canada), ensuring your equipment provides you with a better night at camp.
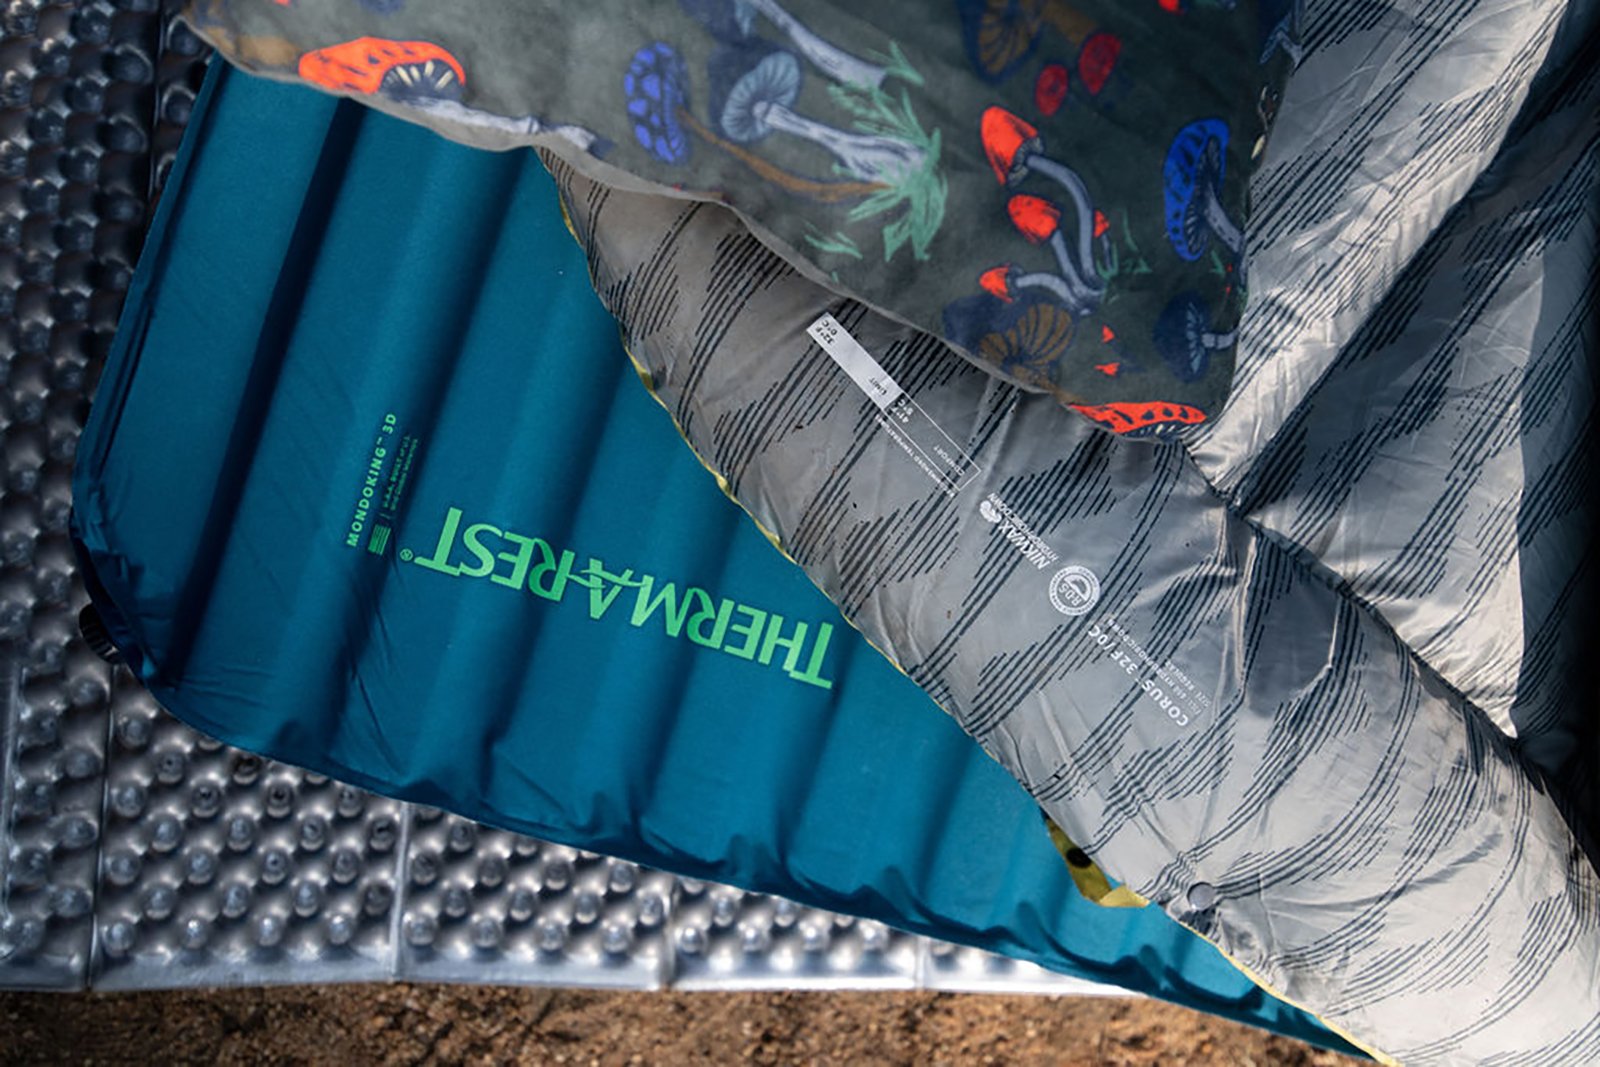
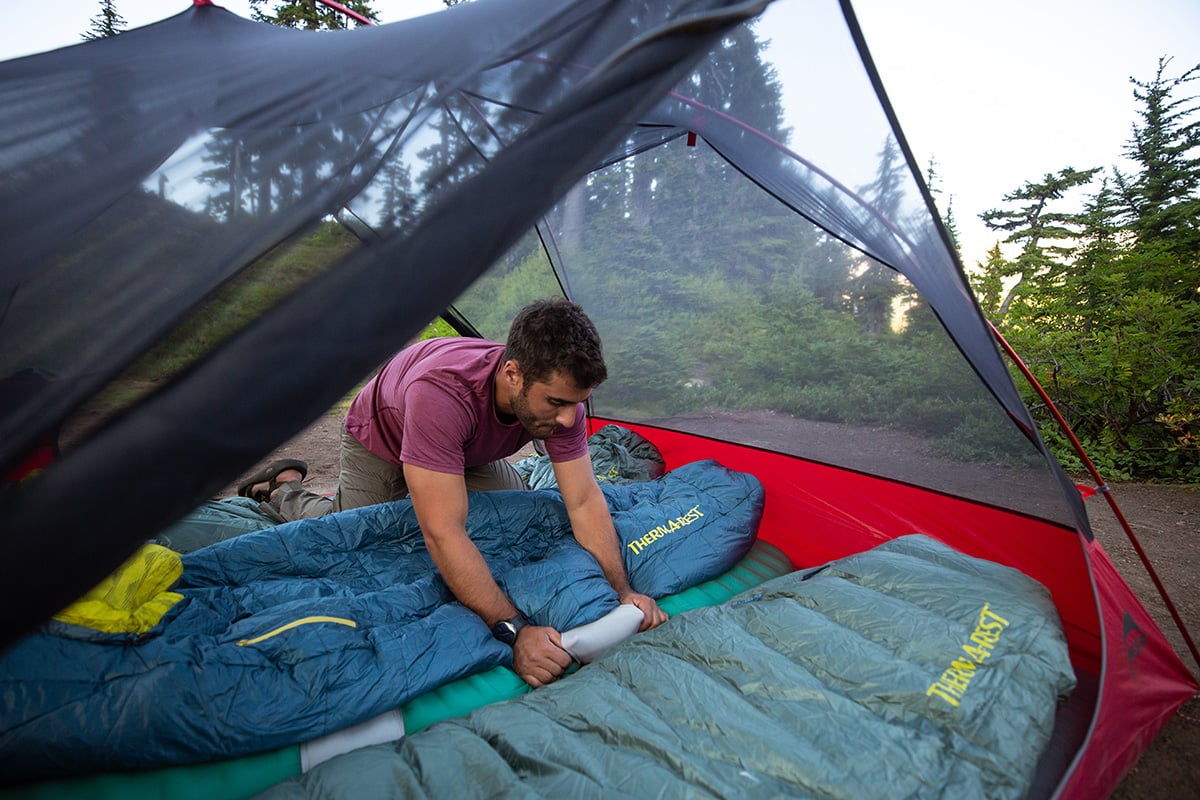
2. Choose a Sleeping Pad
The literal foundation of your sleep system is your sleeping pad. They have one singular purpose: to protect you from the cold, hard ground. This sounds pretty simple, but there’s a lot that goes into crafting a pad that gives you the protection you need with the packability and comfort you desire.
The first thing to consider is the type of pad you will be using. There are three different types of pads that all bike packers will want to consider before the rubber meets the road/gravel/dirt.
1. Closed Cell Foam: Virtually indestructible and extremely affordable, you can kneel on these guys while changing a flat or take a seat while eating dinner. Unfortunately, they don’t pack down and only offer a little bit of cushion. Since they are so lightweight, pads like the Z Lite are easily lashed outside of a bike bag or pack.
2. Self-Inflating: Compressible and reliable, self-inflating pads are a favorite amongst bikepackers for their ruggedness, packability and warmth. Some bikepackers even double extra-small ProLites on top of a closed-cell sleeping pad.
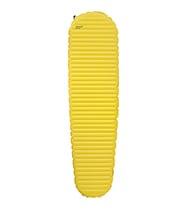
3. Air: Air pads are not only the most compressible, but also some of the thickest and warmest pads available. Therm-a-Rest’s XLite weighs in at a mere 12-oz., while the XTherm provides an unrivaled 5.7 R. Value. They are a bit more expensive and can be punctured. (Pro Tip: Your tube patch kit can fix a puncture in your tube and your pad!)
After choosing the type of pad you want, you’ll want to factor in the pads R-Value and packed size before heading out on your adventure.
3. Choose a Pillow
Pillows are often consider luxury items for bike camping and other ultralight adventures, because they are thought to be too bulky and not necessarily an essential item. However, many people prefer to sleep with the support of a pillow and for those people we suggest adding a air pillow and down pillow to your bike camping sleep system.
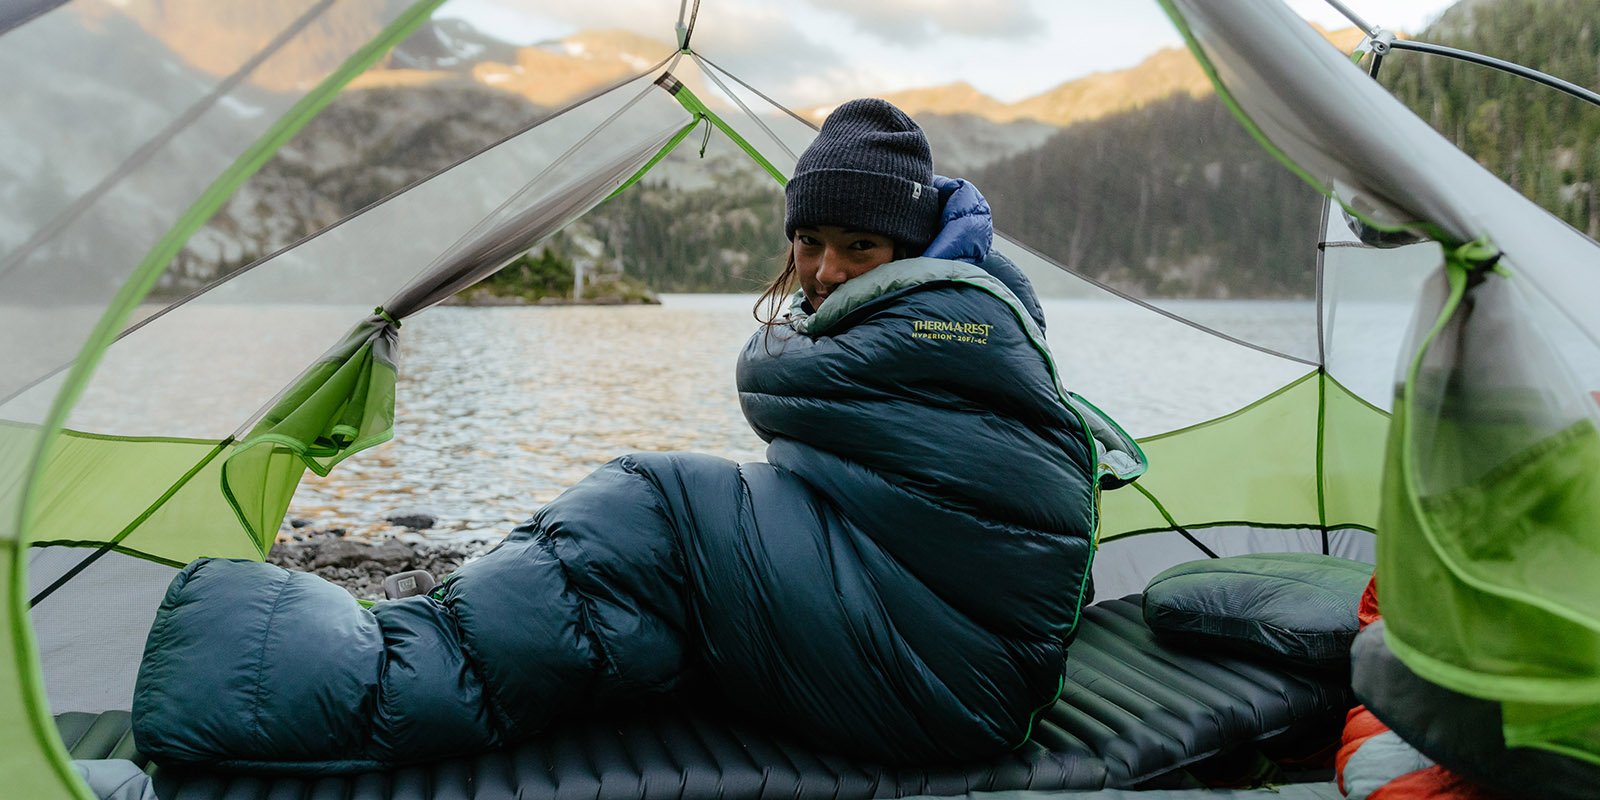
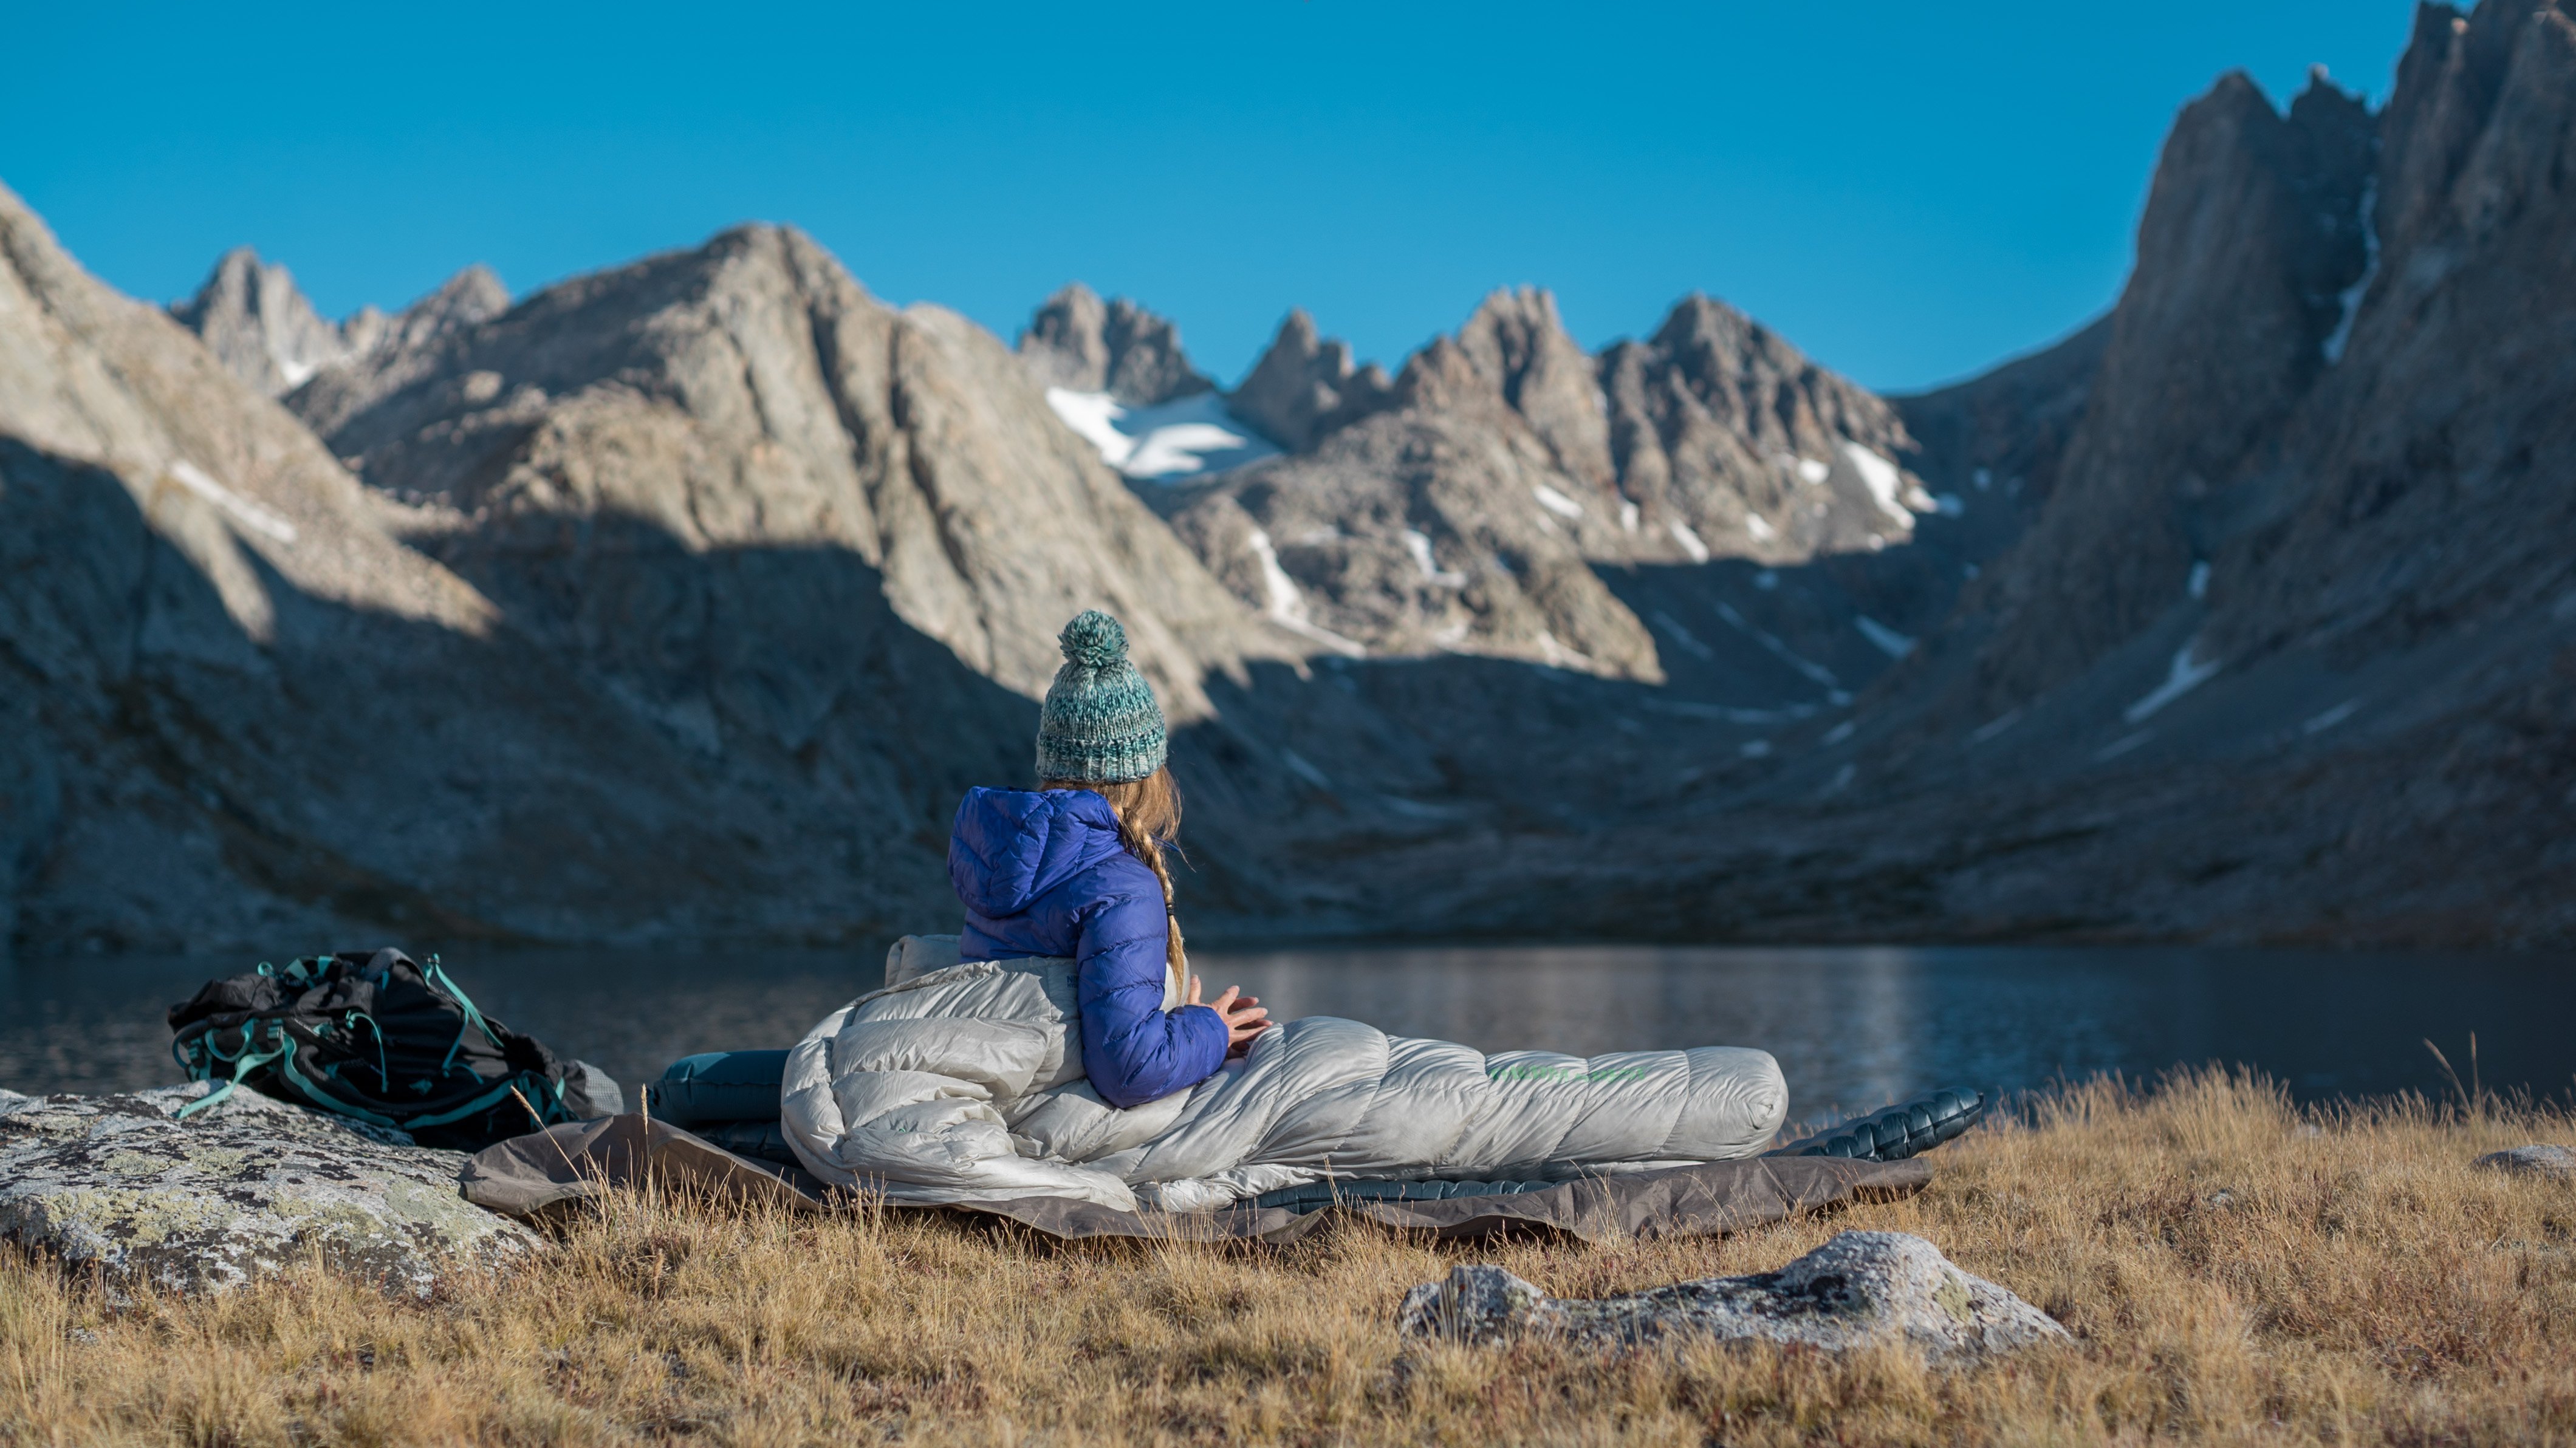
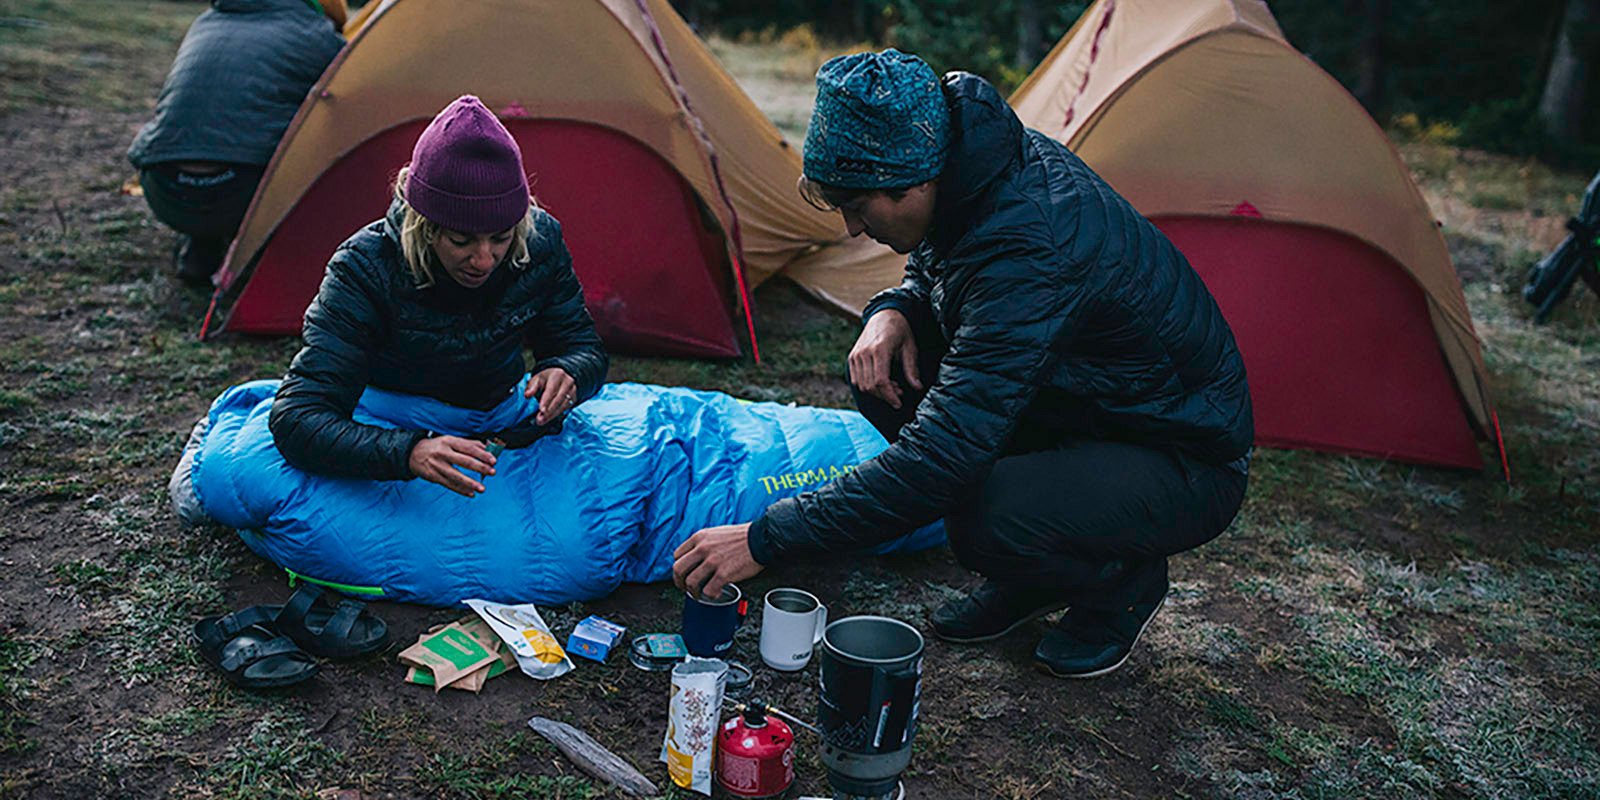
Layer On The Road and At Camp
Choosing the correct layers is so important when you’re on the road, trail or mountain. It’s equally important when you’re at camp. When it’s time to crawl onto your pad, you’ll want to make sure you’re layering helps you maximize rest.
Using wicking base layers and sheets will make sure that your body doesn’t chill from sweat during cold nights. You’ll also want to ensure you keep your extremities warm in colder weather with a hat and a dry pair of socks. If the forecast calls for serious cold, consider using a quilt or blanket with a sleeping bag.
Resting better won’t just have you sleeping soundly through the night, it will also provide you with more energy for tomorrow’s hills and descents while maximizing your fun-hogging.
Related Posts:
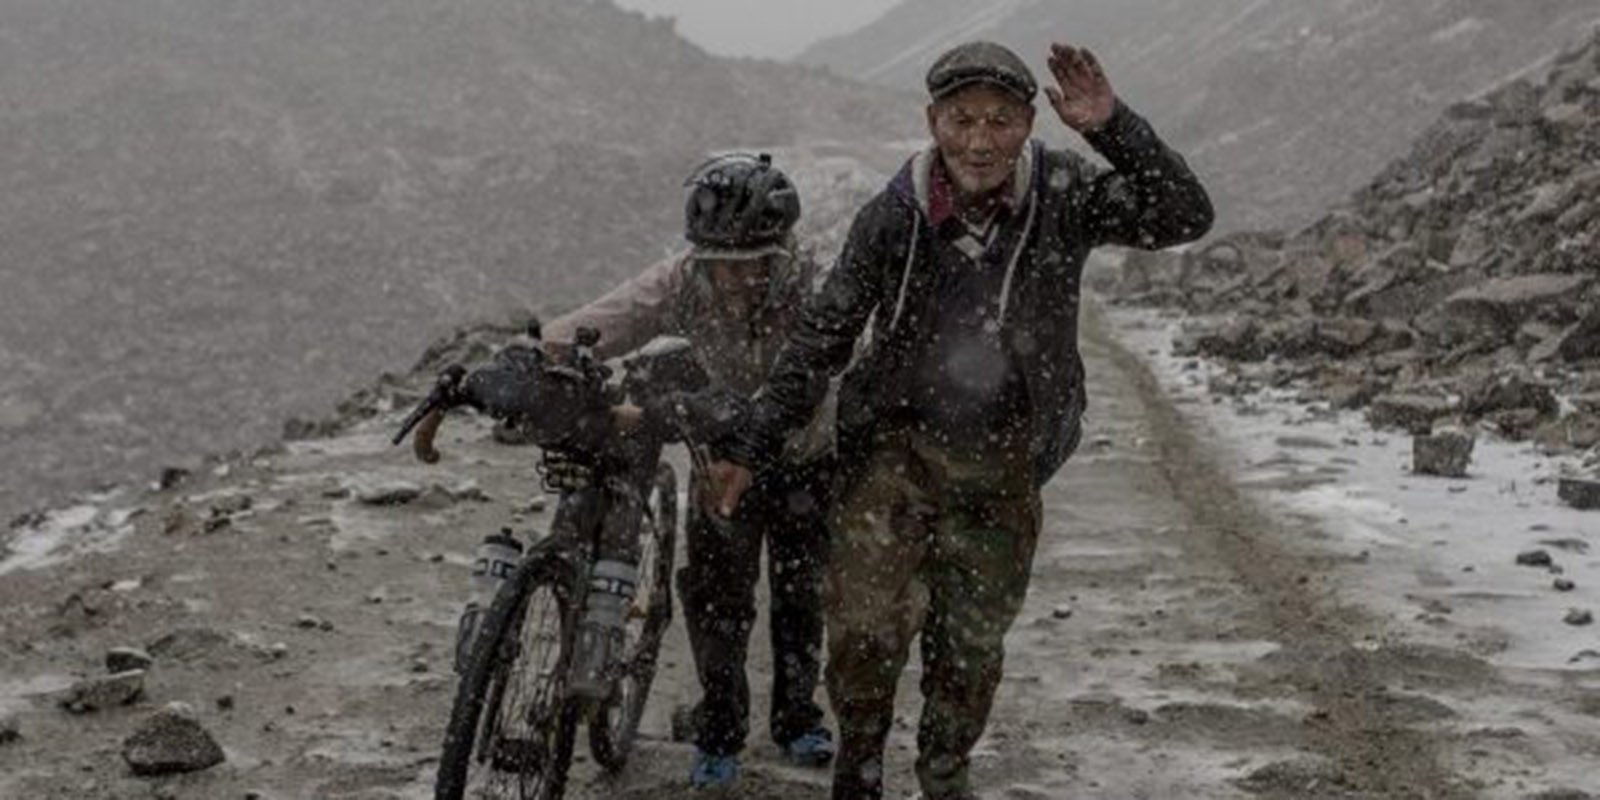
- Lessons by Bike: Bikepack Racing on the Silk Road
- What’s in my Pack: Bike Touring
- Better Bike-Camping For All
Updated. Originally Published July 9, 2020.