We build gear to last—to be reliable companions as you pursue your backcountry dreams. Still, whether it’s due to frequent use, a specific calamitous event or simply passage of time, no piece of gear escapes wear and tear. This makes backpacking gear care an important aspect of backpacking. Proper care will allow your favorite pieces of gear to perform at their best each time out, keeping your most trusted gear on the packing list for a long time.

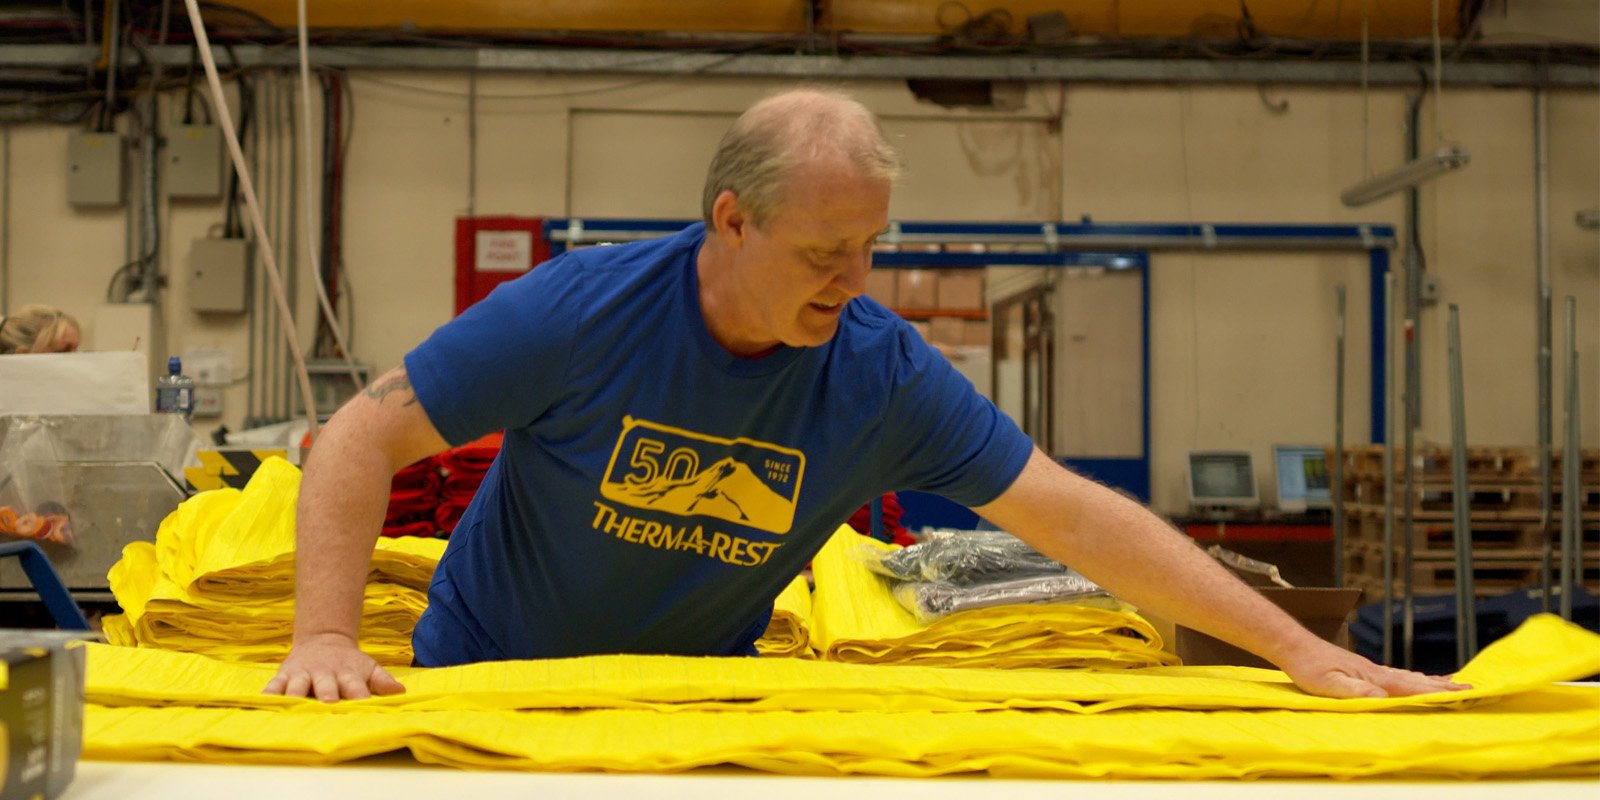
Our Repair Shop receives roughly 400 packages a month, many with multiple pieces of gear in them. It’s safe to say we have learned a thing or two about how the gear we manufacture gets used in the real world and, of course, how it breaks down. Below we discuss common issues we see to the key sleep system components—sleeping pads, bags and quilts—and how they can be mitigated with proper backpacking gear care.
Backpacking Gear Care Tips for Sleeping Pads
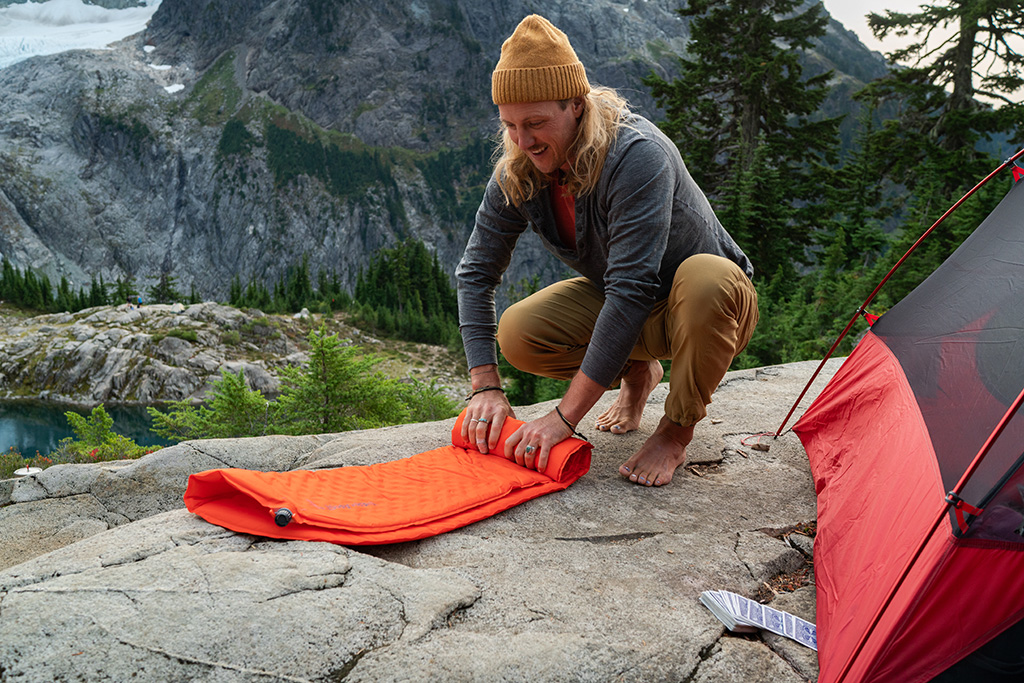
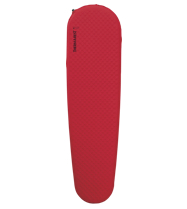
Therm-a-Rest changed the game by introducing the first self-inflating sleeping pad back in the early 70’s. All around the world, people have been sleeping on air ever since. Like any innovation, it was not without its consequences. Whereas closed-cell foam pads are essentially indestructible, trapping air within a pad means leaks can and do happen.
How to Avoid Punctures in Sleeping Pads
Punctures are easily the most common issue we encounter in the Repair Shop. We see all kinds, from the imperceptible pin-hole to the cavernous gash where a valve used to be before your dog got to it.
2 tips on minimizing the chances of punctures:
1. Protect Your Sleeping Pad from Pets
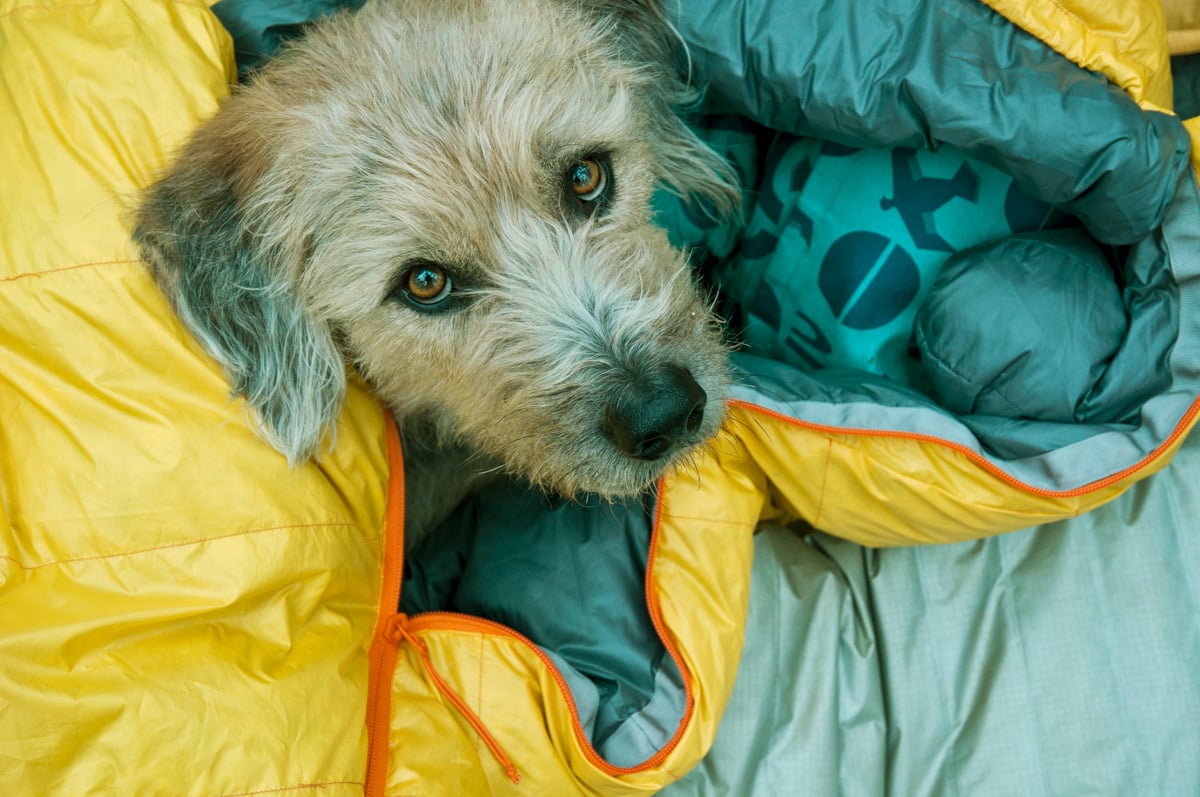
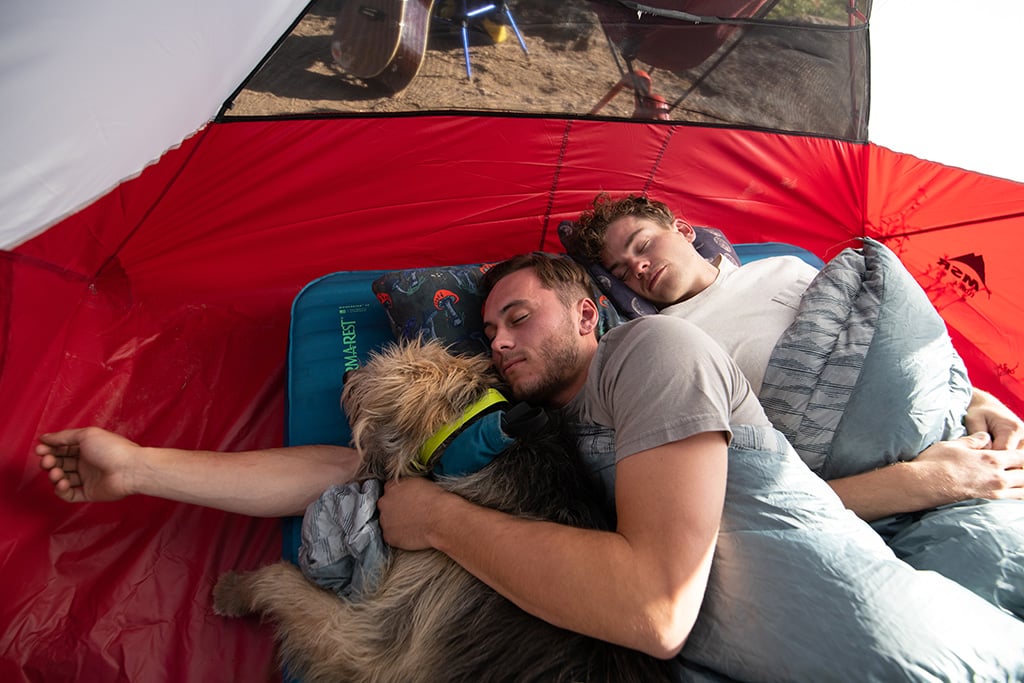
We are full proponents of camping and backpacking with your canine friends. Their unbridled excitement and eager love make for happy days on the trail and fulfilling nights under the stars. But it’s those very qualities that puncture a remarkable amount of sleeping pads. We see a lot of pads that made great chew toys. Others were happily considered just a squishy piece of ground good for walking all over.
Ensuring your dog’s nails are neatly trimmed and their favorite toy is on hand—so it doesn’t become your pad—could be the difference between all night comfort and waking up with your hips on the ground. Covering your pad in a Synergy™ Sheet or a blanket also offers a layer of protection against wandering paws.
Many customers tell us that they had their pad laid out to test it pre-trip and that’s when their pet got to it. Dog’s are the common culprit, but in this scenario, we get the occasional cat action. Consider setting it up vertically in a closet to keep it out of reach. In the end, you best know how to manage your pet, but you should know that while we are very good at fixing punctured pads, dogs often test the limits of our abilities.
2. Use Layers to Protect from Punctures
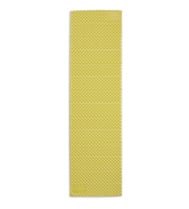
Previously we have discussed sleep system layering and how it allows customization of your sleep system’s overall warmth. Expanding upon that idea, layering also offers protection. Sliding a closed cell foam pad like a Z Lite™ SOL under your pad will boost your R-value and help prevent anything from pricking your pad from below.
I’m sure you can imagine a situation where you wriggle in your sleep a bit and shift part of your, let’s say, NeoAir® XLite™ NXT off your Z Lite in the middle of the night. It happens all the time. Our customer service team members regale us with stories of customers whose pads mysteriously deflated, despite only ever touching the floor of their tent.
After you’ve set up your tent and before your toss your gear in, consider sweeping it out to ensure nothing is in there that can cause a puncture. Help your tent floor out by choosing a tent site devoid of sharp sticks, plants, pine cones, cacti, rocks etc. Always follow LNT principles when it comes to campsite selection, but keep some backpacking gear care in mind as well. We’ve seen plenty of tents in Repairs from our MSR® compatriots with archipelagos of tiny holes in the floor.
This is why tent footprints are a critical layer for gear care. Despite the fact that many backpacking tents use a higher denier fabric for the floor than the canopy or fly (the MSR Hubba Hubba™ 2 has a 30D Floor and a 20D canopy and fly for example) sharp plants and rocks can sometimes get through. Having an extra tent floor helps prevent this, and ensures you don’t wake up with your hips on the cold hard ground.
Moreover, if you ever feel like foregoing the tent and sleeping with the sky as the roof over your head, you’ll need protection for your pad. Closed-cell foam plus your tent’s footprint is a perfect protective setup for stargazing your way to sleep.
How to Repair Your Sleeping Pad Yourself
While this piece is about preventing damages, properly repairing a puncture counts as good backpacking gear care. A good repair will last a long time without the need to be re-done. In the repair shop we’ve re-done hundreds of self-repairs performed by customers. We see them all over the spectrum, from poorly done repairs that never worked to patch jobs that have clearly lasted several years and finally need a professional touch.
Previously, we wrote about how to repair your sleeping pad on the blog, so head there for a more thorough guide to repair technique. Here we will go into some key Repair Shop learnings about repairing your pad.
1. Air Pressure is Everything
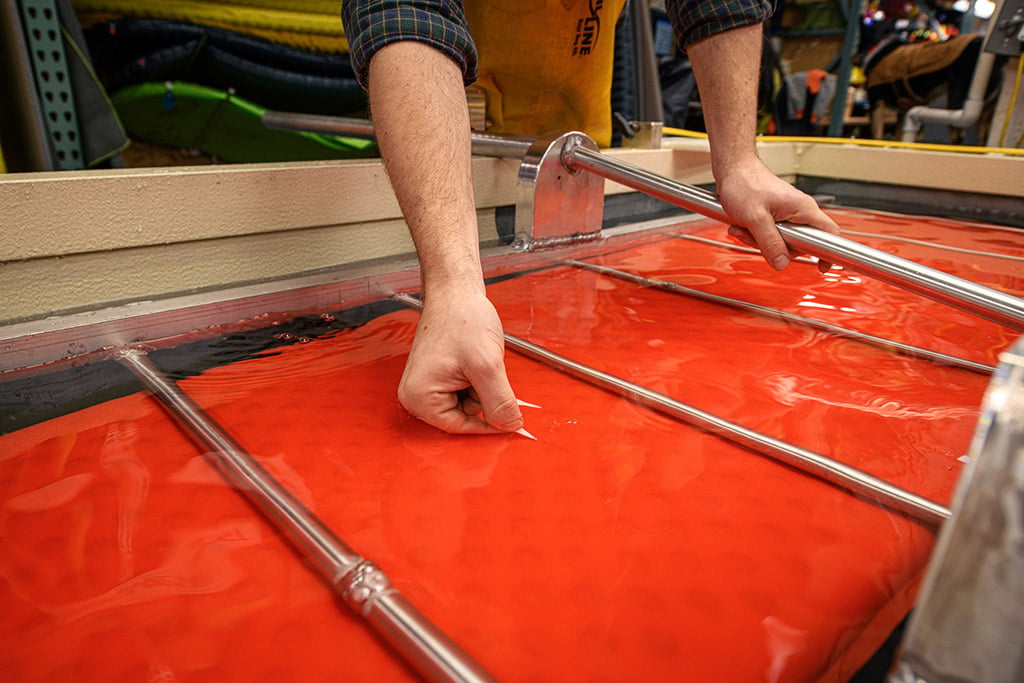
It can be difficult finding a leak, especially in the field. Dunking a pad in a lake or stream and locating a tiny stream of bubbles can be a hassle, we get it. In the shop we have the benefit of a dunk tank and air compressors to make finding punctures easy. At home or in the field, you should do your best to imitate what we can achieve in our shop to the best of your ability.
That means finding as calm and clear water as possible to dunk in and achieving the highest internal air pressure in your pad as possible. Calm and clear water is pretty straightforward. At home bathtubs and kiddie pools are popular choices. If those are not available, a plastic tote or utility sink can be successful. In the field, we hardly need to mention that lakes and ponds are likely better than rivers and streams, but there could be an ideal eddy out there for pad repair.
As for air pressure, try folding your pad in half to force more air into a section of the pad than your lungs alone can achieve. Then work in sections searching for the steady streams of bubbles that indicate a puncture. Don’t forget to listen, too. sometimes the little hiss of air escaping will tip you off to the leak before you’ve seen any bubbles.
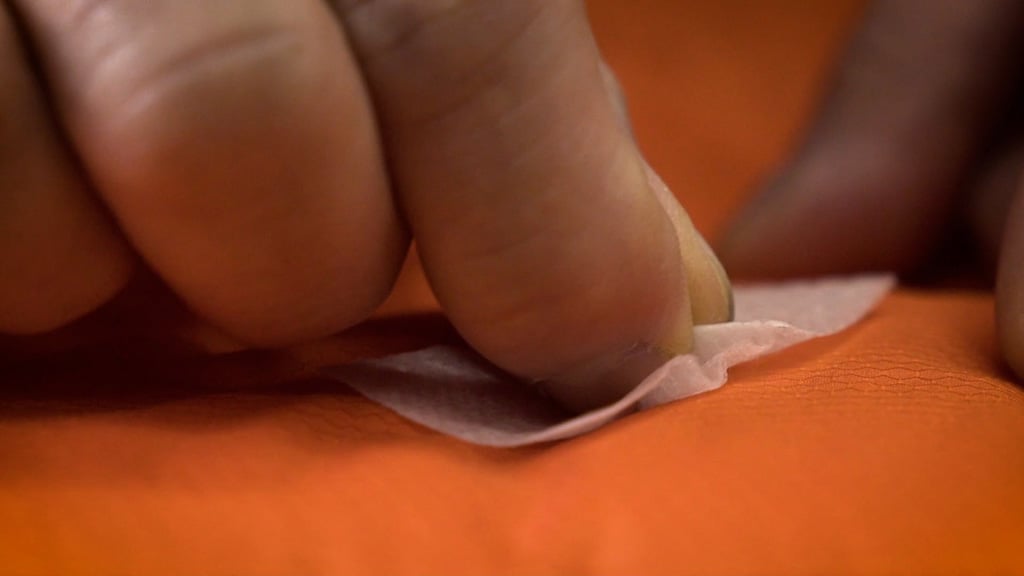
2. Thoroughly Clean Surface of Pad Before Patching
We find patch jobs fail most often due to poor surface prep; the surface of the pad was not properly cleaned and the glue couldn’t establish a solid hold on the fabric of the pad. The alcohol wipe in the repair kits should always be used to thoroughly remove all dirt and grime from the puncture area. Aim for one-inch diameter around the puncture at the very least. Isopropyl alcohol in excess can damage and weaken the fabrics, but applying a little bit with a wipe or a paper towel is perfectly safe, and necessary for a long-lasting patch job.
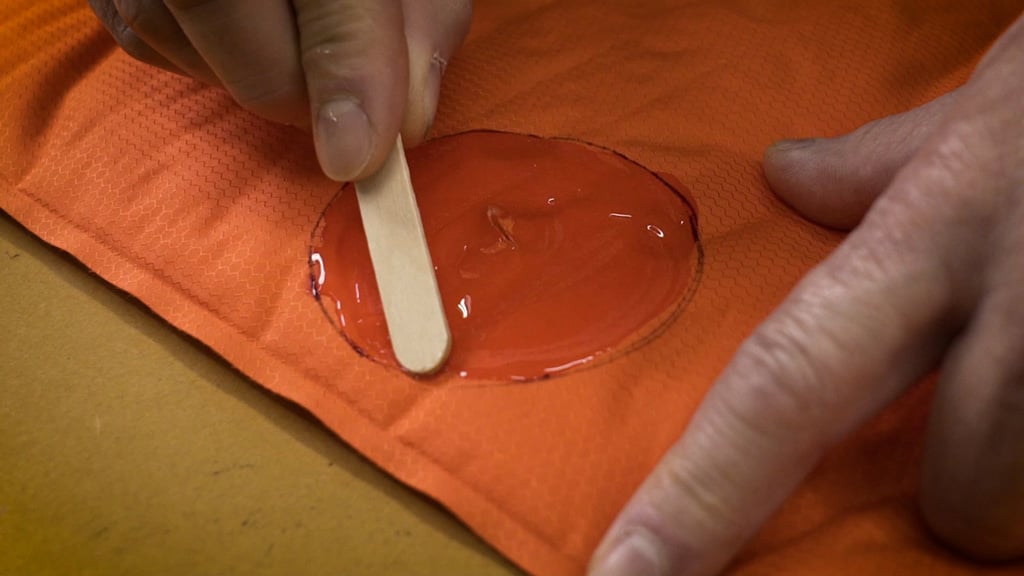
3. Glue is Where the Magic Happens
The Instant Field Repair Kit uses glue dots to seal off punctures and adhesive patches to place over the dots for protection and a cleaner final look and feel. This is a key point about all pad repairs: it’s the glue that does the actual sealing, not the patch. The patch is for protecting the adhesive for a longer lasting seal and to improve the final look and feel with a fabric layer. Many of the self-repairs that we redo fail because not enough adhesive was used, or it was improperly applied.
The glue dots make applying adhesive very simple with their one-size-fits-all approach, but if you are getting into a Permanent Home Repair Kit you’ll be applying the adhesive from a tube and using the wooden stick applicator. So long as you use enough adhesive to thoroughly work it into the puncture and establish an adequate perimeter around the puncture area, even 1-inch long tears can be effectively sealed off.
The pro tip from the Repair Shop is using Gear Aid Aquaseal UV Repair Adhesive. It combines the ultra-strong and customizable application amount of the Permanent Home Repair Kit with the quick-cure flexibility of the Instant Field Repair Kit. It’s formulated to cure in a matter of seconds with exposure to UV light (sunlight). Even in overcast conditions it rapidly cures, which means you have to be careful. If you leave the tip of the tube exposed to the sun, adhesive may cure right on it and seal it off.
The Repair Shop uses Aquaseal UV extensively to repair pads because it allows them to work much quicker through the stacks of pads that need repair. The adhesive in the Permanent Home Repair Kit is just as strong, but it has to sit for four hours—with a weighted press—to properly cure, seal, and hold a patch in place.
*Close to the Seam? Consider Sending it In
Another reason self-repairs commonly fail is the puncture is too close to the seam, or edge, of the pad. This is tricky one, and is best dealt with out of the field, or better yet, in the Repair Shop.
Remember, the adhesive needs to seal off the puncture from all around it, which is why you establish a perimeter with the adhesive. The seam makes this difficult to achieve.
For your best chances, ensure that there is no air in the pad so that it can be as flat as possible when repairing. Cut your patch in a half-circle so you can align the straight edge along the seam. Work the adhesive into the puncture thoroughly and get as much of a perimeter as you can on the seam side while still using a 1-inch perimeter on the non-seam sides. A flat pad is critical for the adhesive to properly cure and seal an edge puncture, so ensure that it is well-weighted when curing.
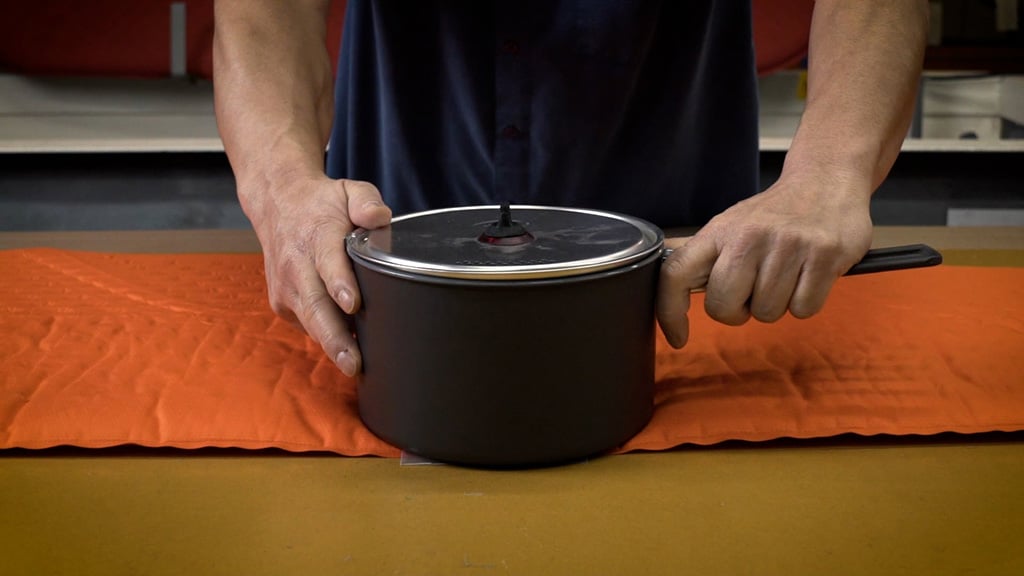
4. Weighted Press (We’re Not in the Gym)
A weighted press is essential with an adhesive that takes a few hours to cure, such as that in the Permanent Home Repair Kit. When this adhesive is applied to a fabric patch, the patch will react by curling back onto itself. Weighting it will ensure a flat, even adherence and distribution of the adhesive to seal off a puncture.
You should be prepared for the adhesive to squish out from under the patch when weighted. This is a good thing, as it means there is sufficient adhesive to fill out the perimeter and seal off the puncture. However, whatever you have on top of the patch will get a strong adhesive on it and it is a nuisance to remove. A stack of books or a pot full of water are both good weighted presses, but you probably don’t want glue on them.
A utility towel between the pad and the weight will solve this issue, but like a paper towel, it is likely that bits of it will end up stuck to your pad. This won’t hurt the performance or compromise the repair, but it can be unsightly and difficult to remove. The Repair Staff have wrapped metal weights in Uline 3 mil Fiberglass Tape for this reason. While this is probably overkill for home use, we had it on hand from another project and it does a great job not leaving bits stuck to the pad.
How to Avoid Delamination in Your Sleeping Pad
Delaminations happen when the internal adhesive that holds the pad in its structure degrades and comes undone. For self-inflating pads, the fabric separates from the foam core; in our NeoAir® pads, the internal baffling comes undone.
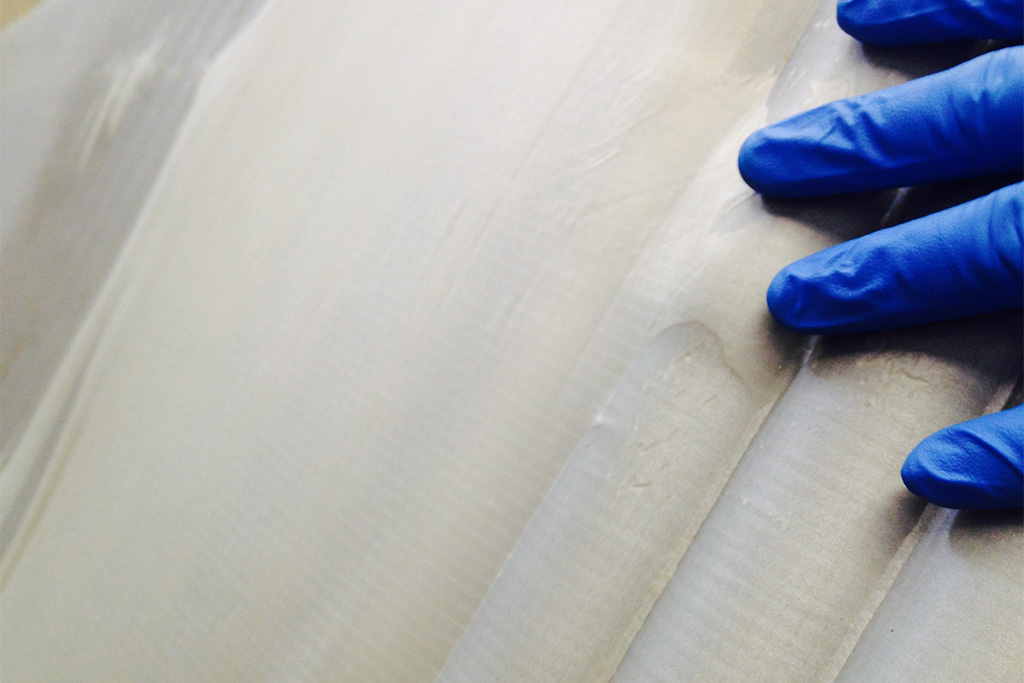 Example of delamination caused by degraded fabric
We treat this issue as a manufacturing defect, and almost always replace the pad under our Limited Lifetime Warranty. However, there are cases that we don’t replace because it’s clear the pad has delaminated due to improper care. Here’s how to minimize the chances of your pad delaminating and ensure that if it does, we replace it under the warranty.
In the rare instance that we don’t replace a delaminated pad it’s because the pad is, for lack of a better word, nasty. Dirt, body oils, bug spray, sunscreen and sweat can all seep into your pad’s fabrics over time, weaken them and degrade the adhesive. The simplest way to prevent this is by washing your pad.
If you bathe, then your already know how to wash your pad. With a rag or sponge, simply scrub your pad with soap and water. Its best to use a mild detergent soap to ensure you’re not damaging the fabric. While it’s safe to use isopropyl alcohol to scrub a small area for puncture repair, too much can hurt the fabric. Some cleaning agents might contain more noxious substances, like bleach. Please don’t use bleach.
The Importance of No Skin-to-Pad Contact
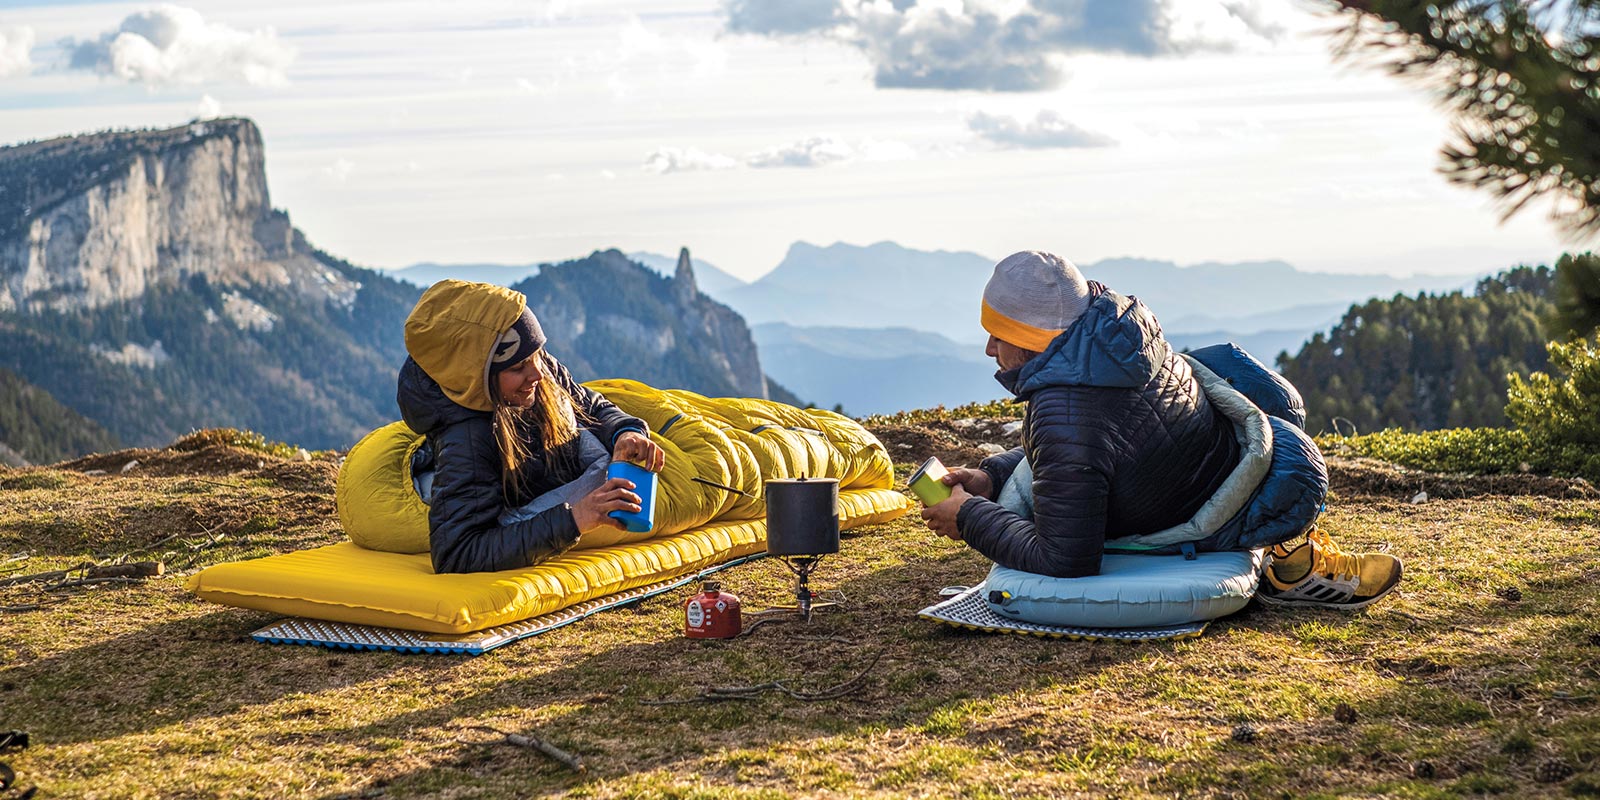
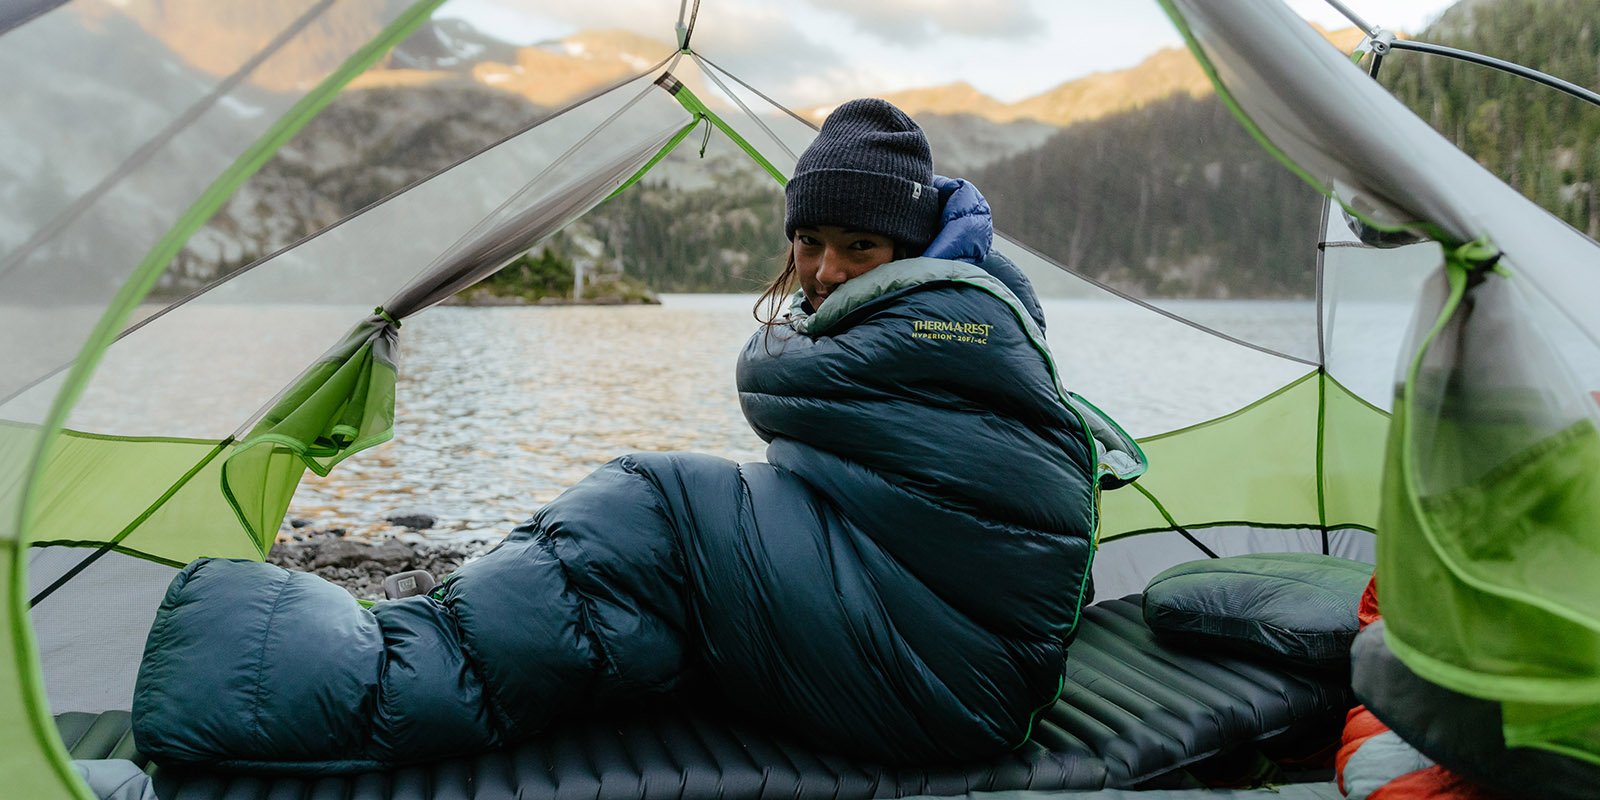
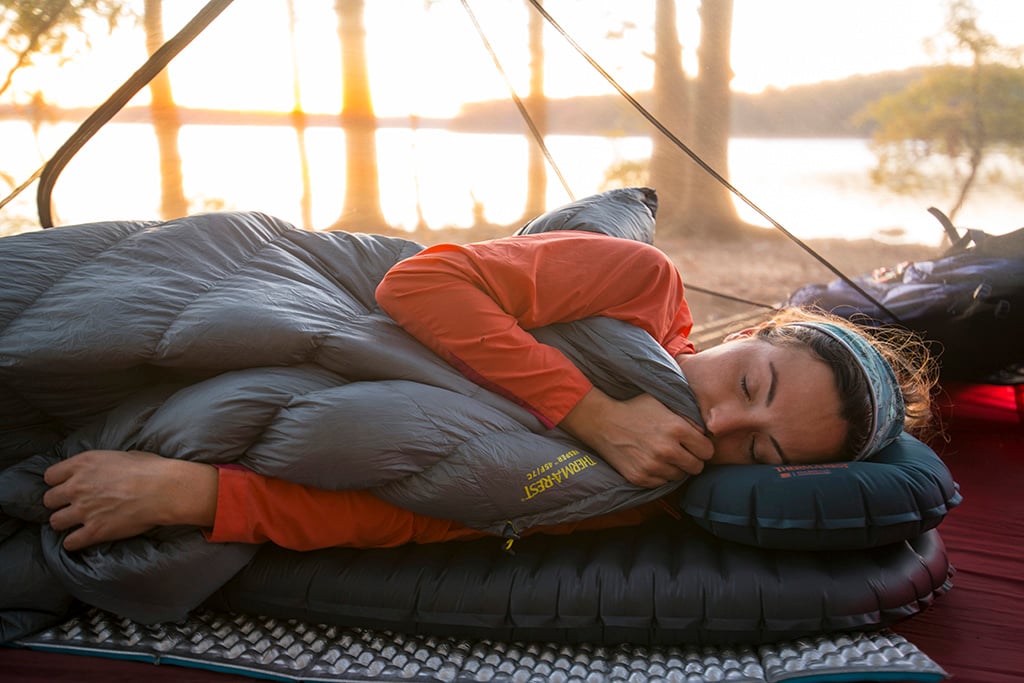
We find that the dirtiest pads that we receive tend to be from thru-hikers, which makes sense. These pads sustain daily use for months at a time and have ample opportunity to pick up dirt and trail grime. Moreover, thru-hikers need to save weight. That could mean not carrying a tent when its warm, which exposes their pads to more dirt. It could also mean opting for a quilt instead of a sleeping bag, which means sleeping directly on their pad.
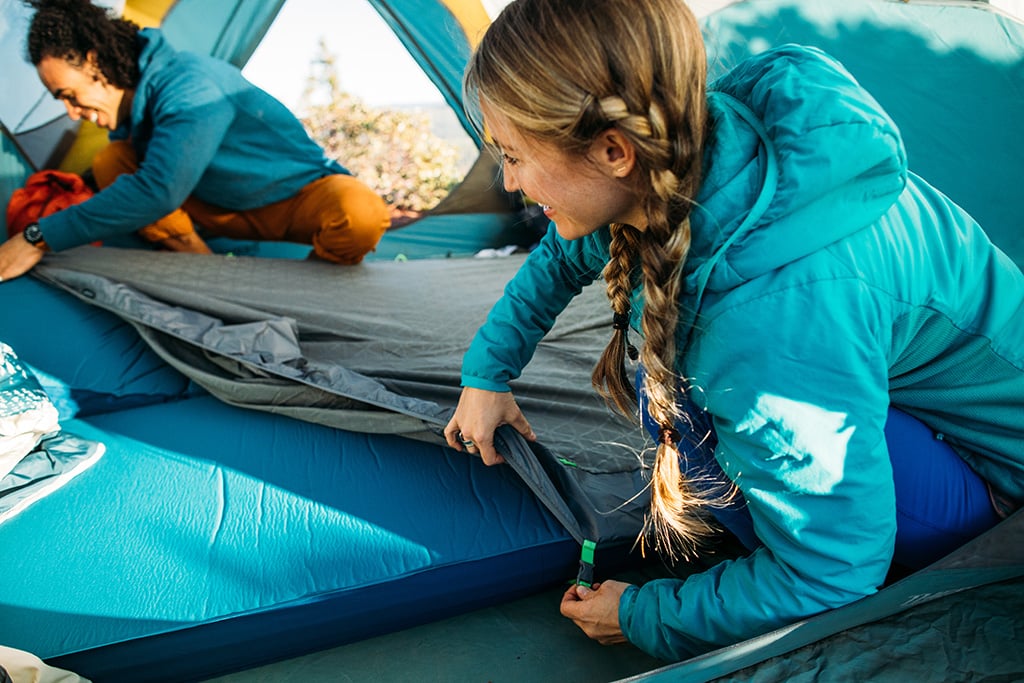
If you’re in the backcountry, a few days past your last shower, your body is likely covered in some combination of dirt, sweat, body oils, bug spray, and sunscreen. If you go to sleep and your skin is touching your pad, all of that will rub off into the fabrics of your pad. Over time this will weaken the fabrics and may cause failure.
If you are sleeping directly on your pad, ensure there is some sort of barrier between skin and pad. This could be as simple as base layers, or if base layers are too warm, consider picking up a lightweight sheet. Our Synergy™ Sheets are machine washable (much easier to clean than a pad) and will help keep your pad’s fabrics cleaner for a long life.
The Repair Shop would especially like to reiterate that DEET can be devastating to pad fabrics. We realize that sometimes the potency of DEET is all that keeps the bugs at bay, but if you are using it, take special care to keep it off your pad!
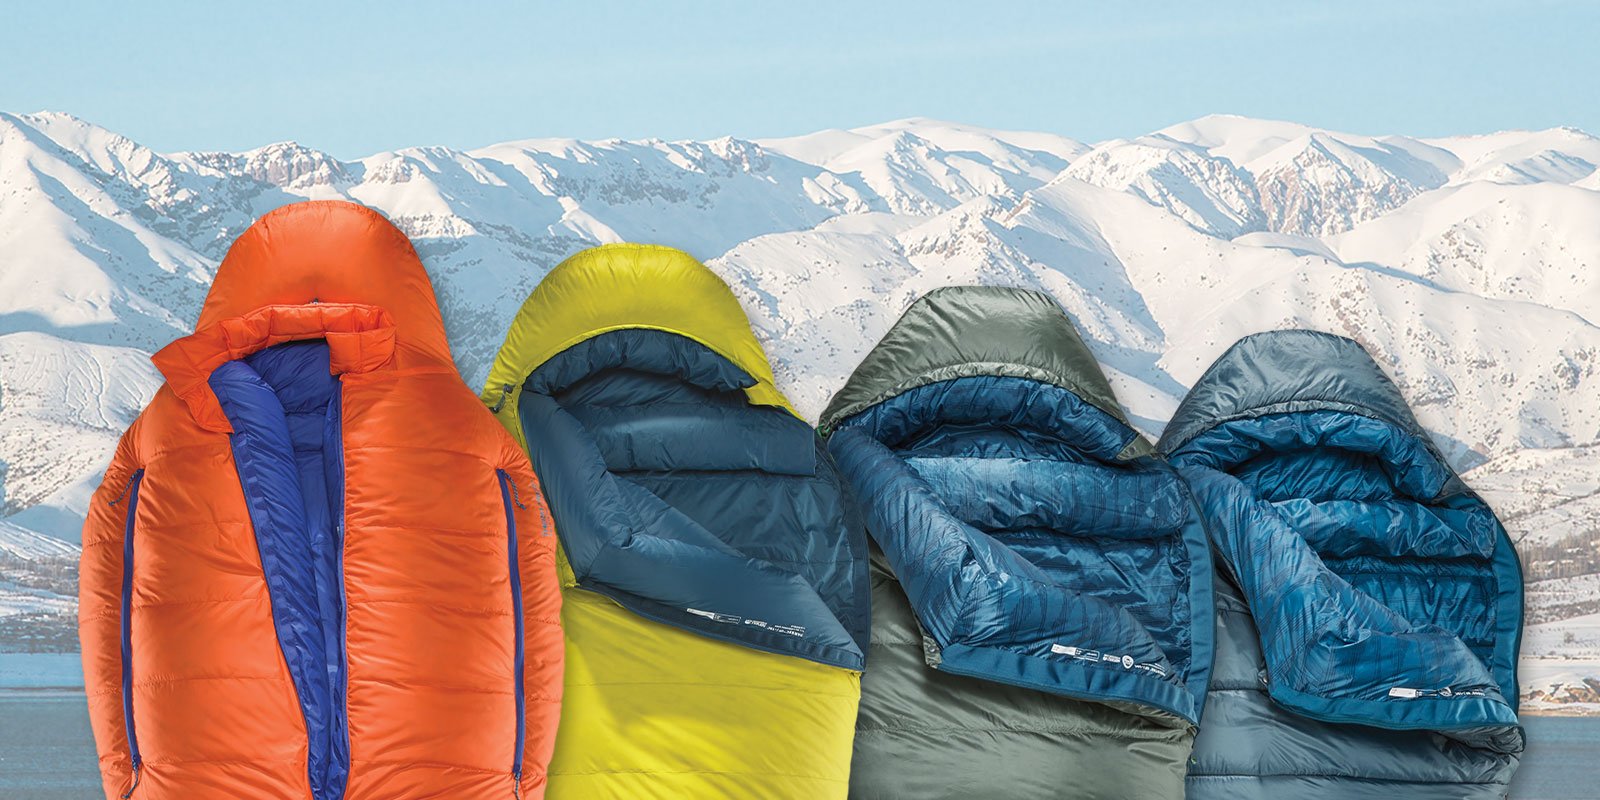
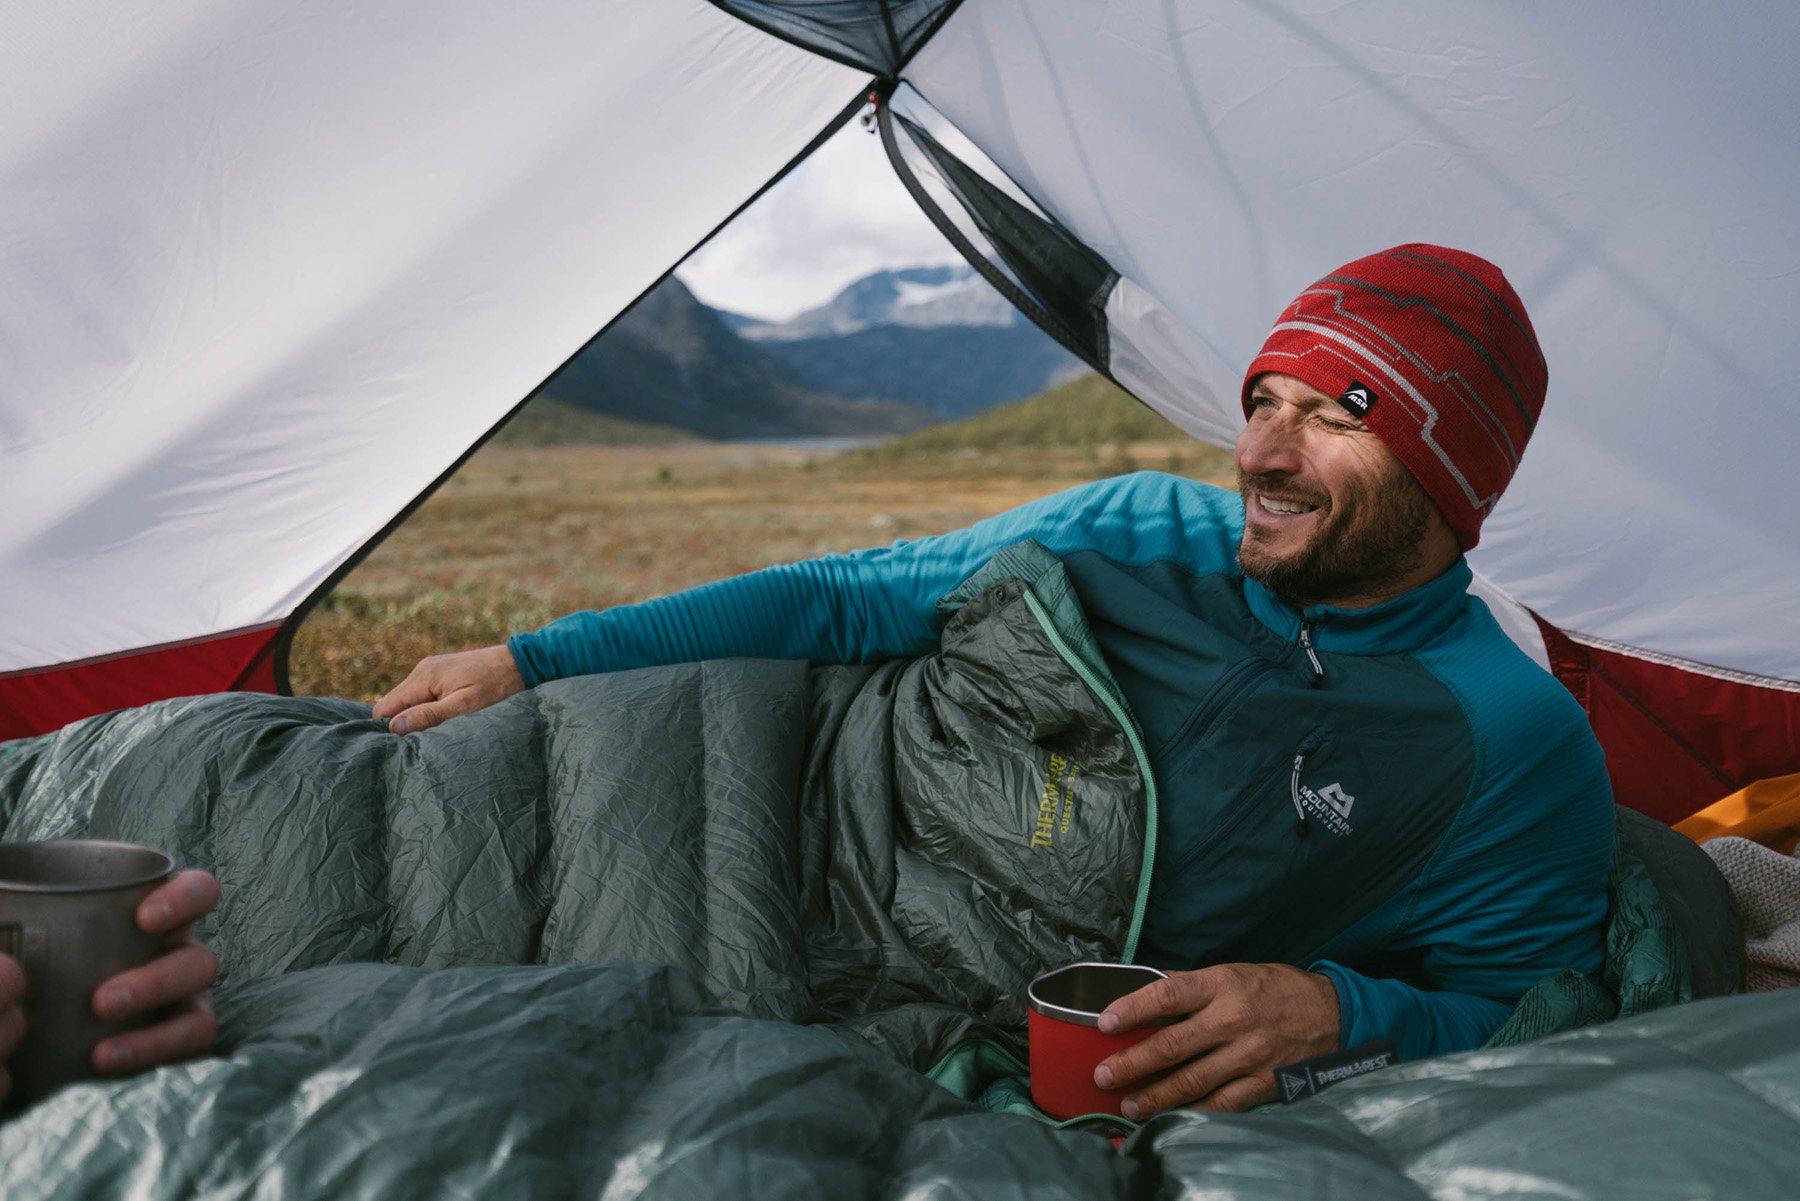
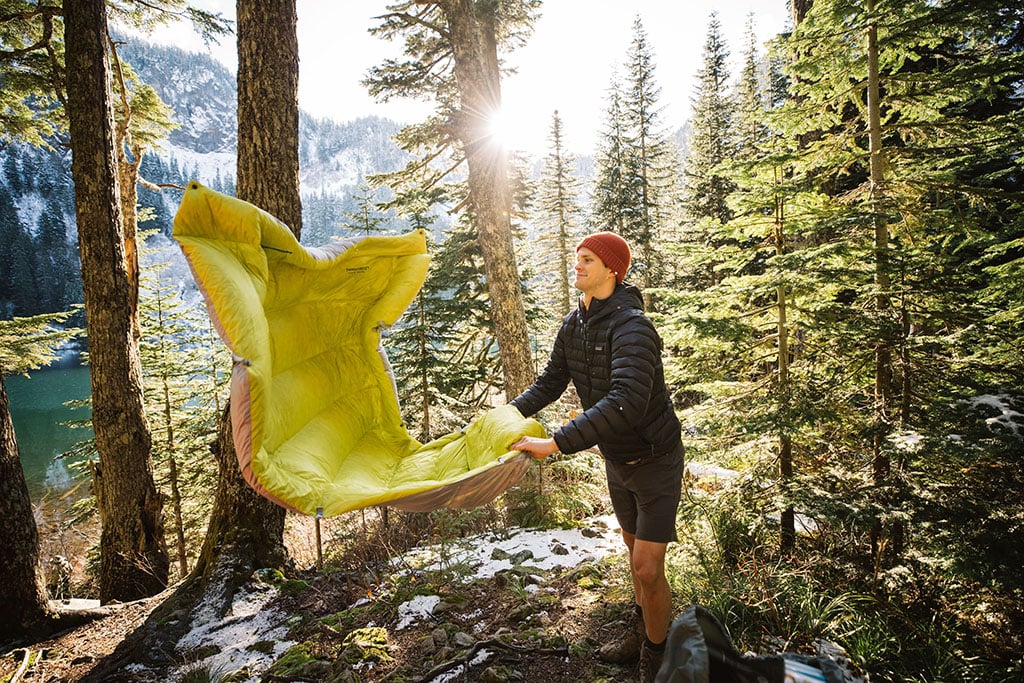
Proactive Backpacking Gear Care Tips for Sleeping Bags & Quilts
Compared to sleeping pads, the number of damaged sleeping bags and quilts coming back to the repair shop is miniscule. It’s not hard to imagine why, a torn sleeping bag is still functional, whereas a punctured sleeping pad is not. Often, a little Tenacious Tape does the trick and keeps a bag or quilt performing at its highest level for a long time. Keeping a roll of that handy is a great backpacking gear care practice.
We take great pride in expert craftsmanship and using the highest quality materials when building our sleeping bags and quilts. Quality is a major reason we repair so few bags, and is the basis of our Better Sleep Guarantee. That said, there are still some common damage patterns to sleeping bags that are worthy of discussion.
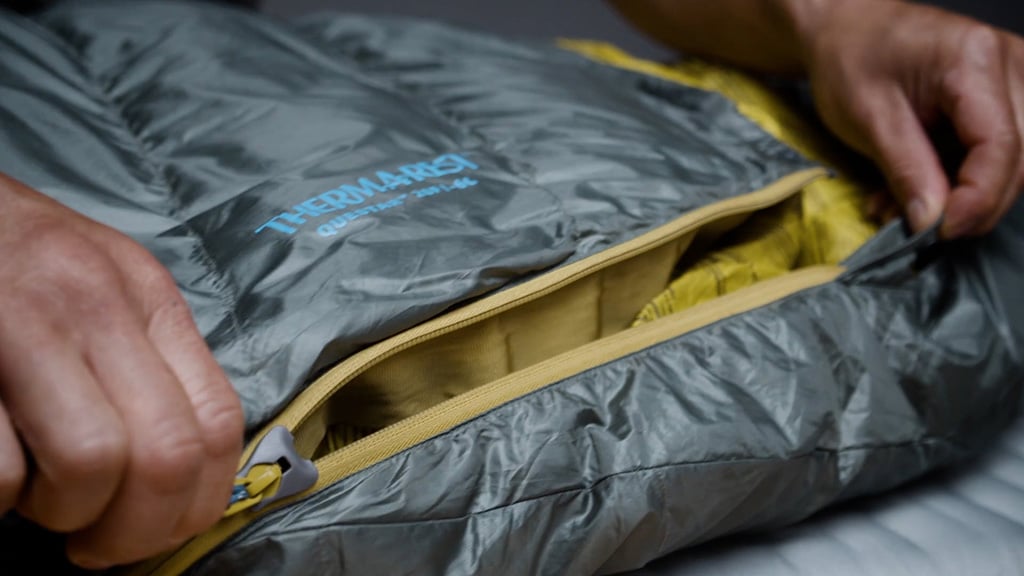
How to Prevent Stuck Zippers & Zipper Tears
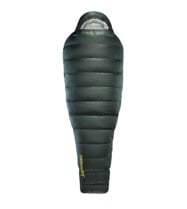
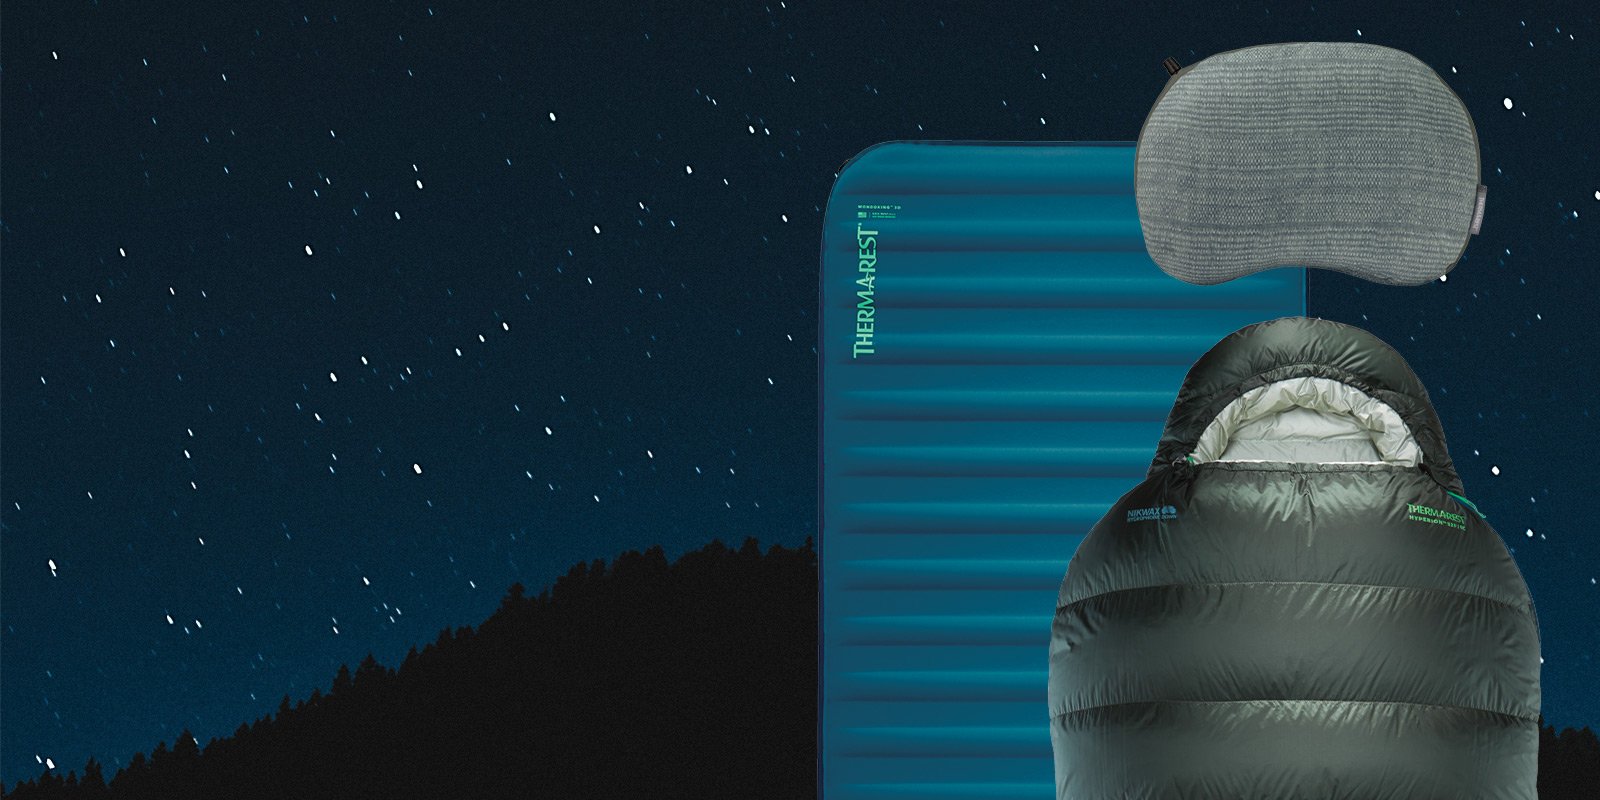
A common plight of outdoor sleepers is catching the fabric of their sleeping bags in the zippers and the ensuing maddening—but delicate—struggle to free the fabric without tearing it. Sometimes we lose the struggle, and the fabric is torn. Ultralight sleeping bags like the Hyperion are particularly susceptible to zipper tears because they are made of lightweight and thinner fabrics in order to save weight (10D ripstop nylon in the case of the Hyperion).
The best way to prevent zipper tears is to ensure that the zipper is clean for smooth and effortless zipping. We’ve found that bags with zipper tears often have dirty, hard-to-pull zipper action. If you have to use excessive force to zip or unzip your bag because the zipper isn’t running smoothly, then you will be using that force should the fabric get caught in the zipper, thereby increasing the chances of a tear. A difficult zipper also may lead to a user torquing the zipper at a weird angle and warping the slider or the teeth, which could render the zipper dysfunctional.
The gear care solution? Regularly clean and lubricate your zipper. For cleaning, a toothbrush is great for scrubbing out debris. After cleaning, we recommend lubricating with Gear Aid’s Zipper Lubricant Stick because it is super packable, easy to use and effective. Lubrication tends to be more important on heavy duty zippers, like those on dry duffels, that are exposed to more abusive environments. However, sleeping bags are regularly exposed to dirt, sand and debris which can easily get in zipper lines and make it stick.
Depending on how often you use your sleeping bag and where you use it, “regular” zipper maintenance could mean before every trip or once a year when you put it in storage for the off season. Use your best judgement. Keep in mind that stuck zippers are often due to a warped zipper pull or teeth, and not just debris along the line.
It starts with debris, then the increase in force to overcome the resistance leads to the warping. A warped zipper pull is replaceable, which is something that we do in the repair shop and you can even do it yourself. However, we do not sew entire new zipper lines into bags should the teeth become excessively damaged. So, as with most backpacking gear care, err on the side of caution and perform maintenance more “regularly.” This will ensure your bag is ready to perform each time out and increase its lifespan.
How to Prevent Fabric & Insulation Degradation
Many of the same gear care practices that prolong the life and performance of sleeping pads can be used with sleeping bags and quilts. We previously discussed some sleeping bag and quilt care techniques, and we will touch on some of that discussion here, with special consideration to the knowledge of our Repair Staff.
Wash It, But Not Too Often
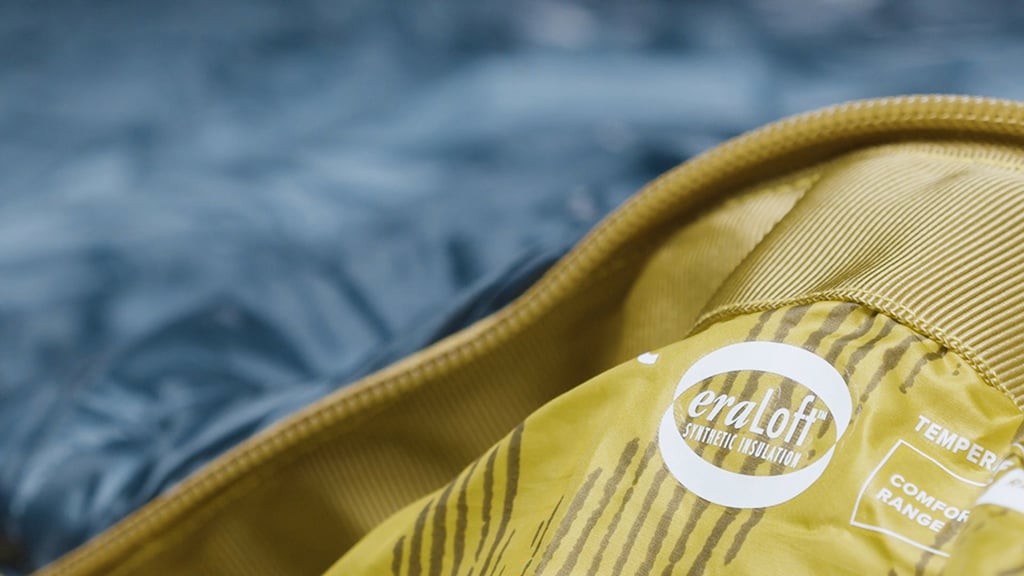
Previously, we wrote about how to wash your sleeping bag or quilt. Just like sleeping pad fabric, dirt, body oils and other substances, like sunscreen and bug spray, can permeate the fabrics and insulation of a sleeping bag, damaging the nylon and overall performance of the bag or quilt. Water repellent coatings will begin to lose their efficacy and nylon fibers will weaken, making them more likely to tear. Down insulation will begin to clump up leaving cold spots while synthetic insulation—which is made of very fine polyester fibers—will exhibit a diminished ability to loft and repel water. Washing your bag will help keep the fabrics and insulation performing at their peak for longer.
The frequency of your sleeping bag or quilt washings depends on how intensively you use it. There is such thing as washing it too much, particularly with down insulated bags. Often a spot wash is all you need. Using a brush with gentle bristles, like a toothbrush, and a non-detergent soap, scrub areas of your bag that are particularly dirty. Typically, this means areas that are exposed to more body oils like the hood, collar, and footbox.
Wash cycles are intense and can damage your bag if done improperly; be diligent when it comes to giving your bag a proper bath. As our guide linked above says, be sure to use a front-loading washer, a gentle cycle, cold water and a technical fabric cleaner like Nikwax® Down Wash Direct. High heat is dangerous to a bag, so hang dry whenever possible. Should you need to dry it faster, tumble dry it in a large dryer on low heat. Throw in an agitator, like a couple of tennis balls, to help your bag get a good fluffing.
Once again, we want to impress upon you the risk of exposing your gear to DEET. DEET is not soluble in water, so washing your bag does not fully resolve exposure to DEET. According to the National Pesticide Information Center DEET is a plasticizer, meaning it will chemically react with petroleum based fabrics like polyester and nylon and weaken them. It will not damage natural fibers like cotton or wool however, which brings us back to layering.
More Layering
Sleeping in a clean set of clothes is an easy way to protect your bag from the substances your body brings in. Additionally, a sleeping bag liner is an excellent investment if you want to maximize the life of your bag. Not only does a liner provide a more comfortable in-bag feeling, it will keep body oils, trail grime, bug spray, sunscreen etc. out of your expensive sleeping bag. When the time comes you can toss it in the washer with your regular load of clothes and avoid the complexities of washing a sleeping bag.
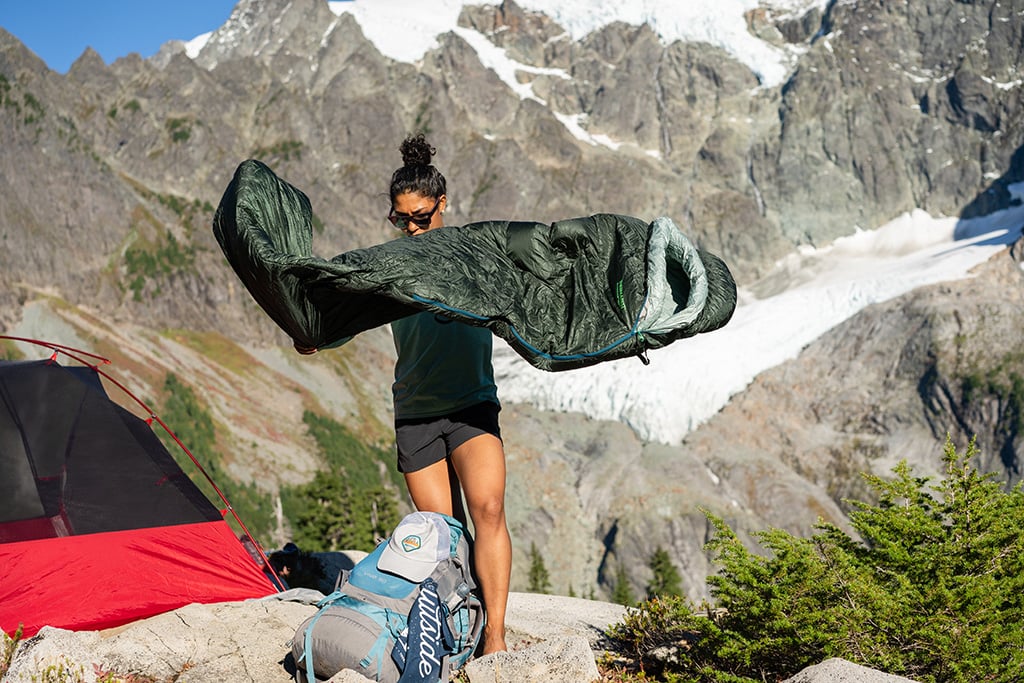
Storage: Out of Sight, Still in Mind
Even when it is not being used, your sleeping bag or quilt is wearing out. The simple truth about sleeping bag fabrics (this applies to outdoor gear in general really) is that they can’t escape time. Ultimately, things wear out no matter what. That means storing it properly is a vital step, because much of a sleeping bag’s life is spent in storage.
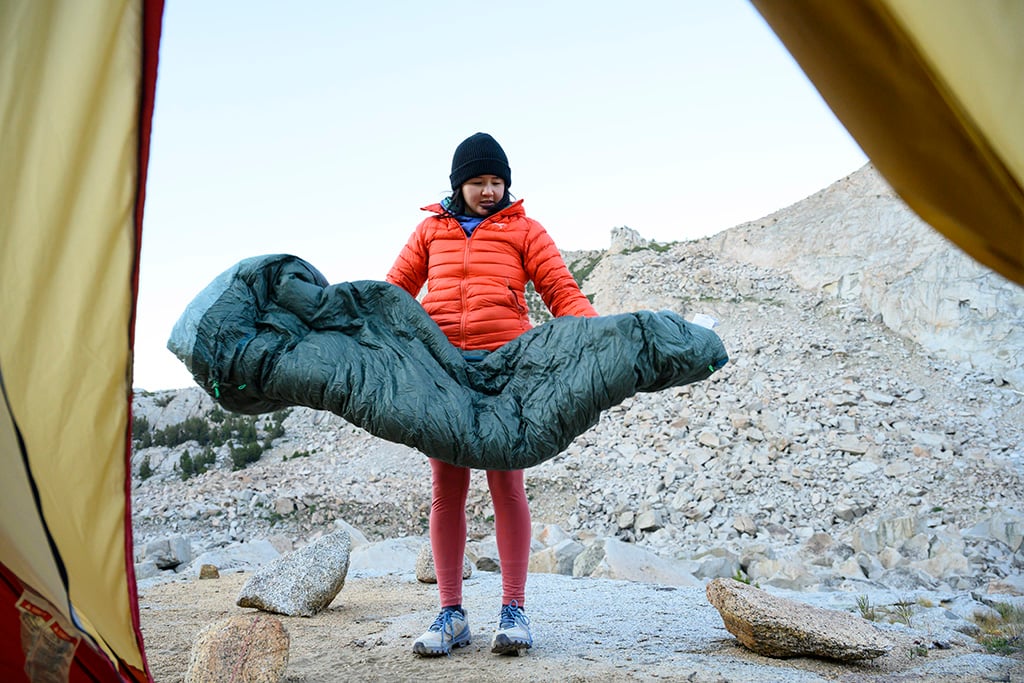
The aim is to allow the fabrics to breathe and be relaxed (turns out nylon is more like us than first meets the eye). Hang your sleeping bag if you have the room for it. If you’re tighter on space, use the large storage stuff sack that it comes with. Avoid long term storage in any compression or compact stuff sack that you would use out on the trail.
Compression stresses the fabrics which weaken them more rapidly. Trail ready compression sacks are also far less breathable than storage sacks. If stored compressed the insulation in your bag or quilt will begin to lose some of its ability to loft—reducing its overall warmth—when it is taken out to be used. This could be uncomfortable or even dangerous depending on the situation.
The Repair Staff can tell when a sleeping bag comes in that has been stored compressed. The fabrics are thoroughly wrinkled, and feel more “brittle” than loosely stored bags. Critically, you should always turn your bag inside out and thoroughly air it out (and remove any dirty socks or underwear) before storing it. Trapped moisture can develop mildew, which nobody wants to sleep in. The Repair Staff would especially like to remind you to do this before sending a bag in. Stowaway articles of clothing have been found before, and it is rather unpleasant.
One Last Reminder Before You Go
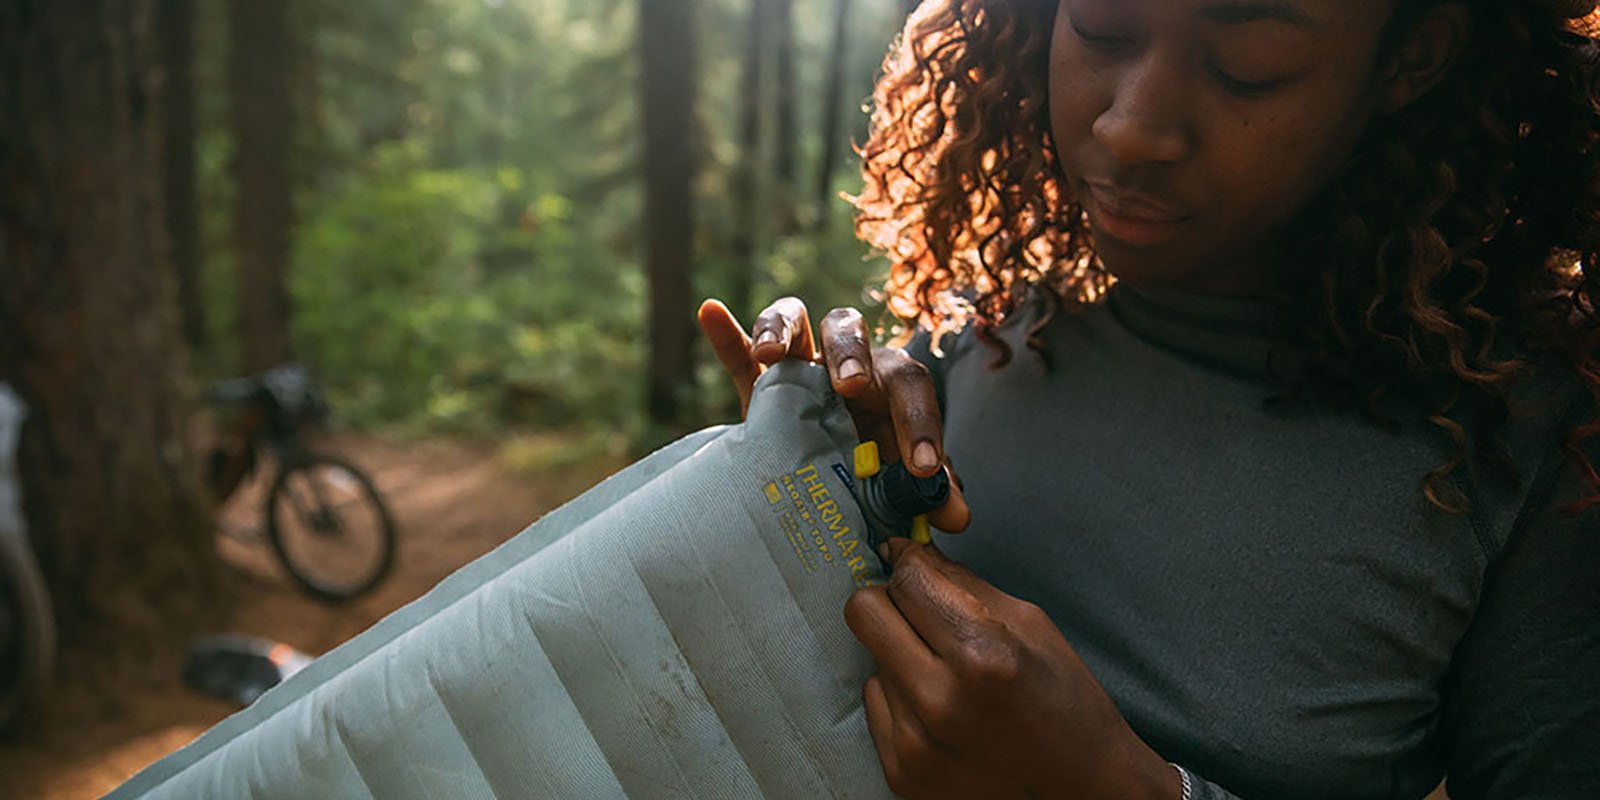
Check your equipment before you head out! Making sure your pad holds air and inspecting your sleeping bag or quilt should be a pre-trip habit. Unfortunately, we’ve heard numerous accounts of pads deflating on the first night of a trip.
Always inflate your pad and let it sit overnight a few days before leaving. Check it for any loss in air pressure. A noticeable decrease in pressure means there is a leak. (Note: a pad that has cooled considerably will appear to have lost air too because cold air takes up less space than warm air. For the best test results, keep a constant temperature in the room.) Even if the pad has enough air to still be comfortable to lie on, there’s a leak. Plus, once your body is weighting that pad overnight, more air will escape and you’re likely to not be thinking the word “comfortable” in the morning.
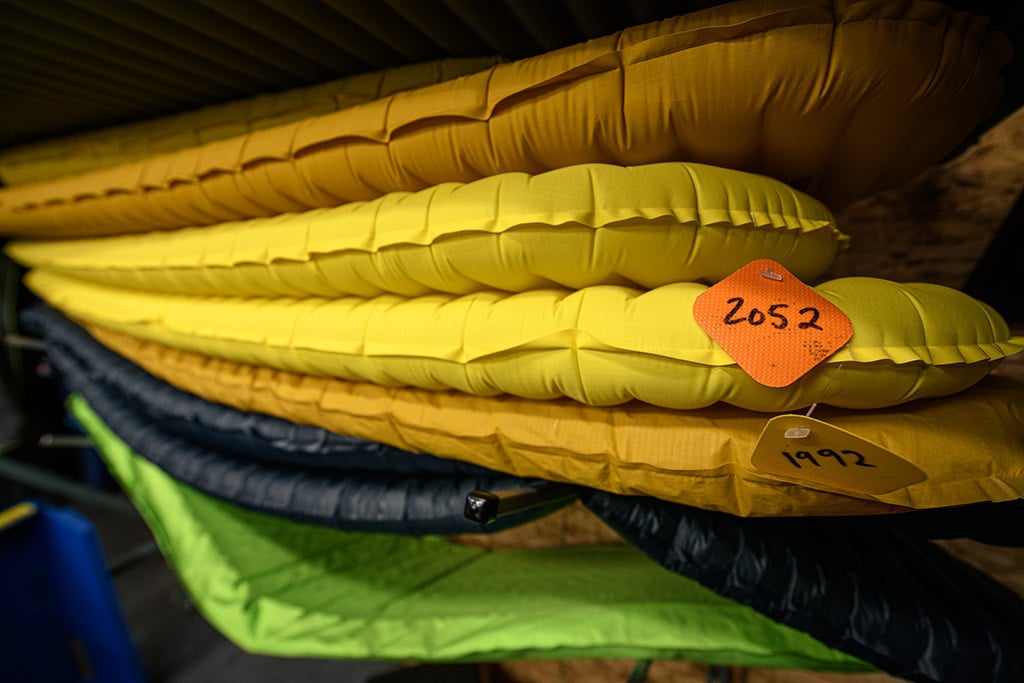
In the Repair Shop, a pad that has been repaired hangs for 48 hours and shows no loss of air pressure for it to be cleared for return to its owner. If there is ANY loss of air pressure at all, the pad goes back to the beginning and is dunked and patched until it holds air.
Air out your sleeping bag or quilt before you compress it for travel. Use this opportunity to inspect for tears and a properly functioning zipper. Make sure you leave enough time to perform repairs if needed. Taping up a sleeping bag tear or lubricating a zipper is one thing, but soundly patching a sleeping pad puncture the morning you are supposed to set off is an invitation for undue stress, a rushed job and uncomfortable nights at camp.
The pre-trip check habit should be so ingrained that you even test brand-new, fresh-out-of-the-box sleeping pads. We pride ourselves in rigorous quality assurance and thoroughly test each pad before it leaves our facility. Still, whether it was a rare slip up on our end or an accidental slash by an employee at the gear shop when they were opening the box, new product has failed before.
The core principle of gear care is that you alone are responsible for your gear. Leave nothing to doubt. Trips into the wilderness become unforgettable memories with ease. Just make sure its for the right reasons, and not the memory of struggling to re-inflate your pad in the middle of the night and waking up sore and bitter.
Final Thoughts
The Repair Shop is a special place at Therm-a-Rest HQ because it gives us a direct look into how the gear we make is being used out in the world. A sleeping pad fresh off the line fills us with pride, but not as much as a 10 year old ProLite pad laid out for repair with a note attached, hoping for 10 more. With proper care, decades of use are absolutely achievable.
That kind of use results in a trusting, time-earned relationship with a piece of gear. To us, that’s what being “gearheads” is truly about. Sure, it’s also about staying at the cutting edge of outdoor sleep, and we do that better than anyone. But loving a piece of equipment so much that you get little butterflies at the mere fact that you get to take it along and use it? That’s why we do what we do. A piece of gear should be like a good friend, and everybody ought to care for their friends, right?
We hope the info in this piece was valuable and helps you get the most out of your sleep systems. If you have any questions, feel free to contact our Customer Service team. They’re very knowledgeable, definitely gearheads too, and are great at chatting about all things sleep systems.
Related Posts:
Updated. Originally Published April 6, 2021.